Allow Users to Change Their Email
We want the users of our Serverless notes app to be able to change their email. Recall that we are using Cognito to manage our users and AWS Amplify in our React app. In this chapter we will look at how to do that.
For reference, we are using a forked version of the notes app with:
- A separate GitHub repository: https://github.com/AnomalyInnovations/serverless-stack-demo-user-mgmt-client
- And it can be accessed through: https://demo-user-mgmt.serverless-stack.com
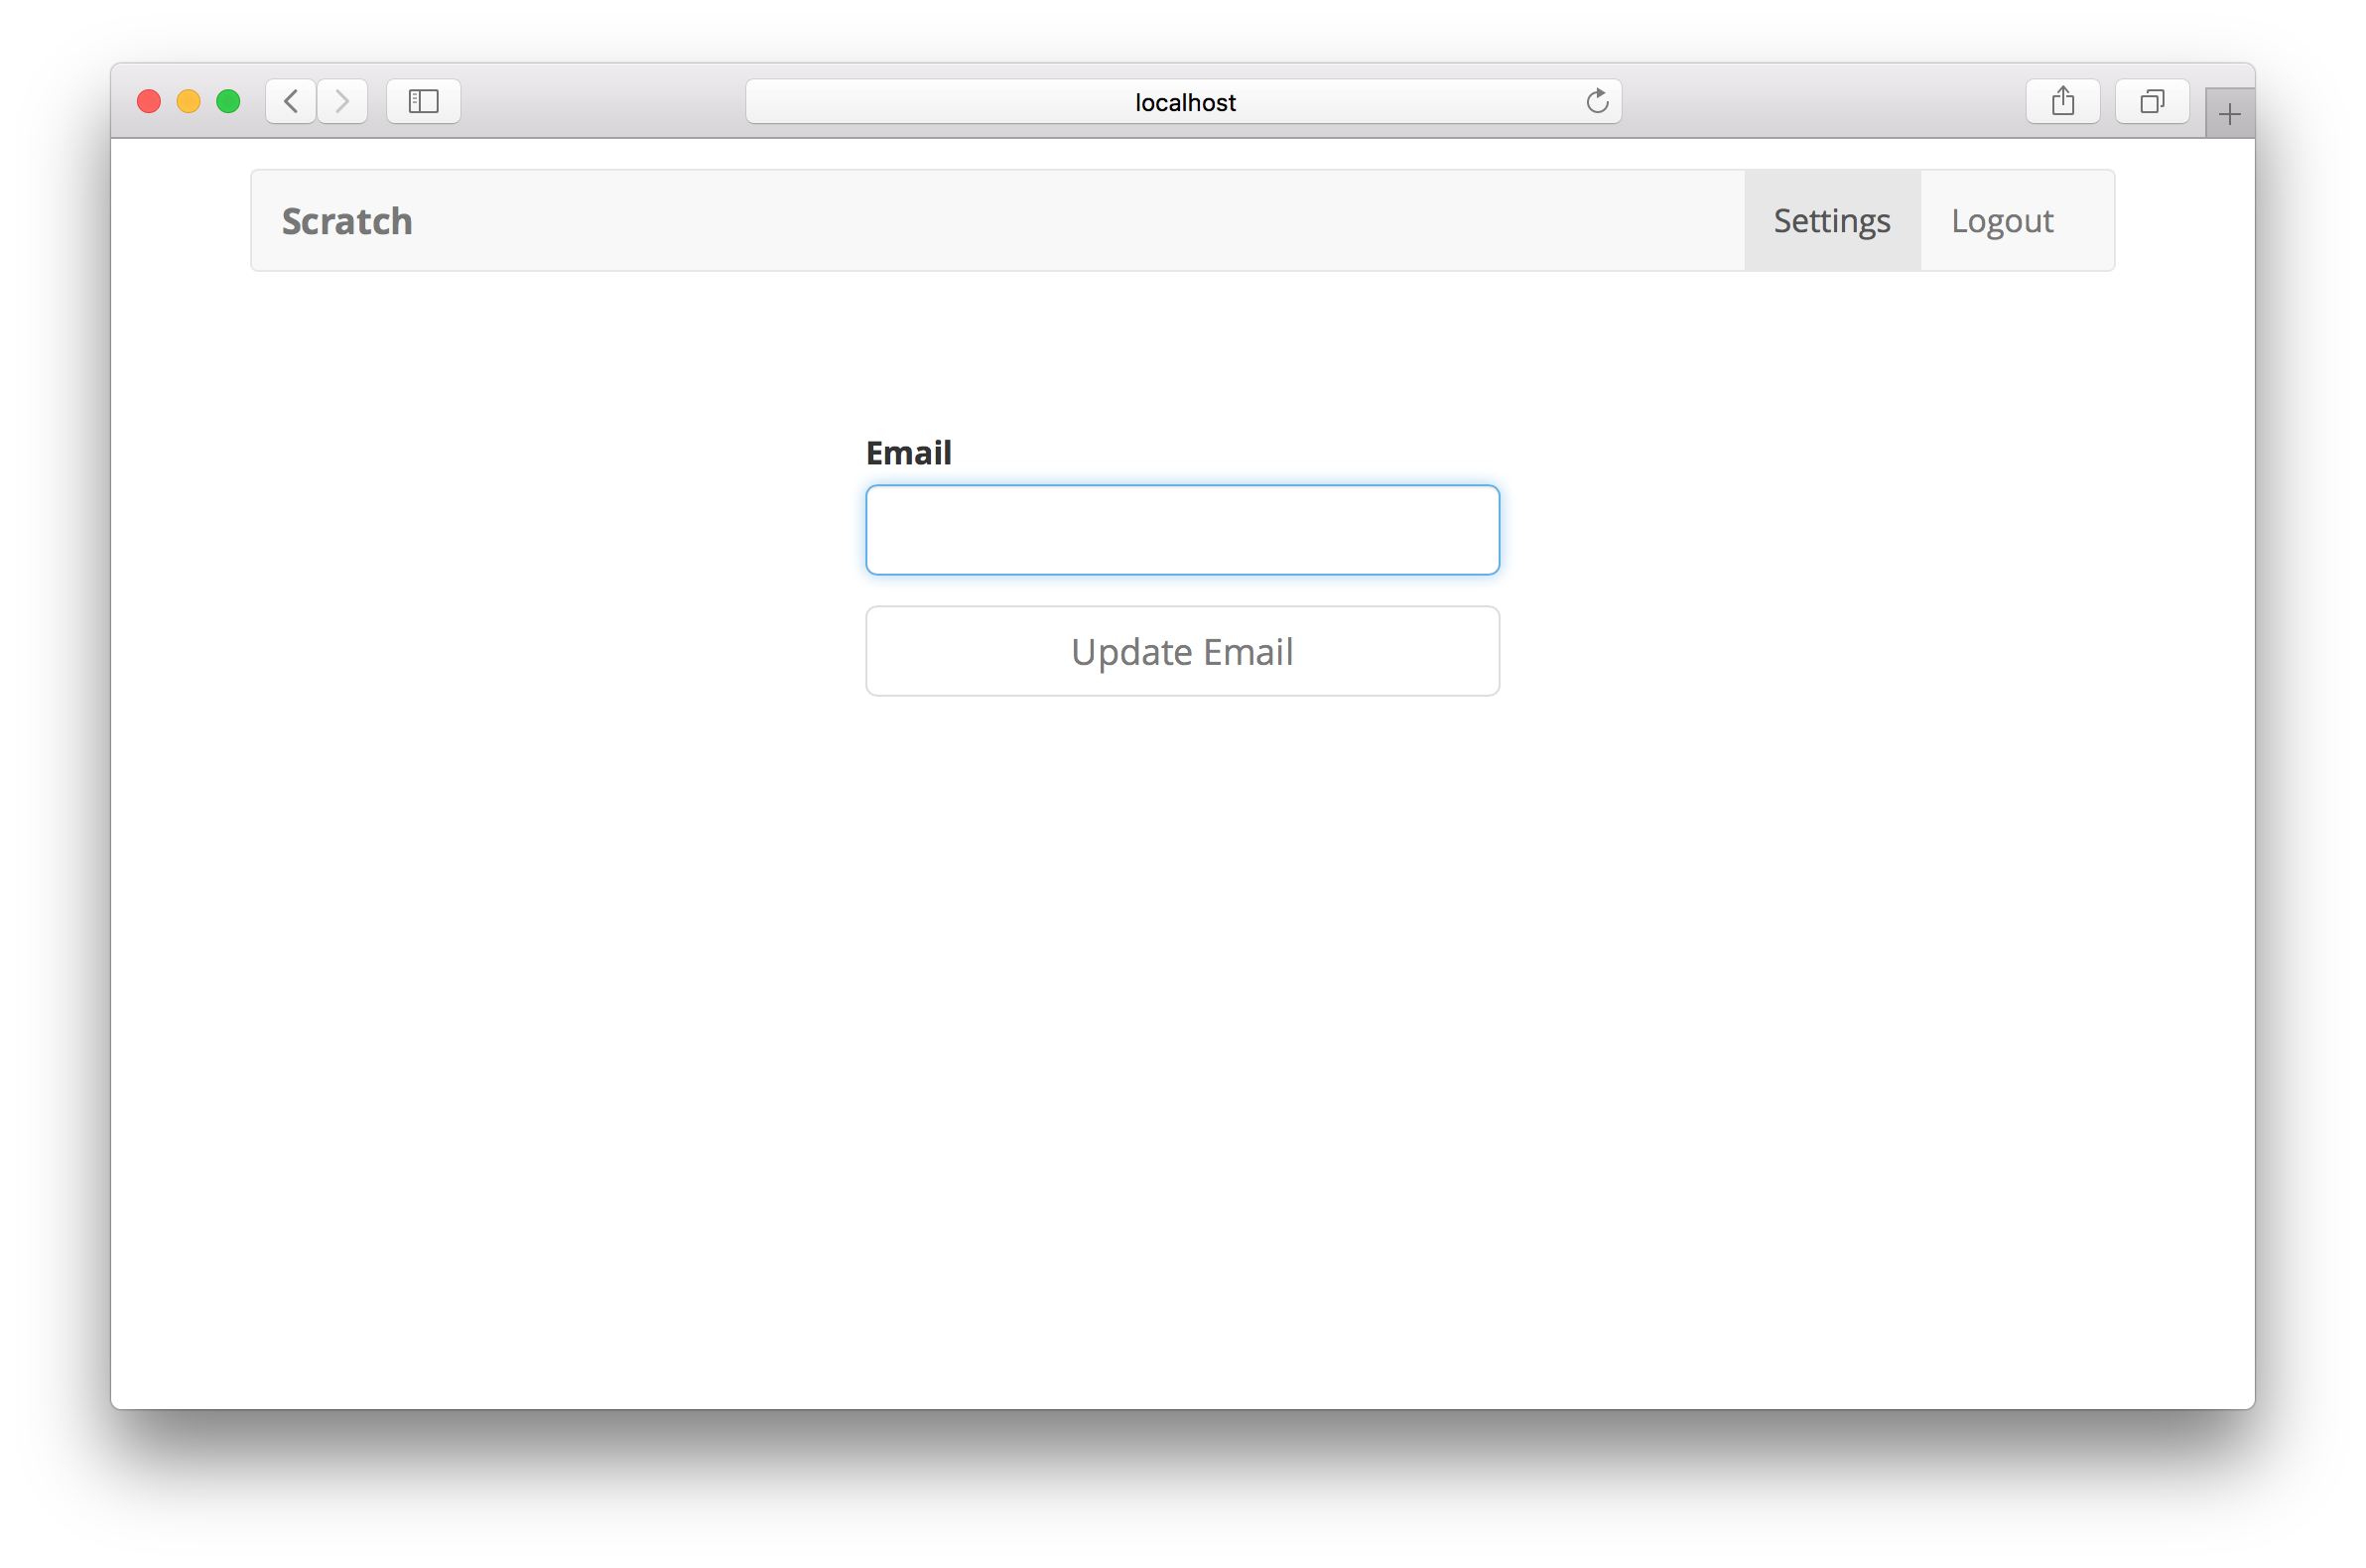
In the previous chapter we created a settings page that links to /settings/email. Let’s implement that.
Change Email Form
 Add the following to
 src/containers/ChangeEmail.js.
import React, { useState } from "react";
import { Auth } from "aws-amplify";
import { useHistory } from "react-router-dom";
import {
  HelpBlock,
  FormGroup,
  FormControl,
  ControlLabel,
} from "react-bootstrap";
import LoaderButton from "../components/LoaderButton";
import { useFormFields } from "../libs/hooksLib";
import { onError } from "../libs/errorLib";
import "./ChangeEmail.css";

export default function ChangeEmail() {
  const history = useHistory();
  const [codeSent, setCodeSent] = useState(false);
  const [fields, handleFieldChange] = useFormFields({
    code: "",
    email: "",
  });
  const [isConfirming, setIsConfirming] = useState(false);
  const [isSendingCode, setIsSendingCode] = useState(false);

  function validateEmailForm() {
    return fields.email.length > 0;
  }

  function validateConfirmForm() {
    return fields.code.length > 0;
  }

  async function handleUpdateClick(event) {
    event.preventDefault();

    setIsSendingCode(true);

    try {
      const user = await Auth.currentAuthenticatedUser();
      await Auth.updateUserAttributes(user, { email: fields.email });
      setCodeSent(true);
    } catch (error) {
      onError(error);
      setIsSendingCode(false);
    }
  }

  async function handleConfirmClick(event) {
    event.preventDefault();

    setIsConfirming(true);

    try {
      await Auth.verifyCurrentUserAttributeSubmit("email", fields.code);

      history.push("/settings");
    } catch (error) {
      onError(error);
      setIsConfirming(false);
    }
  }

  function renderUpdateForm() {
    return (
      <form onSubmit={handleUpdateClick}>
        <FormGroup bsSize="large" controlId="email">
          <ControlLabel>Email</ControlLabel>
          <FormControl
            autoFocus
            type="email"
            value={fields.email}
            onChange={handleFieldChange}
          />
        </FormGroup>
        <LoaderButton
          block
          type="submit"
          bsSize="large"
          isLoading={isSendingCode}
          disabled={!validateEmailForm()}
        >
          Update Email
        </LoaderButton>
      </form>
    );
  }

  function renderConfirmationForm() {
    return (
      <form onSubmit={handleConfirmClick}>
        <FormGroup bsSize="large" controlId="code">
          <ControlLabel>Confirmation Code</ControlLabel>
          <FormControl
            autoFocus
            type="tel"
            value={fields.code}
            onChange={handleFieldChange}
          />
          <HelpBlock>
            Please check your email ({fields.email}) for the confirmation code.
          </HelpBlock>
        </FormGroup>
        <LoaderButton
          block
          type="submit"
          bsSize="large"
          isLoading={isConfirming}
          disabled={!validateConfirmForm()}
        >
          Confirm
        </LoaderButton>
      </form>
    );
  }

  return (
    <div className="ChangeEmail">
      {!codeSent ? renderUpdateForm() : renderConfirmationForm()}
    </div>
  );
}
The flow for changing a user’s email is pretty similar to how we sign a user up.
- We ask a user to put in their new email.
- Cognito sends them a verification code.
- They enter the code and we confirm that their email has been changed.
We start by rendering a form that asks our user to enter their new email in renderUpdateForm(). Once the user submits this form, we call:
const user = await Auth.currentAuthenticatedUser();
Auth.updateUserAttributes(user, { email: fields.email });
This gets the current user and updates their email using the Auth module from Amplify. Next we render the form where they can enter the code in renderConfirmationForm(). Upon submitting this form we call:
Auth.verifyCurrentUserAttributeSubmit("email", fields.code);
This confirms the change on Cognito’s side. Finally, we redirect the user to the settings page.
Let’s add a couple of styles to src/containers/ChangeEmail.css.
@media all and (min-width: 480px) {
  .ChangeEmail {
    padding: 60px 0;
  }

  .ChangeEmail form {
    margin: 0 auto;
    max-width: 320px;
  }
}
Finally, let’s add our new page to src/Routes.js.
<AuthenticatedRoute exact path="/settings/email">
  <ChangeEmail />
</AuthenticatedRoute>
And import it in the header.
import ChangeEmail from "./containers/ChangeEmail";
That should do it. Our users should now be able to change their email.
Finer Details
You might notice that the change email flow is interrupted if the user does not confirm the new email. In this case, the email appears to have been changed but Cognito marks it as not being verified. We will let you handle this case on your own but here are a couple of hints on how to do so.
-
You can get the current user’s Cognito attributes by calling
Auth.userAttributes(currentUser). Looking for the email attribute and checking if it is not verified usingattributes["email_verified"] !== "false". -
In this case show a simple sign that allows users to resend the verification code. You can do this by calling
Auth.verifyCurrentUserAttribute("email"). -
Next you can simply display the confirm code form from above and follow the same flow by calling
Auth.verifyCurrentUserAttributeSubmit("email", fields.code).
This can make your change email flow more robust and handle the case where a user forgets to verify their new email.
For help and discussion
Comments on this chapter