Create an S3 Bucket for File Uploads
Now that we have our database table ready; let’s get things set up for handling file uploads. We need to handle file uploads because each note can have an uploaded file as an attachment.
Amazon S3 (Simple Storage Service) provides storage service through web services interfaces like REST. You can store any object in S3 including images, videos, files, etc. Objects are organized into buckets, and identified within each bucket by a unique, user-assigned key.
In this chapter, we are going to create an S3 bucket which will be used to store user uploaded files from our notes app.
Create Bucket
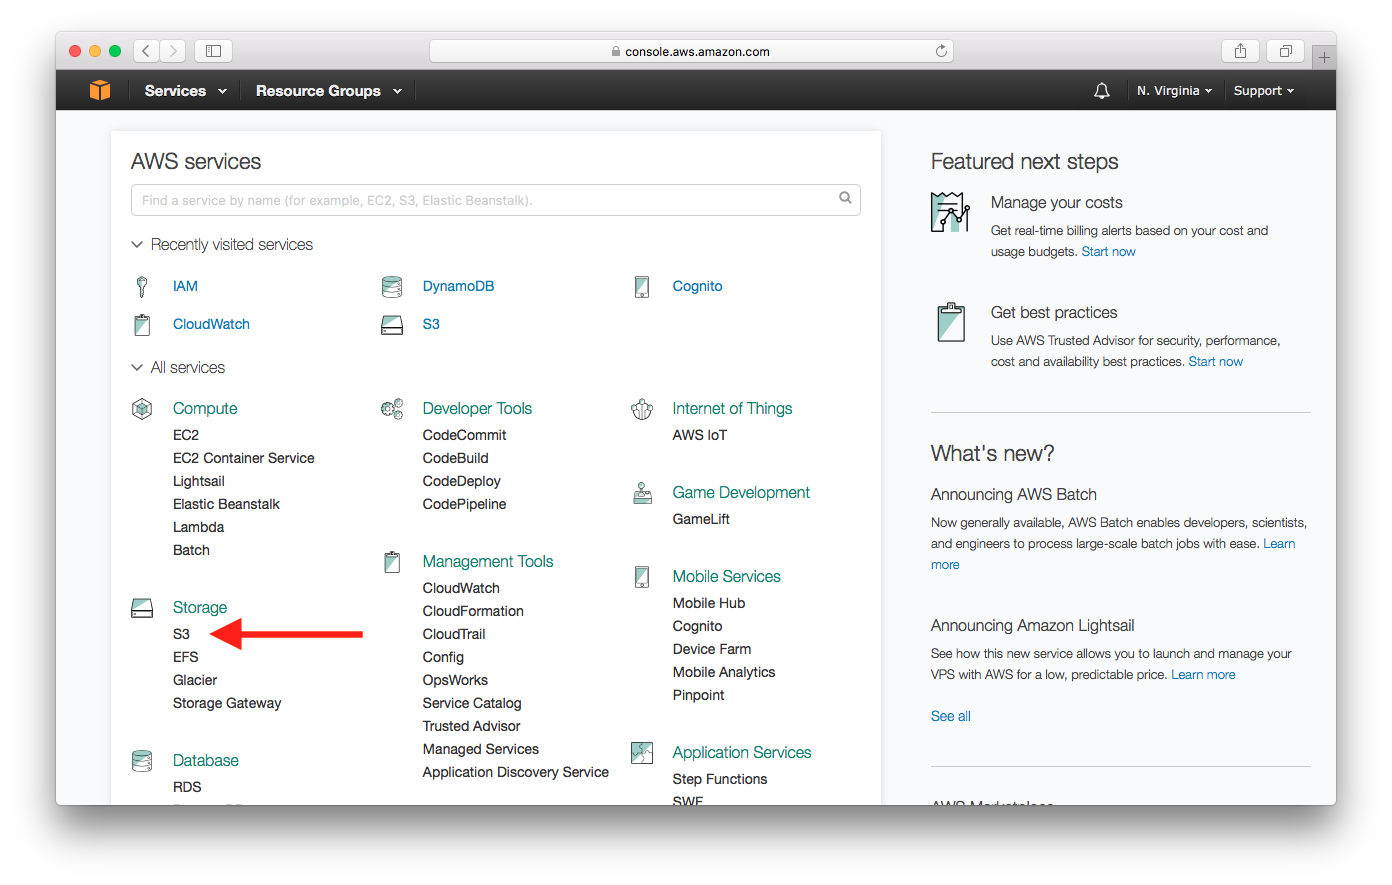
First, log in to your AWS Console and select S3 from the list of services.
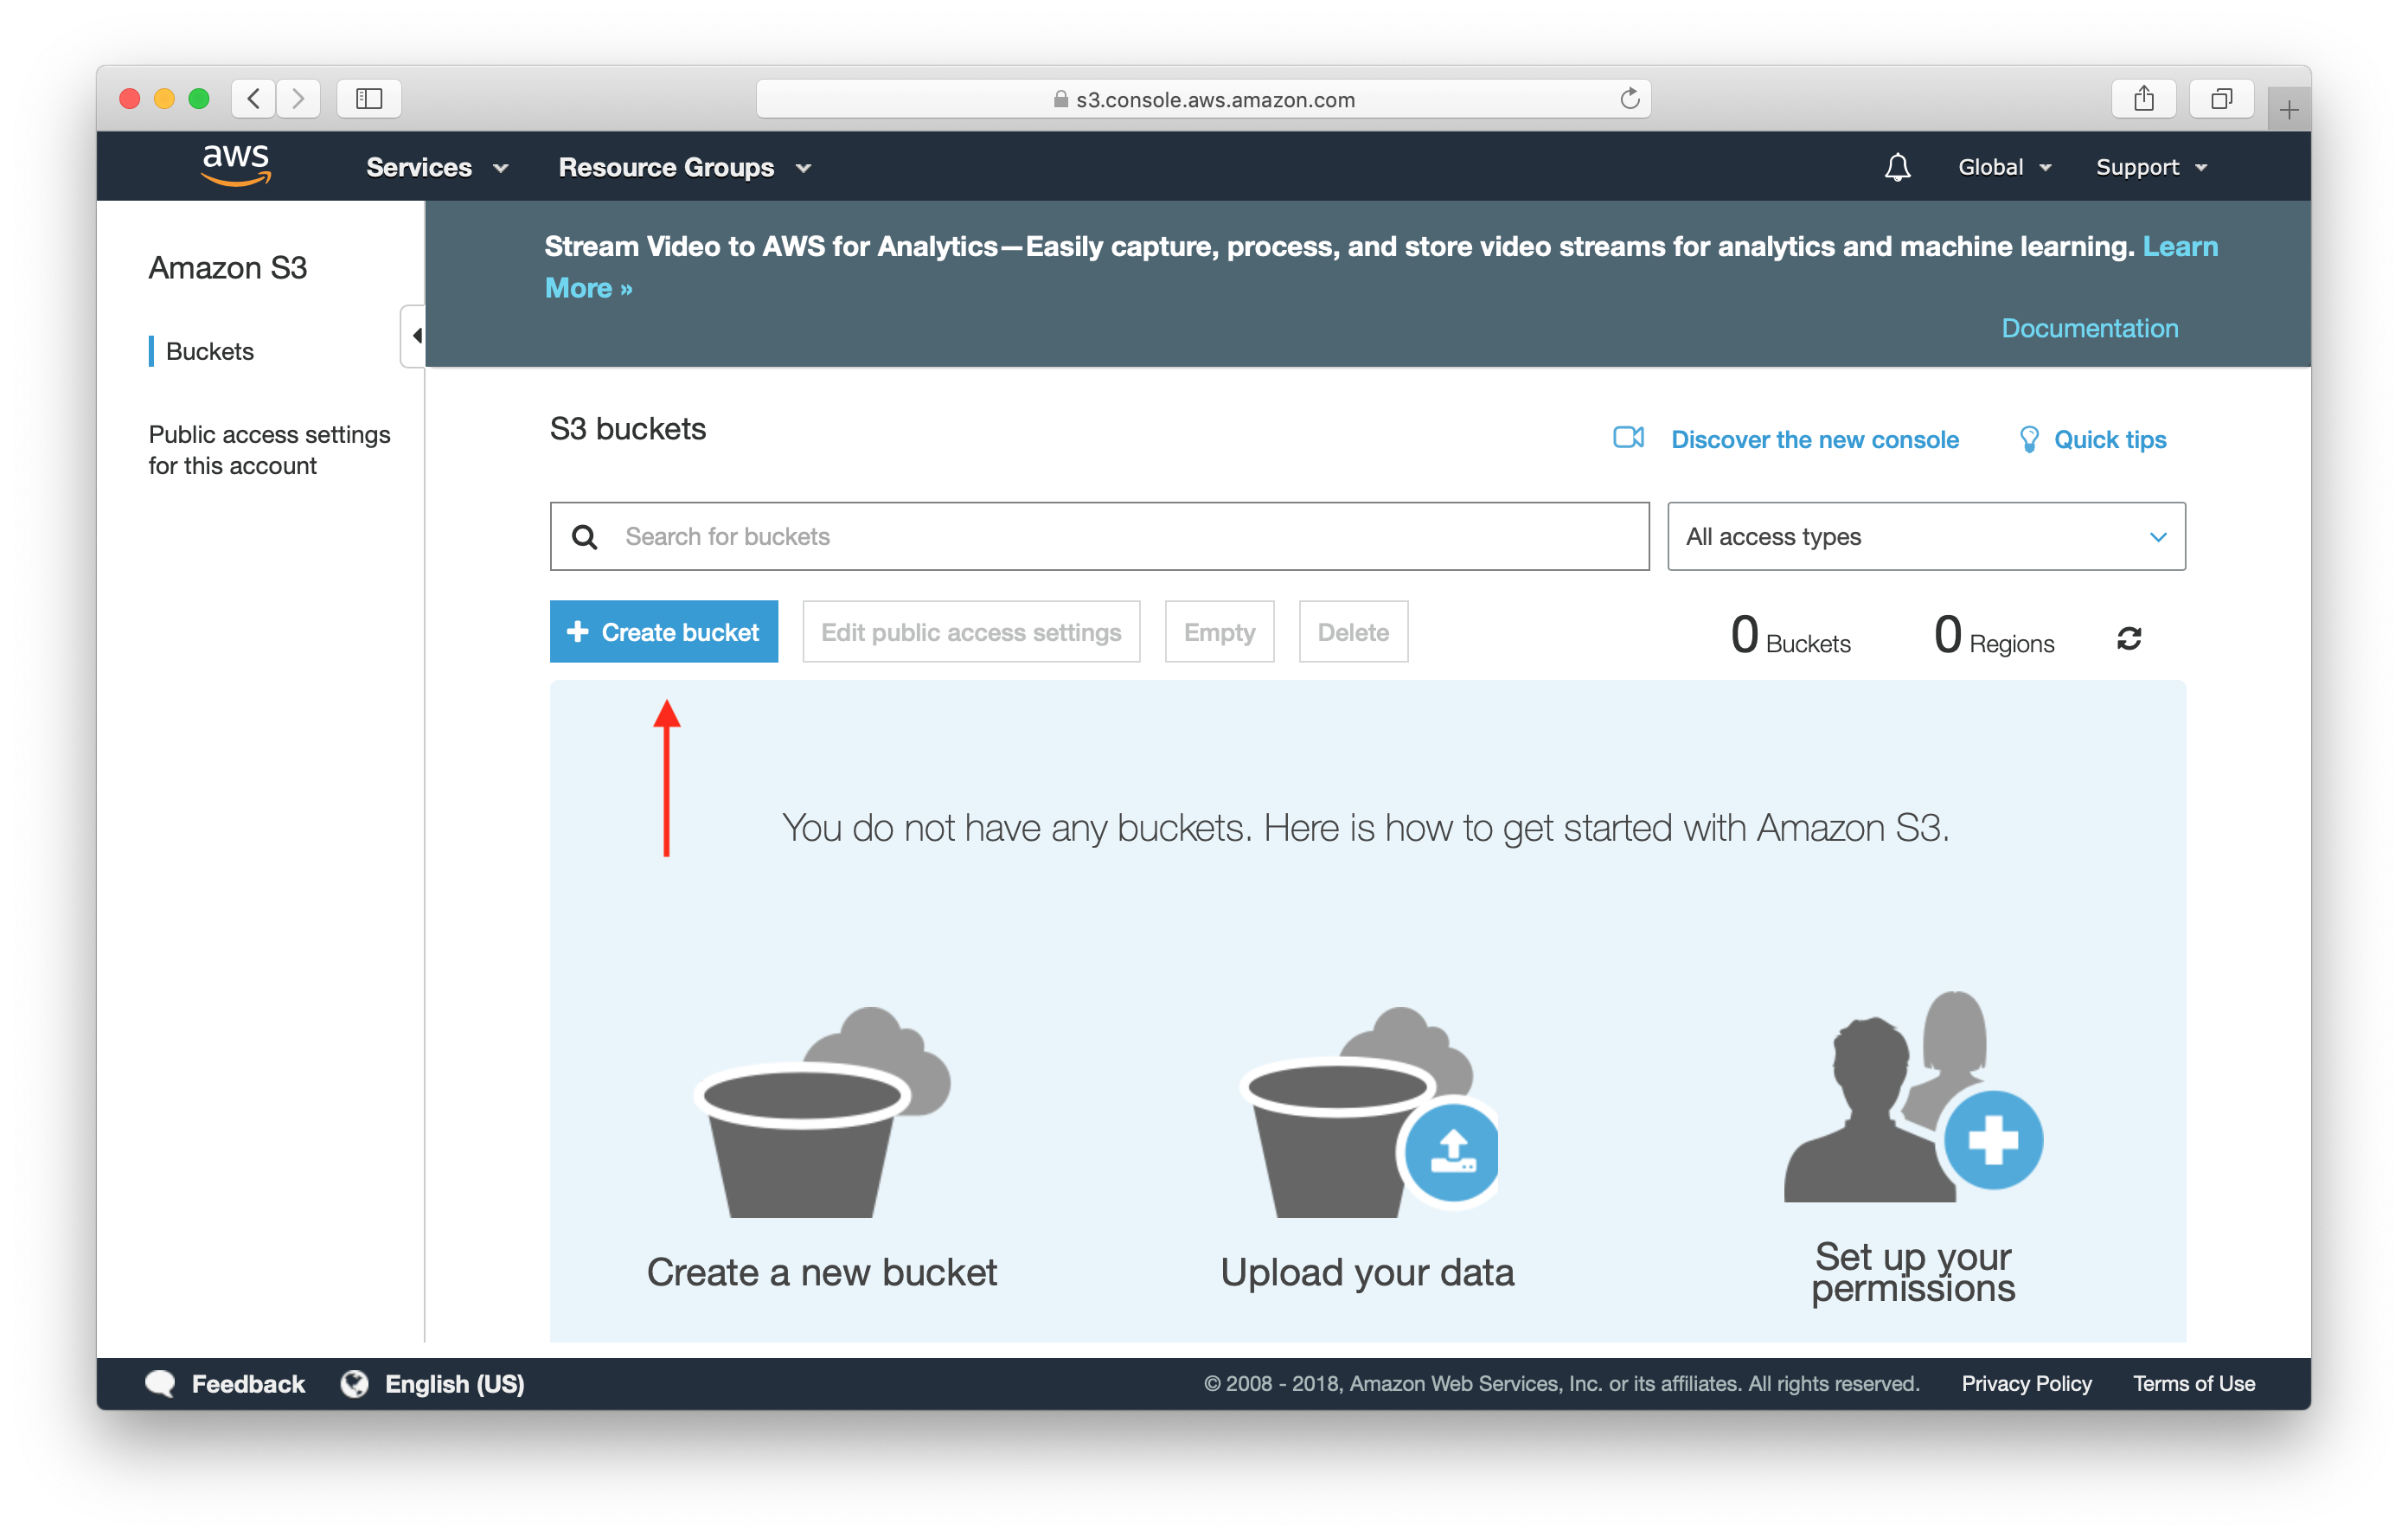
Select Create bucket.
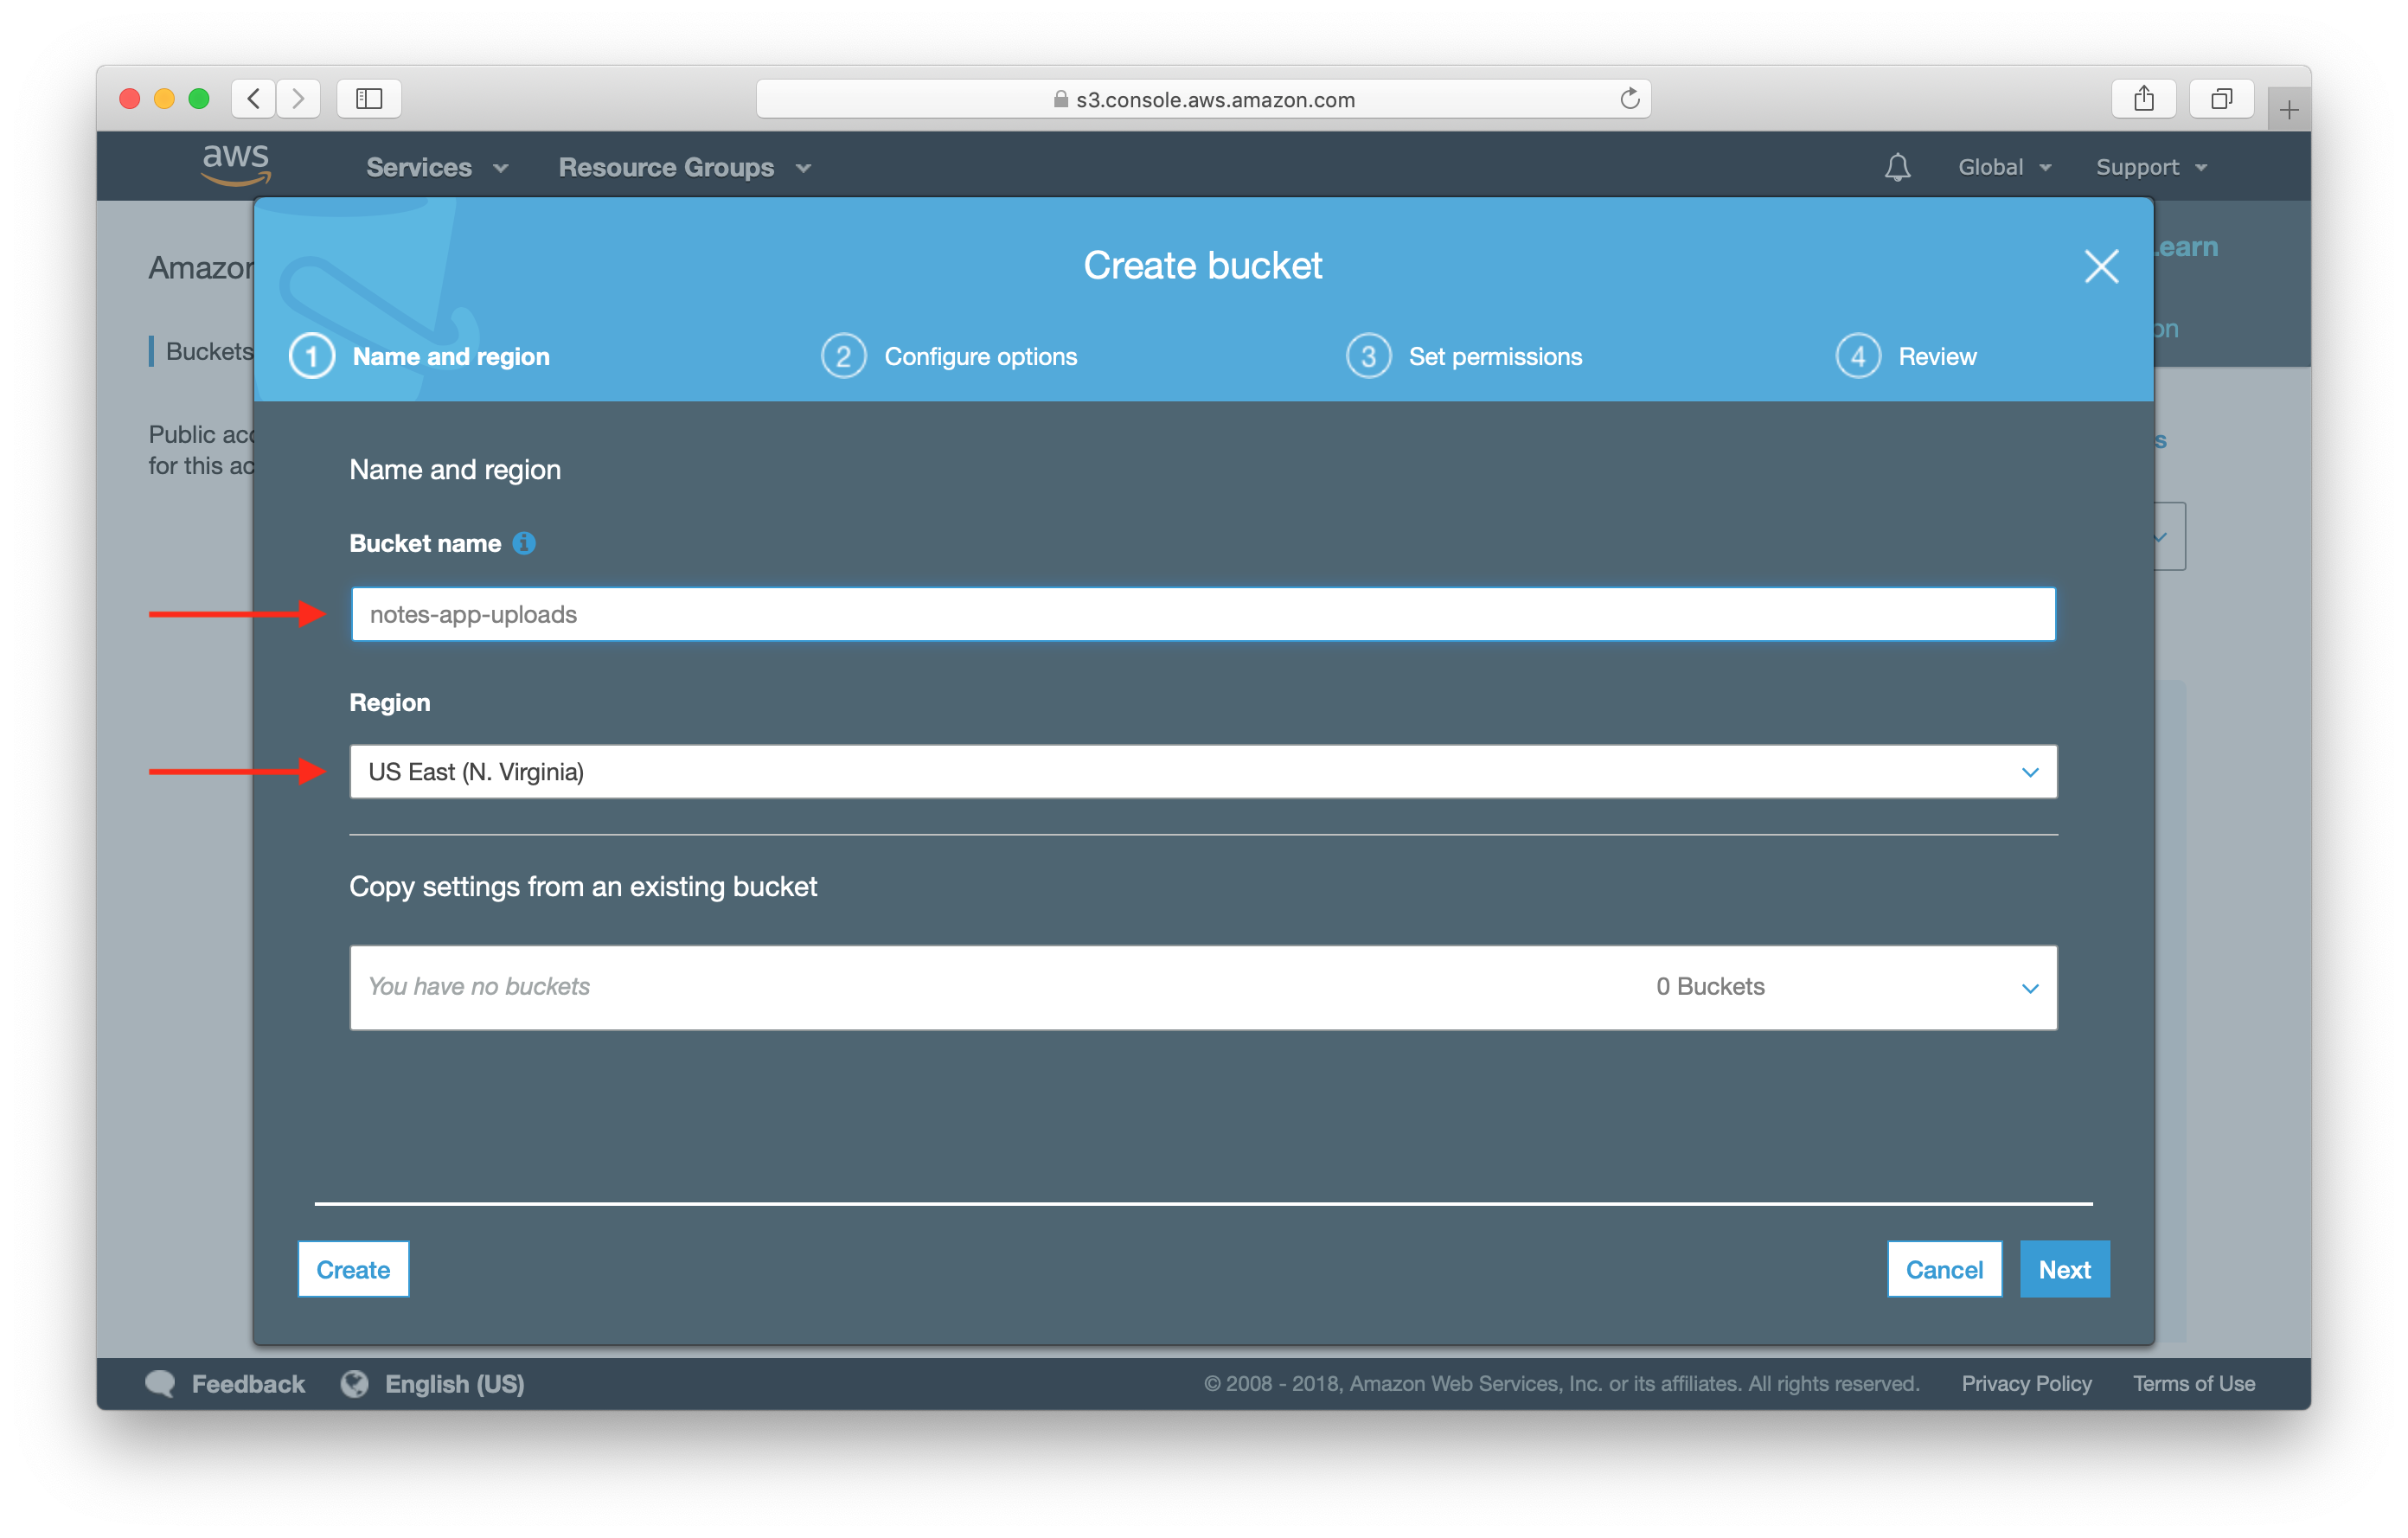
Pick a name of the bucket and select a region. Then select Create.
- Bucket names are globally unique, which means you cannot pick the same name as this tutorial.
- Region is the physical geographical region where the files are stored. We will use US East (N. Virginia) for this guide.
Make a note of the name and region as we’ll be using it later in the guide.
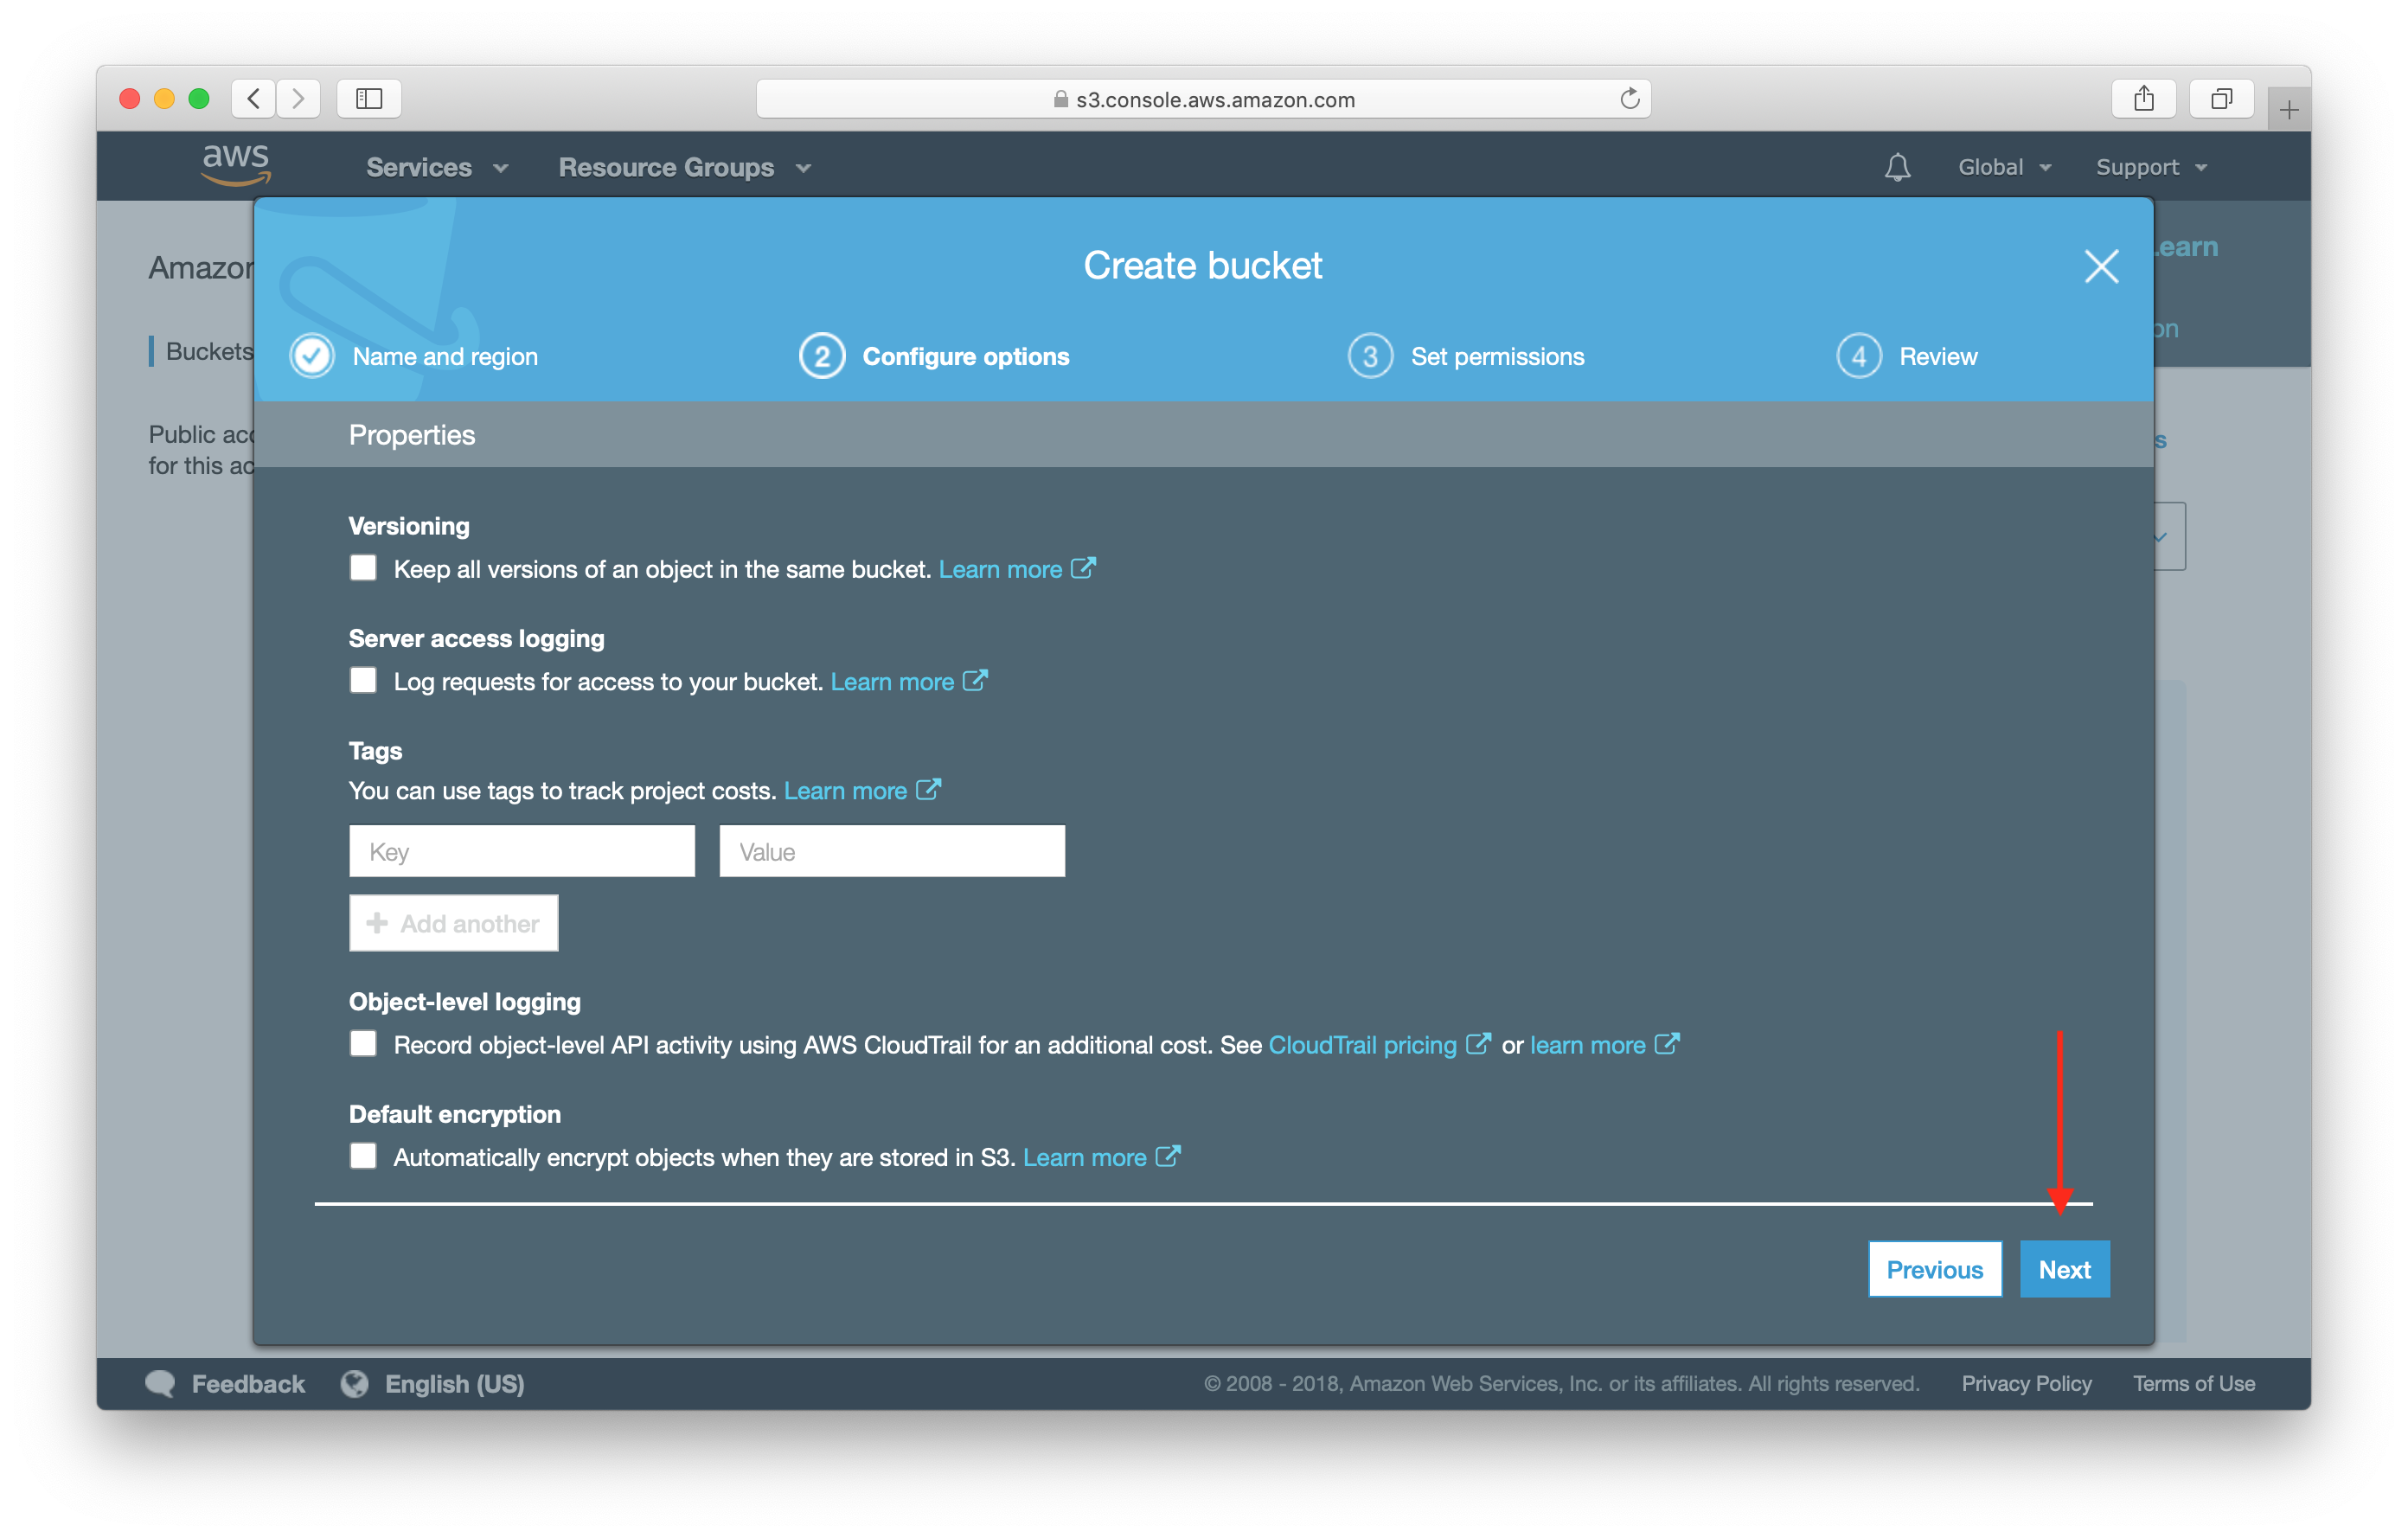
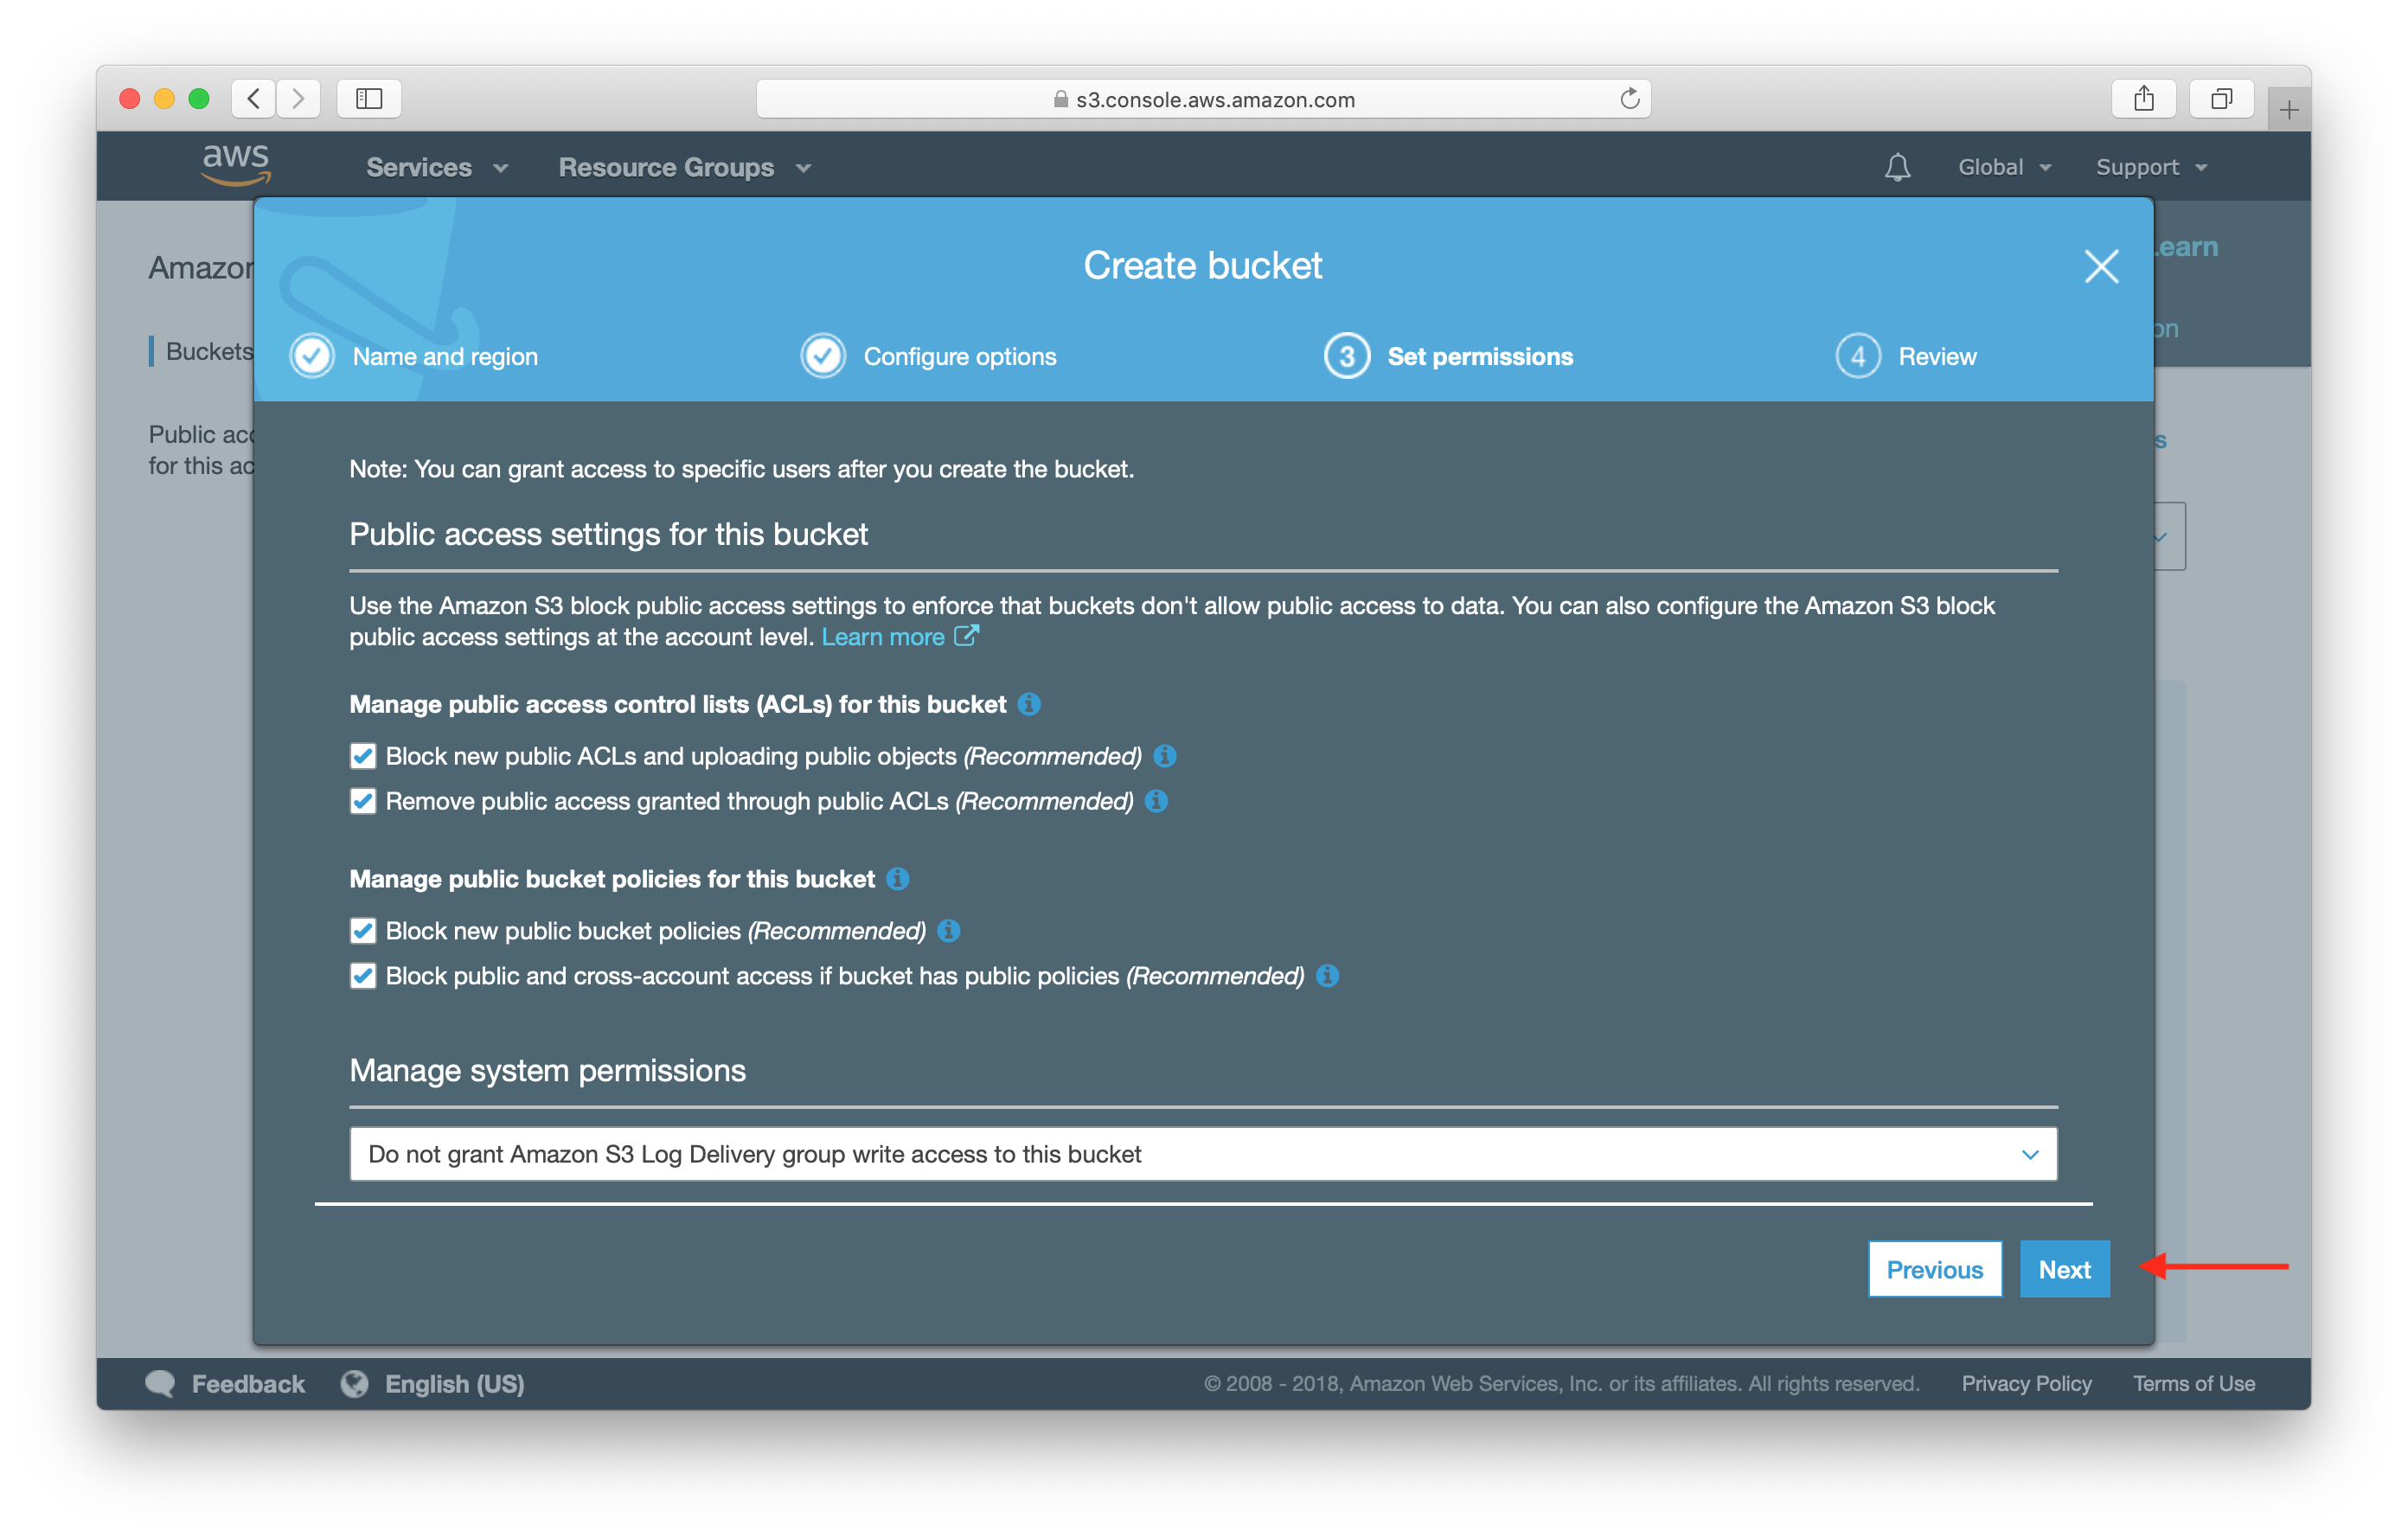
Step through the next steps and leave the defaults by clicking Next, and then click Create bucket on the last step.
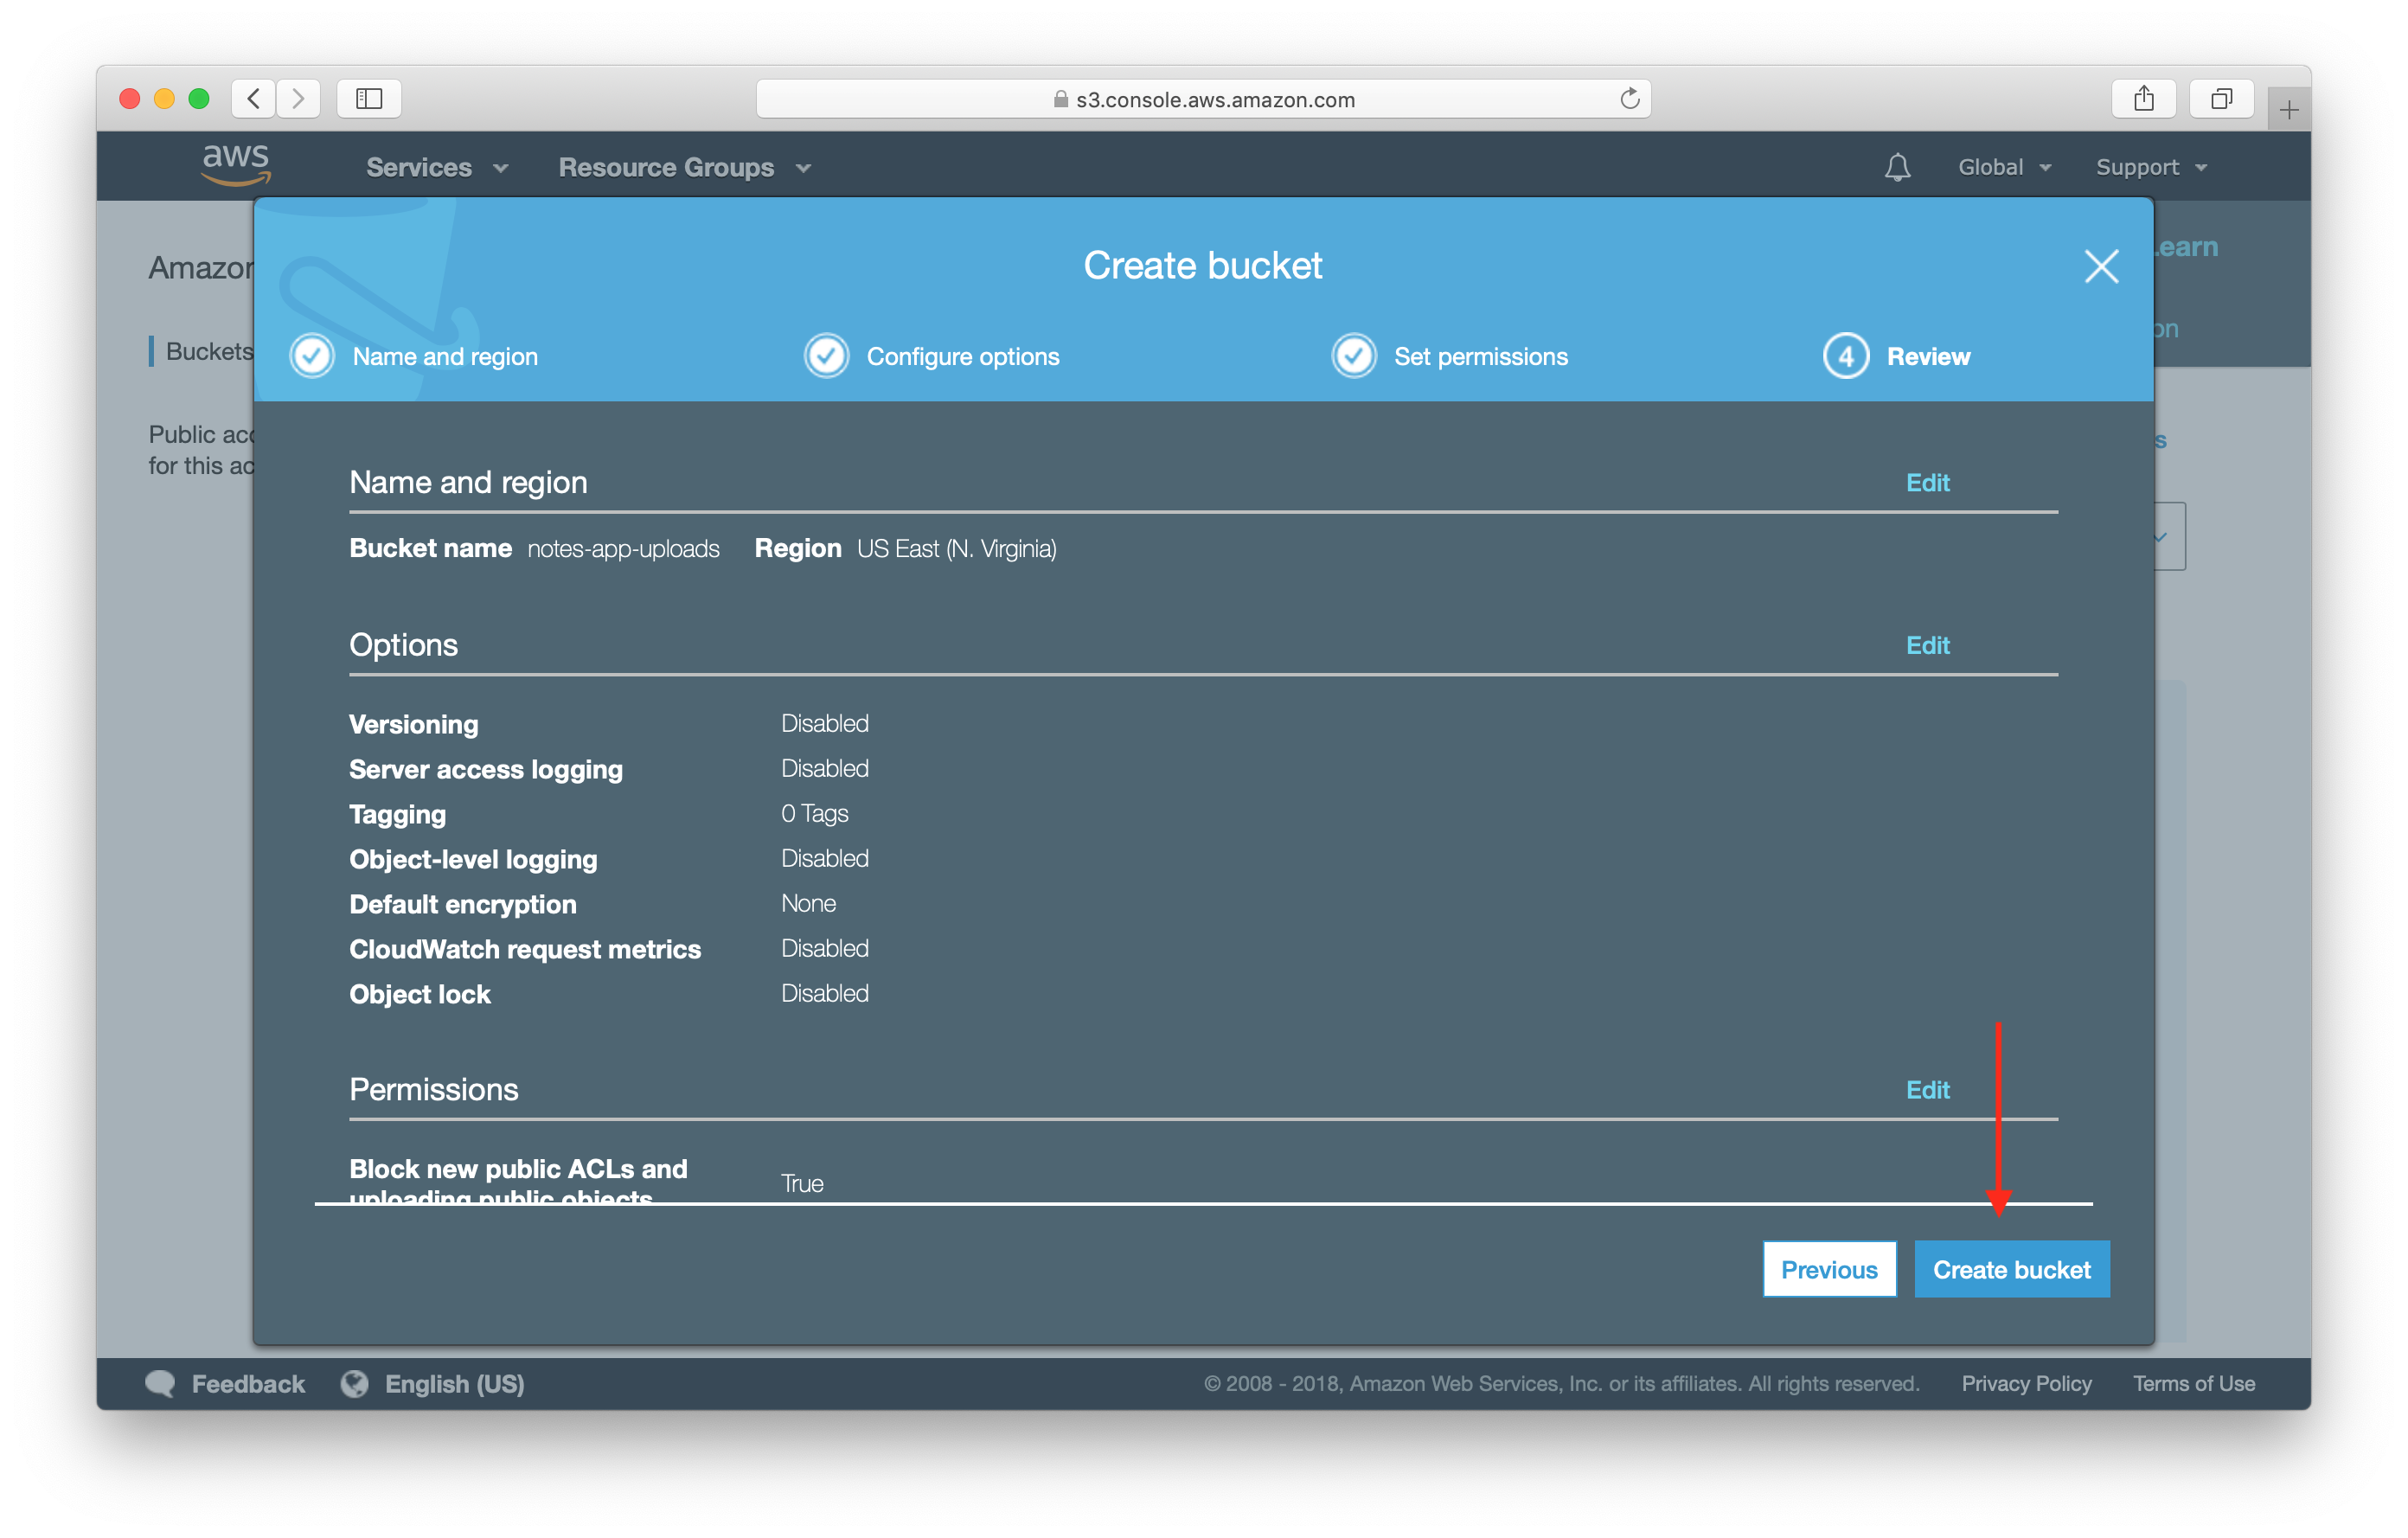
This should create your new S3 bucket.
Now before we start working on our Serverless API backend, let’s get a quick sense of how all of our resources fit together.
For help and discussion
Comments on this chapter