Connect the Billing Form
Now all we have left to do is to connect our billing form to our billing API.
 Replace our
 return statement in src/containers/Settings.js with this.
async function handleFormSubmit(storage, { token, error }) {
  if (error) {
    onError(error);
    return;
  }

  setIsLoading(true);

  try {
    await billUser({
      storage,
      source: token.id
    });

    alert("Your card has been charged successfully!");
    history.push("/");
  } catch (e) {
    onError(e);
    setIsLoading(false);
  }
}

return (
  <div className="Settings">
    <StripeProvider stripe={stripe}>
      <Elements
        fonts={[
          {
            cssSrc:
              "https://fonts.googleapis.com/css?family=Open+Sans:300,400,600,700,800",
          },
        ]}
      >
        <BillingForm isLoading={isLoading} onSubmit={handleFormSubmit} />
      </Elements>
    </StripeProvider>
  </div>
);
 And add the following to the header.
import { Elements, StripeProvider } from "react-stripe-elements";
import BillingForm from "../components/BillingForm";
import "./Settings.css";
We are adding the BillingForm component that we previously created here and passing in the isLoading and onSubmit prop that we referenced in the previous chapter. In the handleFormSubmit method, we are checking if the Stripe method returned an error. And if things looked okay then we call our billing API and redirect to the home page after letting the user know.
An important detail here is about the StripeProvider and the Elements component that we are using. The StripeProvider component let’s the Stripe SDK know that we want to call the Stripe methods using our Stripe key. In the Add Stripe Keys to Config, we load the Stripe object with our key into the state. We use it to wrap around at the top level of our billing form. Similarly, the Elements component needs to wrap around any component that is going to be using the CardElement Stripe component.
The Stripe elements are loaded inside an IFrame. So if we are using any custom fonts, we’ll need to include them explicitly. Like we are doing above.
<Elements
  fonts={[
    {
      cssSrc:
        "https://fonts.googleapis.com/css?family=Open+Sans:300,400,600,700,800",
    },
  ]}
>
Finally, let’s handle some styles for our settings page as a whole.
 Create a file named
 src/containers/Settings.css and add the following.
@media all and (min-width: 480px) {
  .Settings {
    padding: 60px 0;
  }

  .Settings form {
    margin: 0 auto;
    max-width: 480px;
  }
}
This ensures that our form displays properly for larger screens.

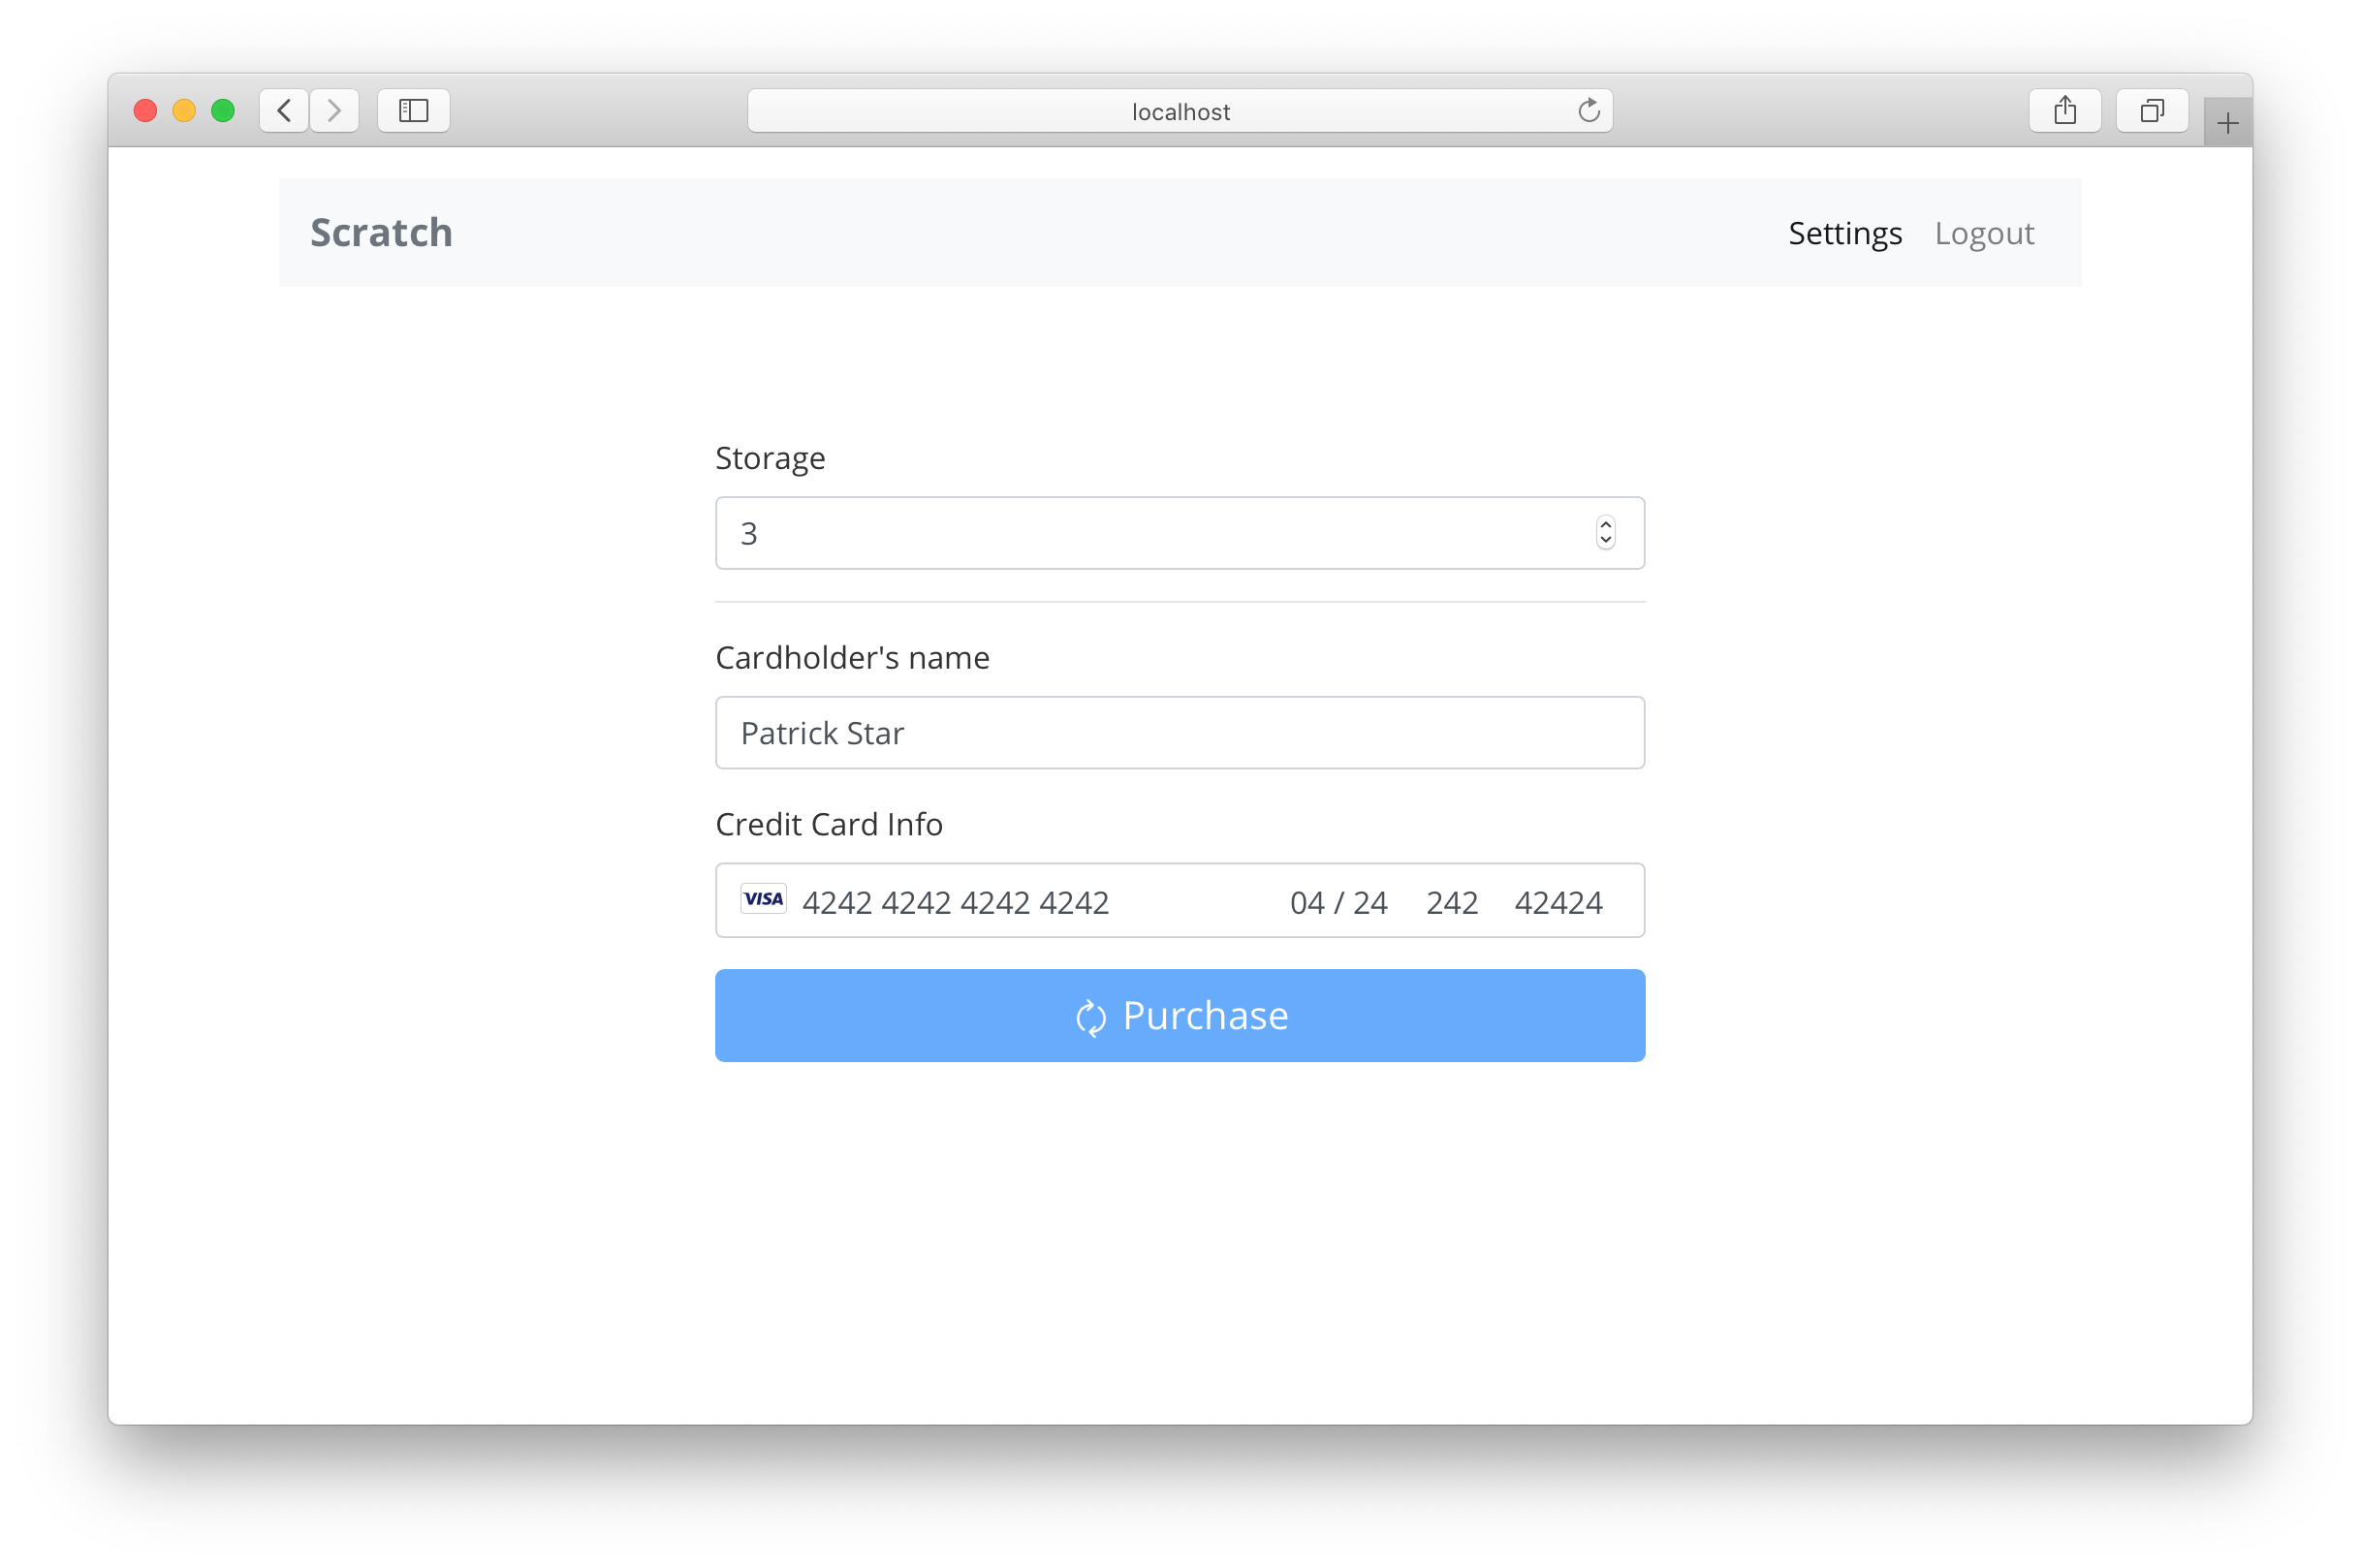
And that’s it. We are ready to test our Stripe form. Head over to your browser and try picking the number of notes you want to store and use the following for your card details:
- A Stripe test card number is
4242 4242 4242 4242. - You can use any valid expiry date, security code, and zip code.
- And set any name.
You can read more about the Stripe test cards in the Stripe API Docs here.
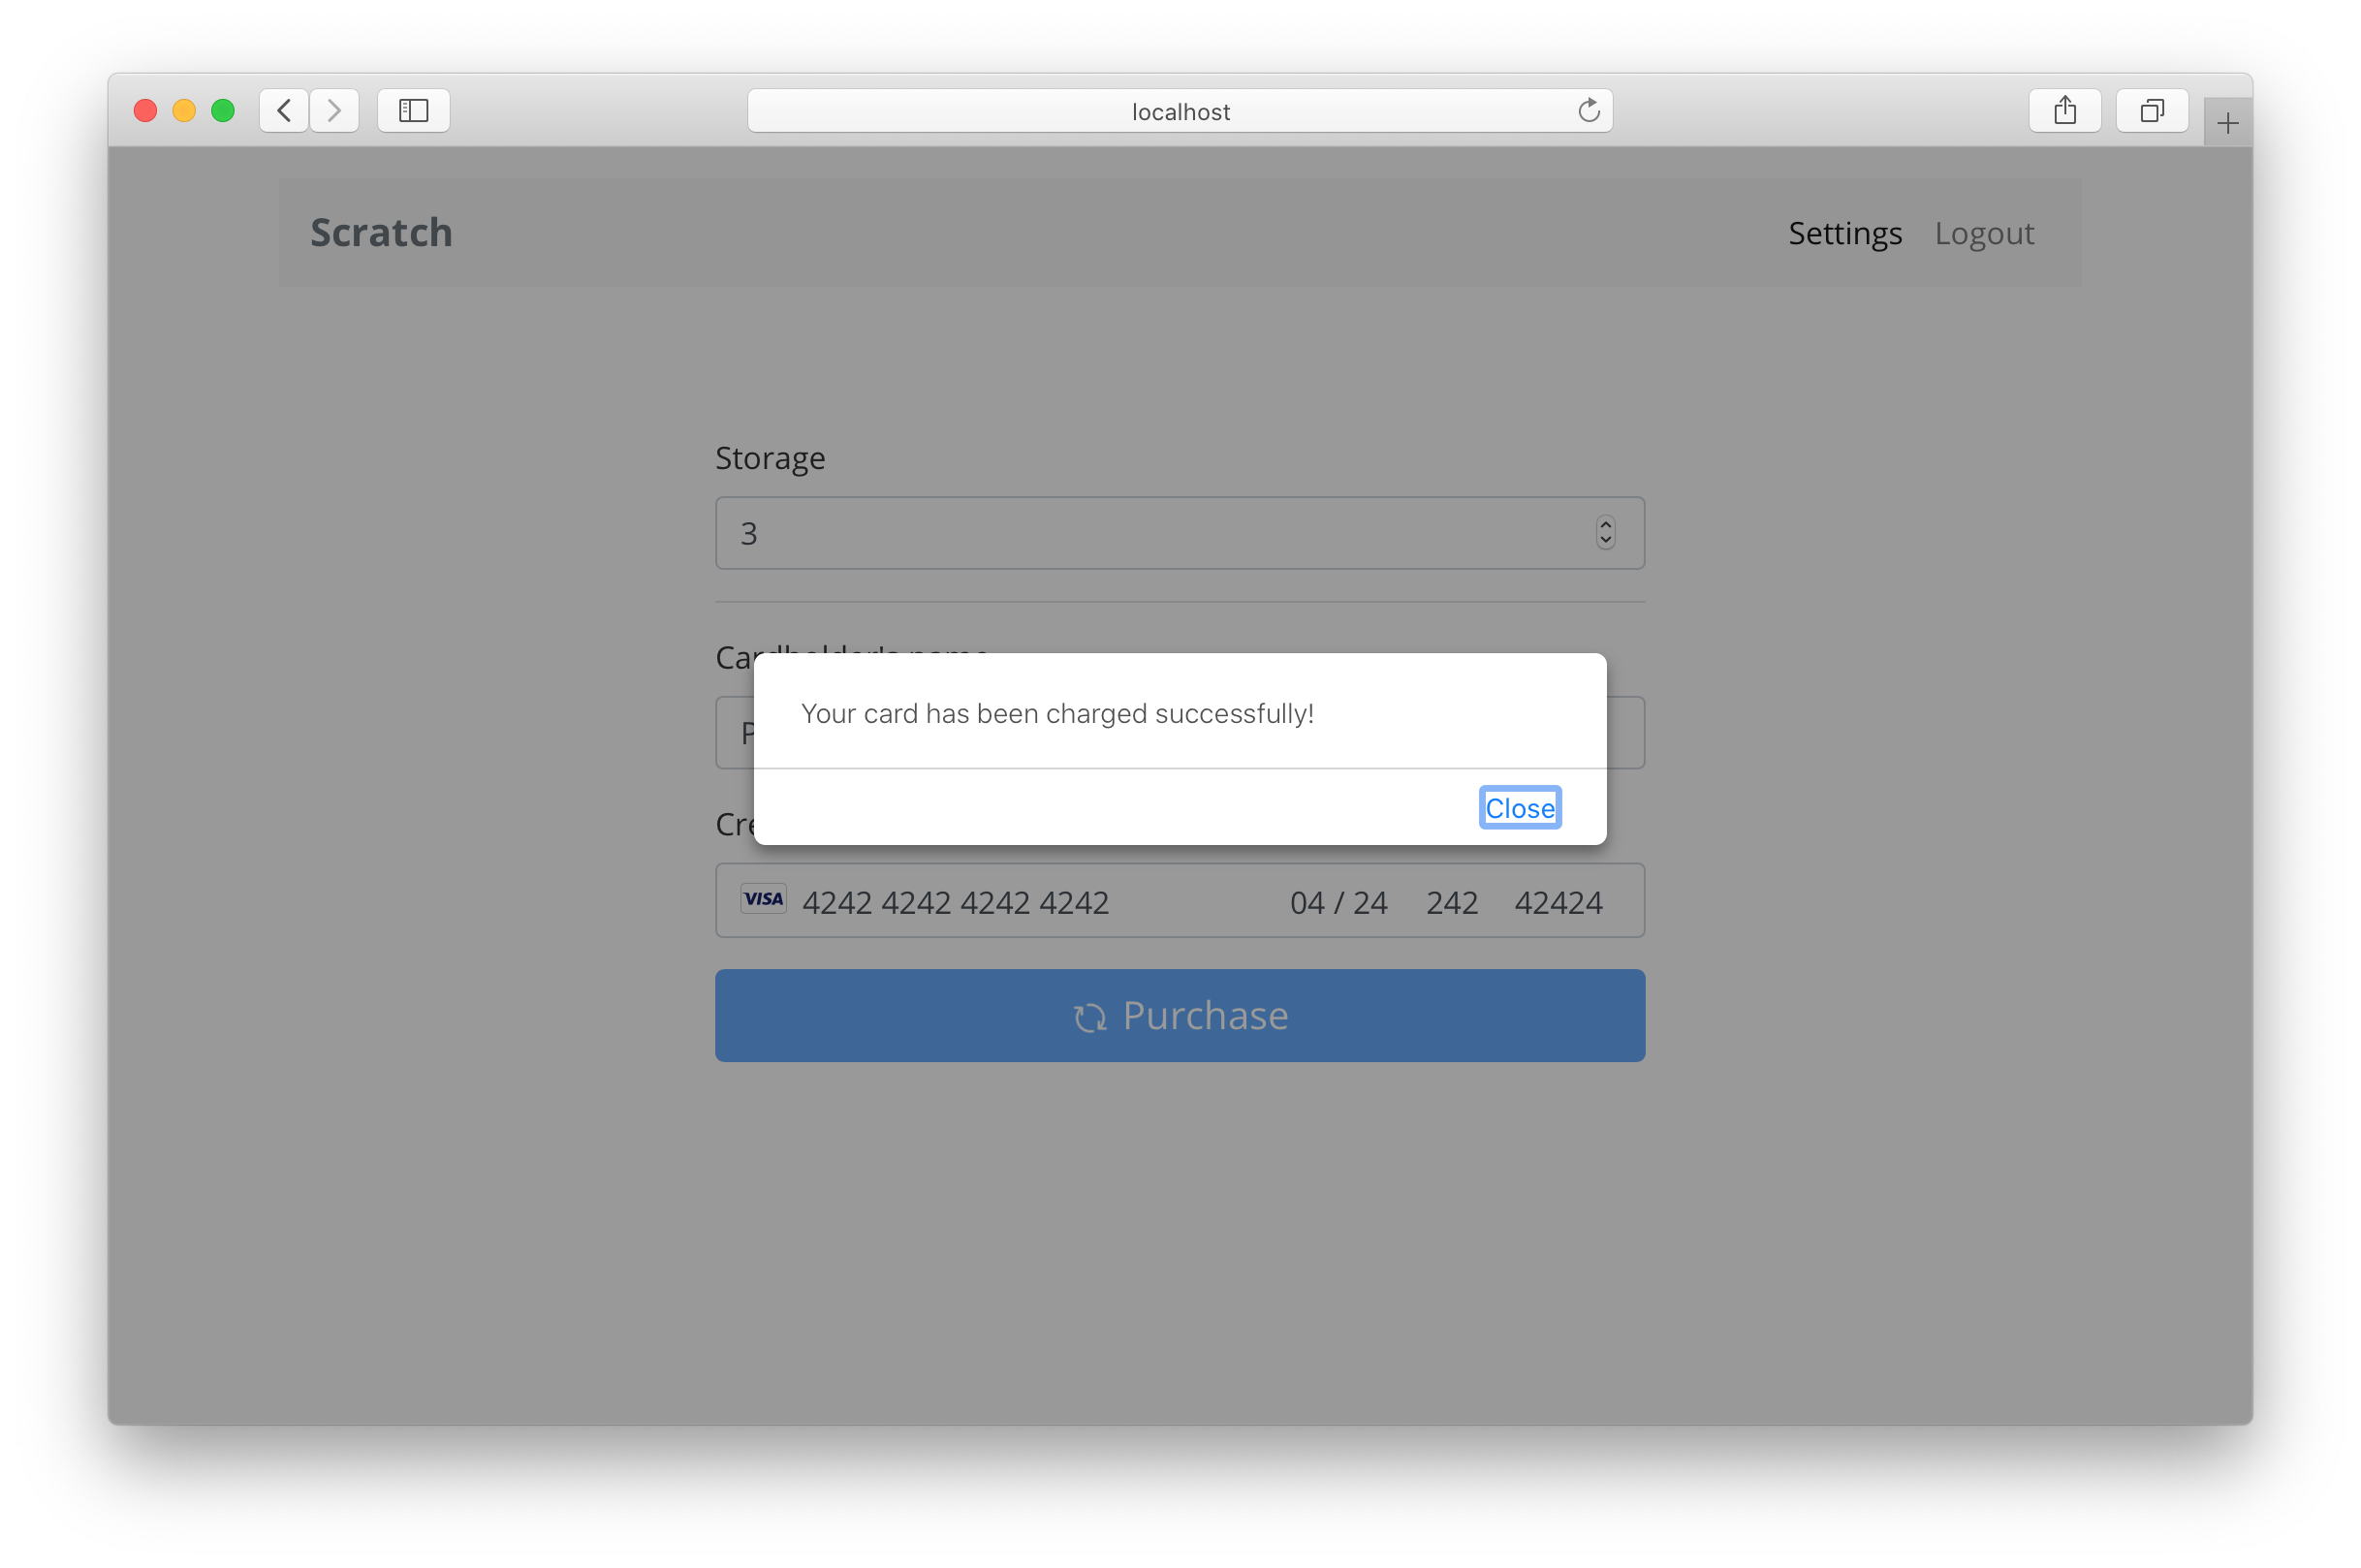
If everything is set correctly, you should see the success message and you’ll be redirected to the homepage.

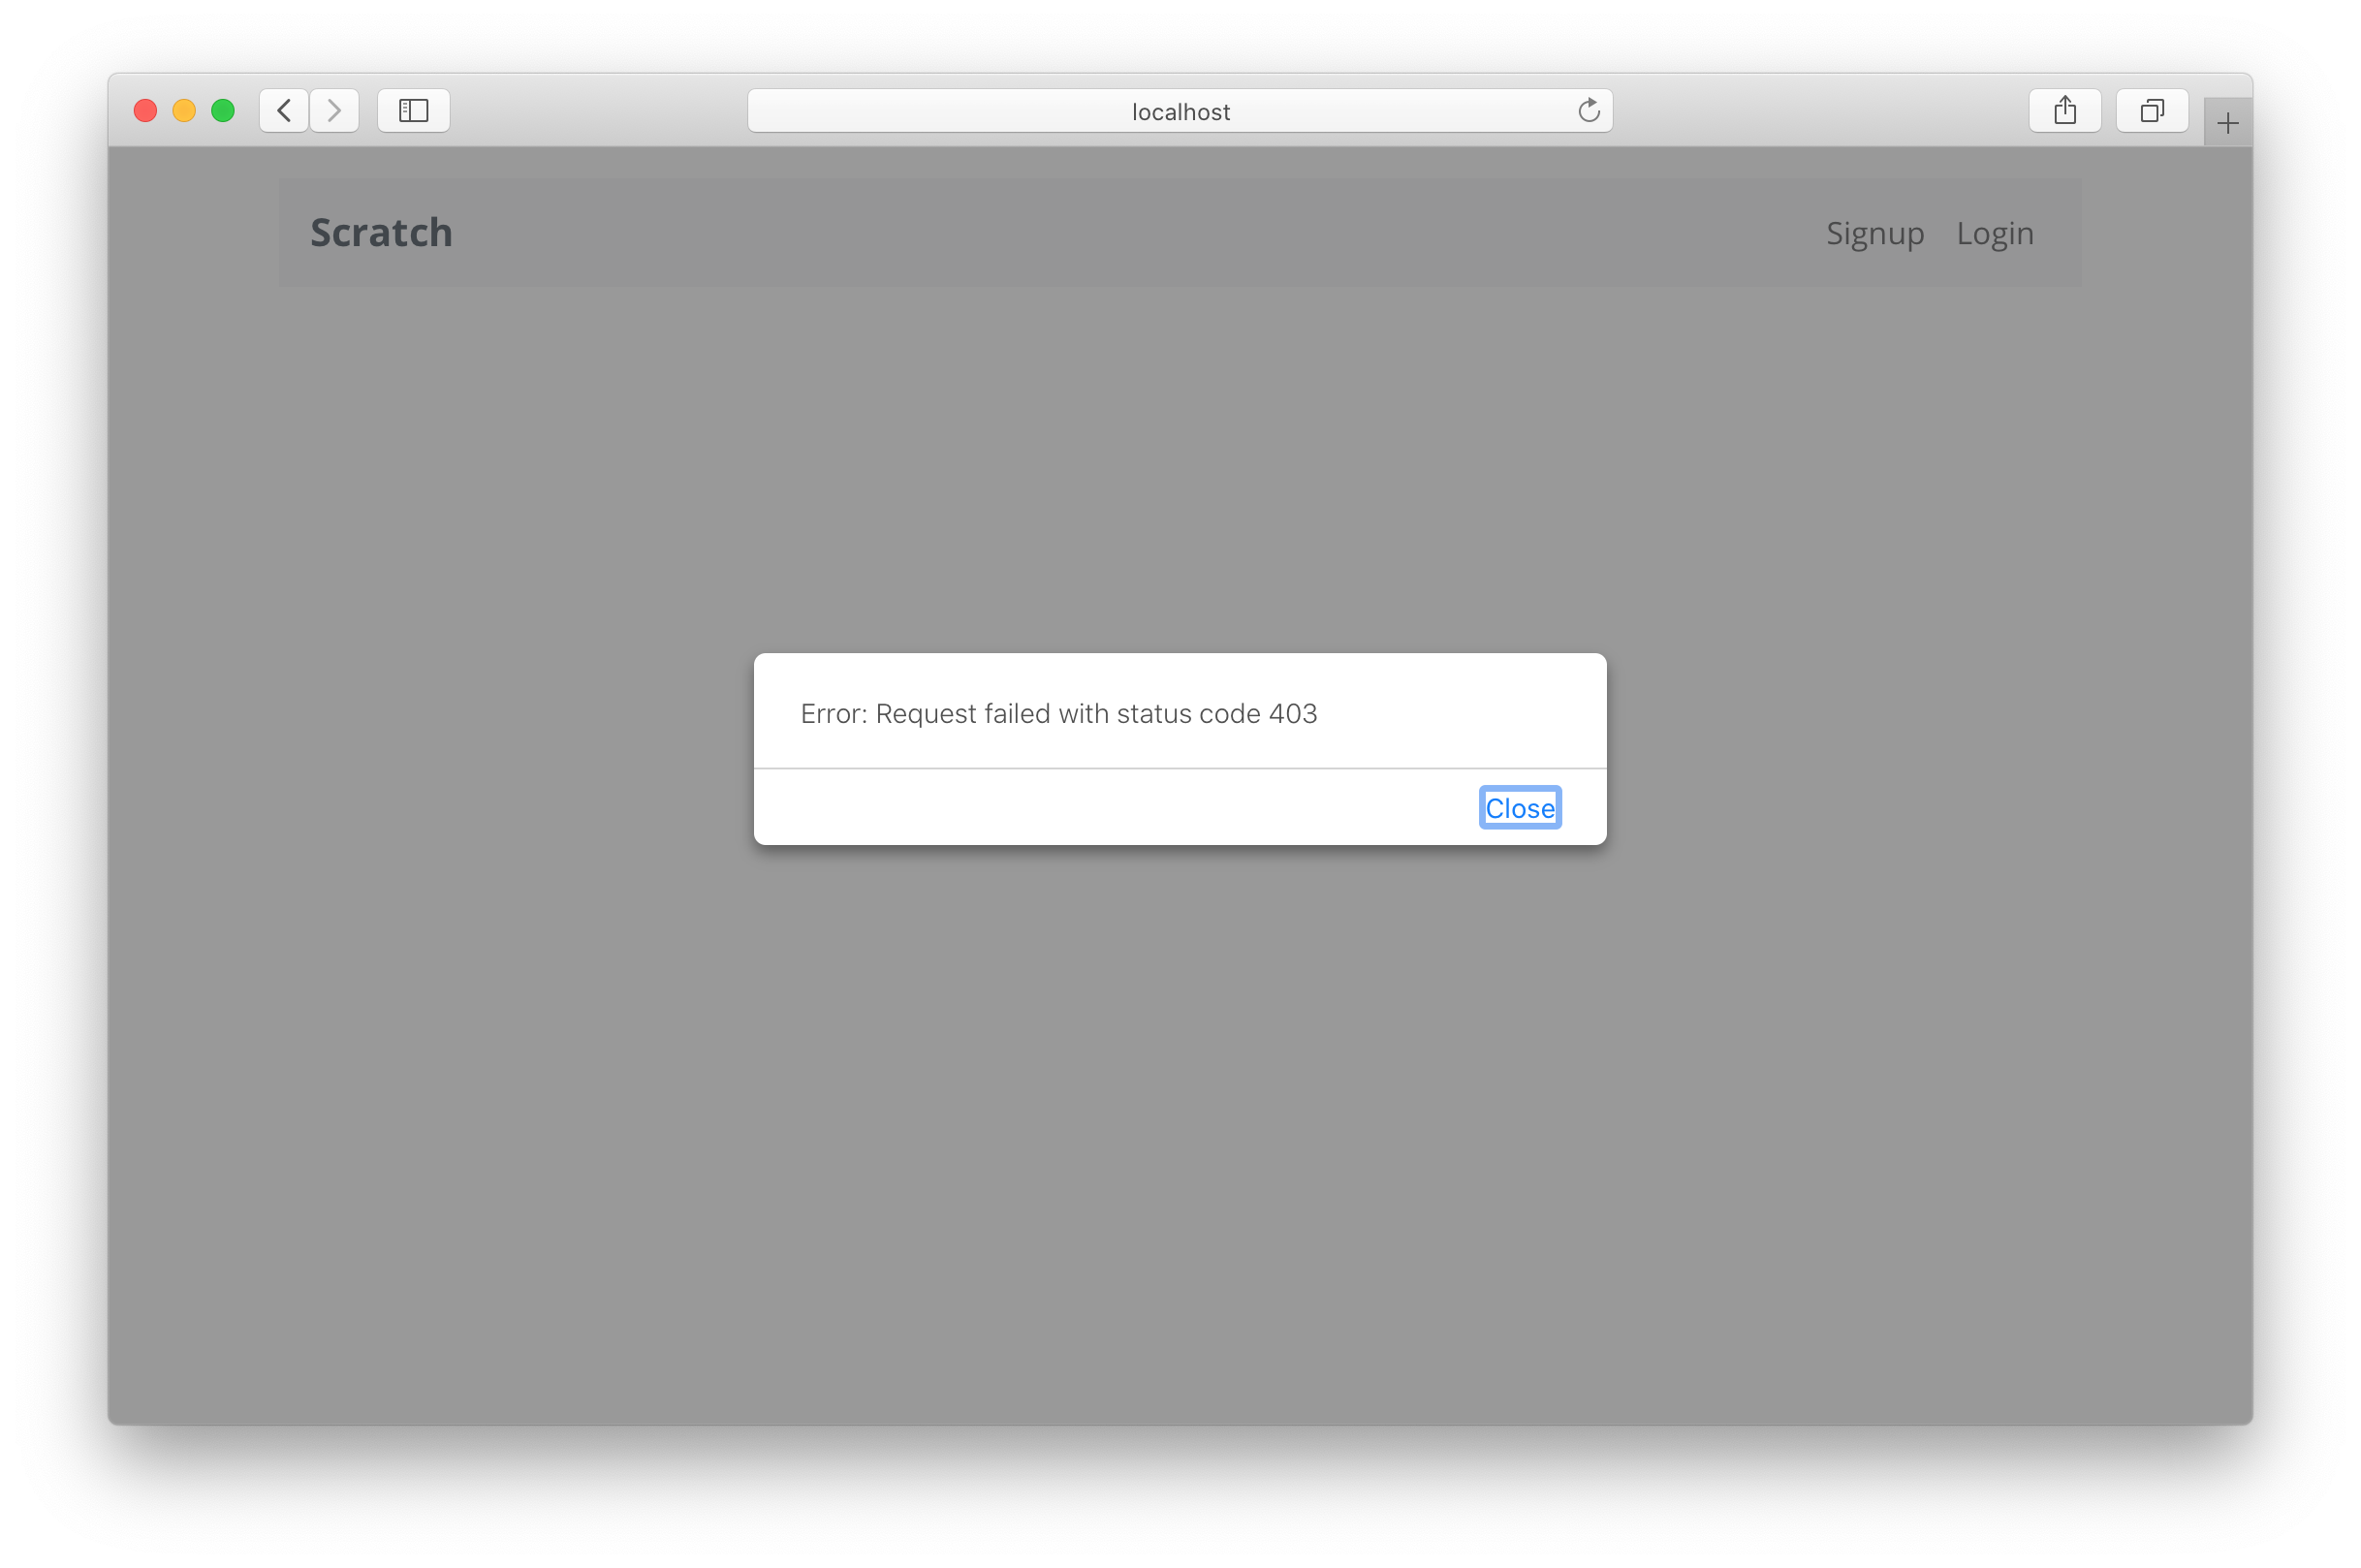
Now with our app nearly complete, we’ll look at securing some the pages of our app that require a login. Currently if you visit a note page while you are logged out, it throws an ugly error.

Instead, we would like it to redirect us to the login page and then redirect us back after we login. Let’s look at how to do that next.
For help and discussion
Comments on this chapter