Deploy Updates
Now let’s look at how we make changes and update our app. The process is very similar to how we deployed our code to S3 but with a few changes. Here is what it looks like.
- Build our app with the changes
- Deploy to the main S3 Bucket
- Invalidate the cache in both our CloudFront Distributions
We need to do the last step since CloudFront caches our objects in its edge locations. So to make sure that our users see the latest version, we need to tell CloudFront to invalidate it’s cache in the edge locations.
Let’s assume you’ve made some changes to your app; you’ll need to build these changes first.
Build Our App
First let’s prepare our app for production by building it. Run the following in your working directory.
$ npm run build
Now that our app is built and ready in the build/ directory, let’s deploy to S3.
Upload to S3
Run the following from our working directory to upload our app to our main S3 Bucket. Make sure to replace YOUR_S3_DEPLOY_BUCKET_NAME with the S3 Bucket we created in the Create an S3 bucket chapter.
$ aws s3 sync build/ s3://YOUR_S3_DEPLOY_BUCKET_NAME --delete
Note the --delete flag here; this is telling S3 to delete all the files that are in the bucket that we aren’t uploading this time around. Create React App generates unique bundles when we build it and without this flag we’ll end up retaining all the files from the previous builds. Our changes should be live on S3.
Now to ensure that CloudFront is serving out the updated version of our app, let’s invalidate the CloudFront cache.
Invalidate the CloudFront Cache
CloudFront allows you to invalidate objects in the distribution by passing in the path of the object. But it also allows you to use a wildcard (/*) to invalidate the entire distribution in a single command. This is recommended when we are deploying a new version of our app.
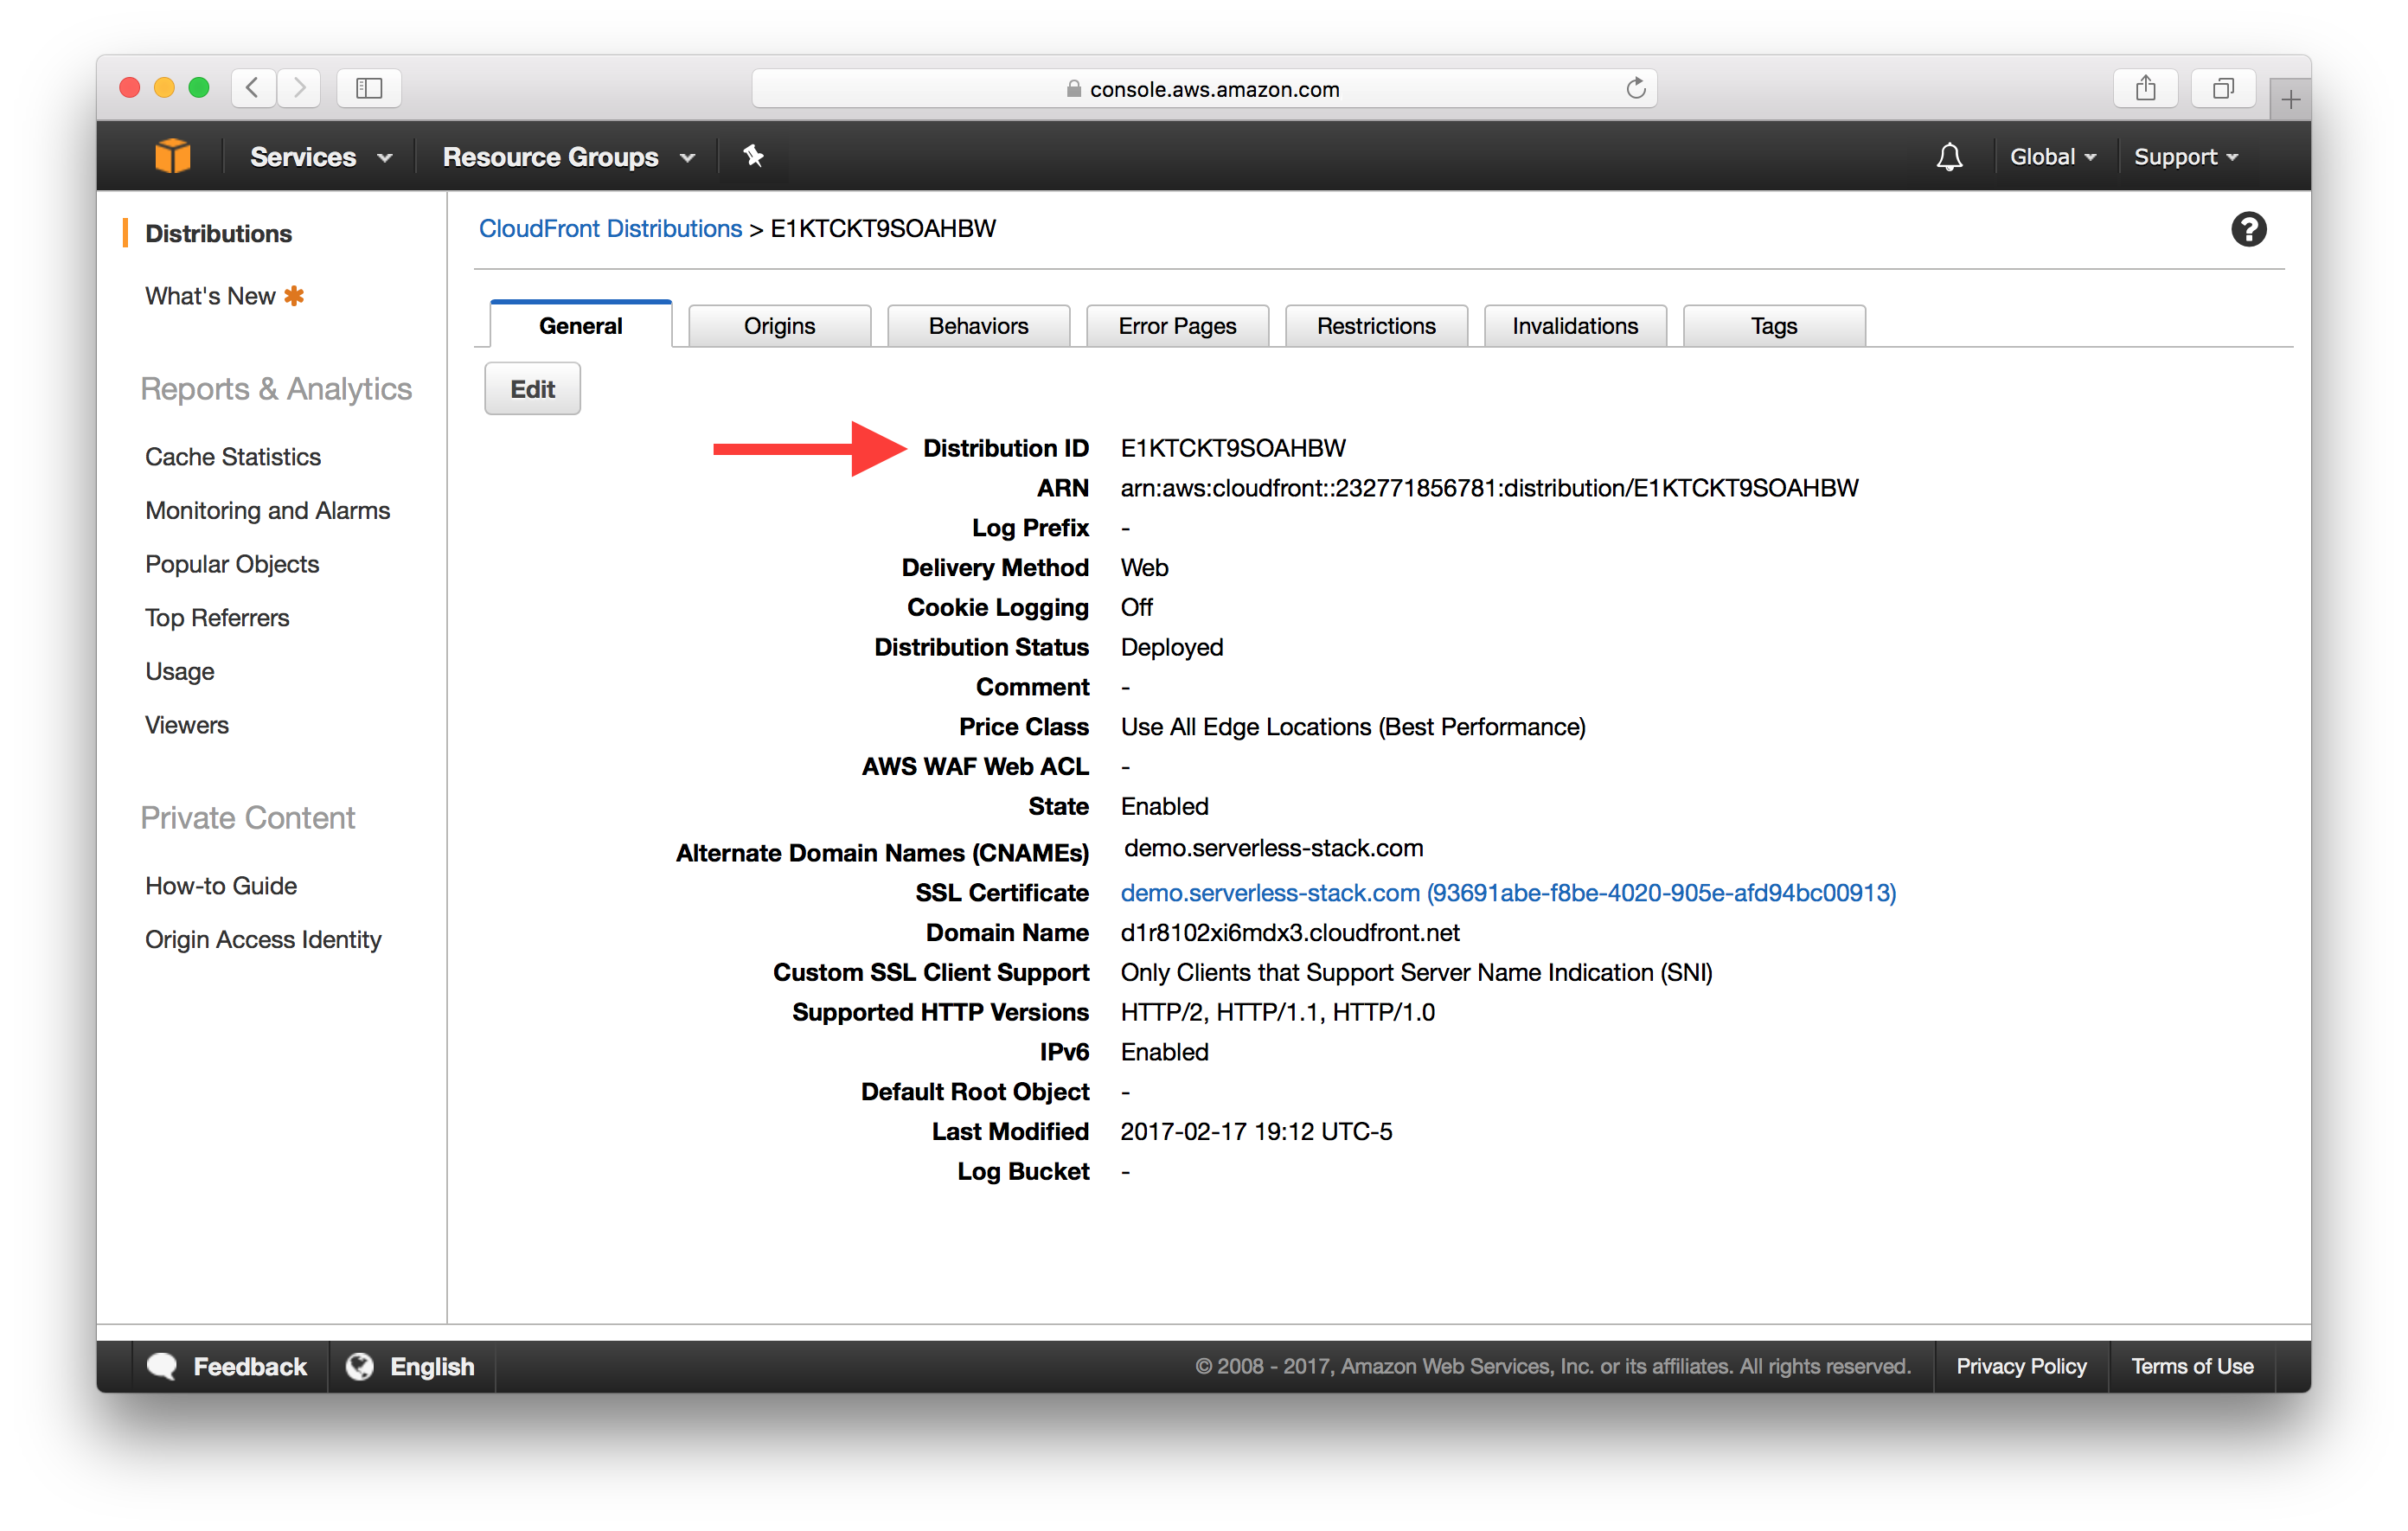
To do this we’ll need the Distribution ID of both of our CloudFront Distributions. You can get it by clicking on the distribution from the list of CloudFront Distributions.
Now we can use the AWS CLI to invalidate the cache of the two distributions. Make sure to replace YOUR_CF_DISTRIBUTION_ID and YOUR_WWW_CF_DISTRIBUTION_ID with the ones from above.
$ aws cloudfront create-invalidation --distribution-id YOUR_CF_DISTRIBUTION_ID --paths "/*"
$ aws cloudfront create-invalidation --distribution-id YOUR_WWW_CF_DISTRIBUTION_ID --paths "/*"
This invalidates our distribution for both the www and non-www versions of our domain. If you click on the Invalidations tab, you should see your invalidation request being processed.
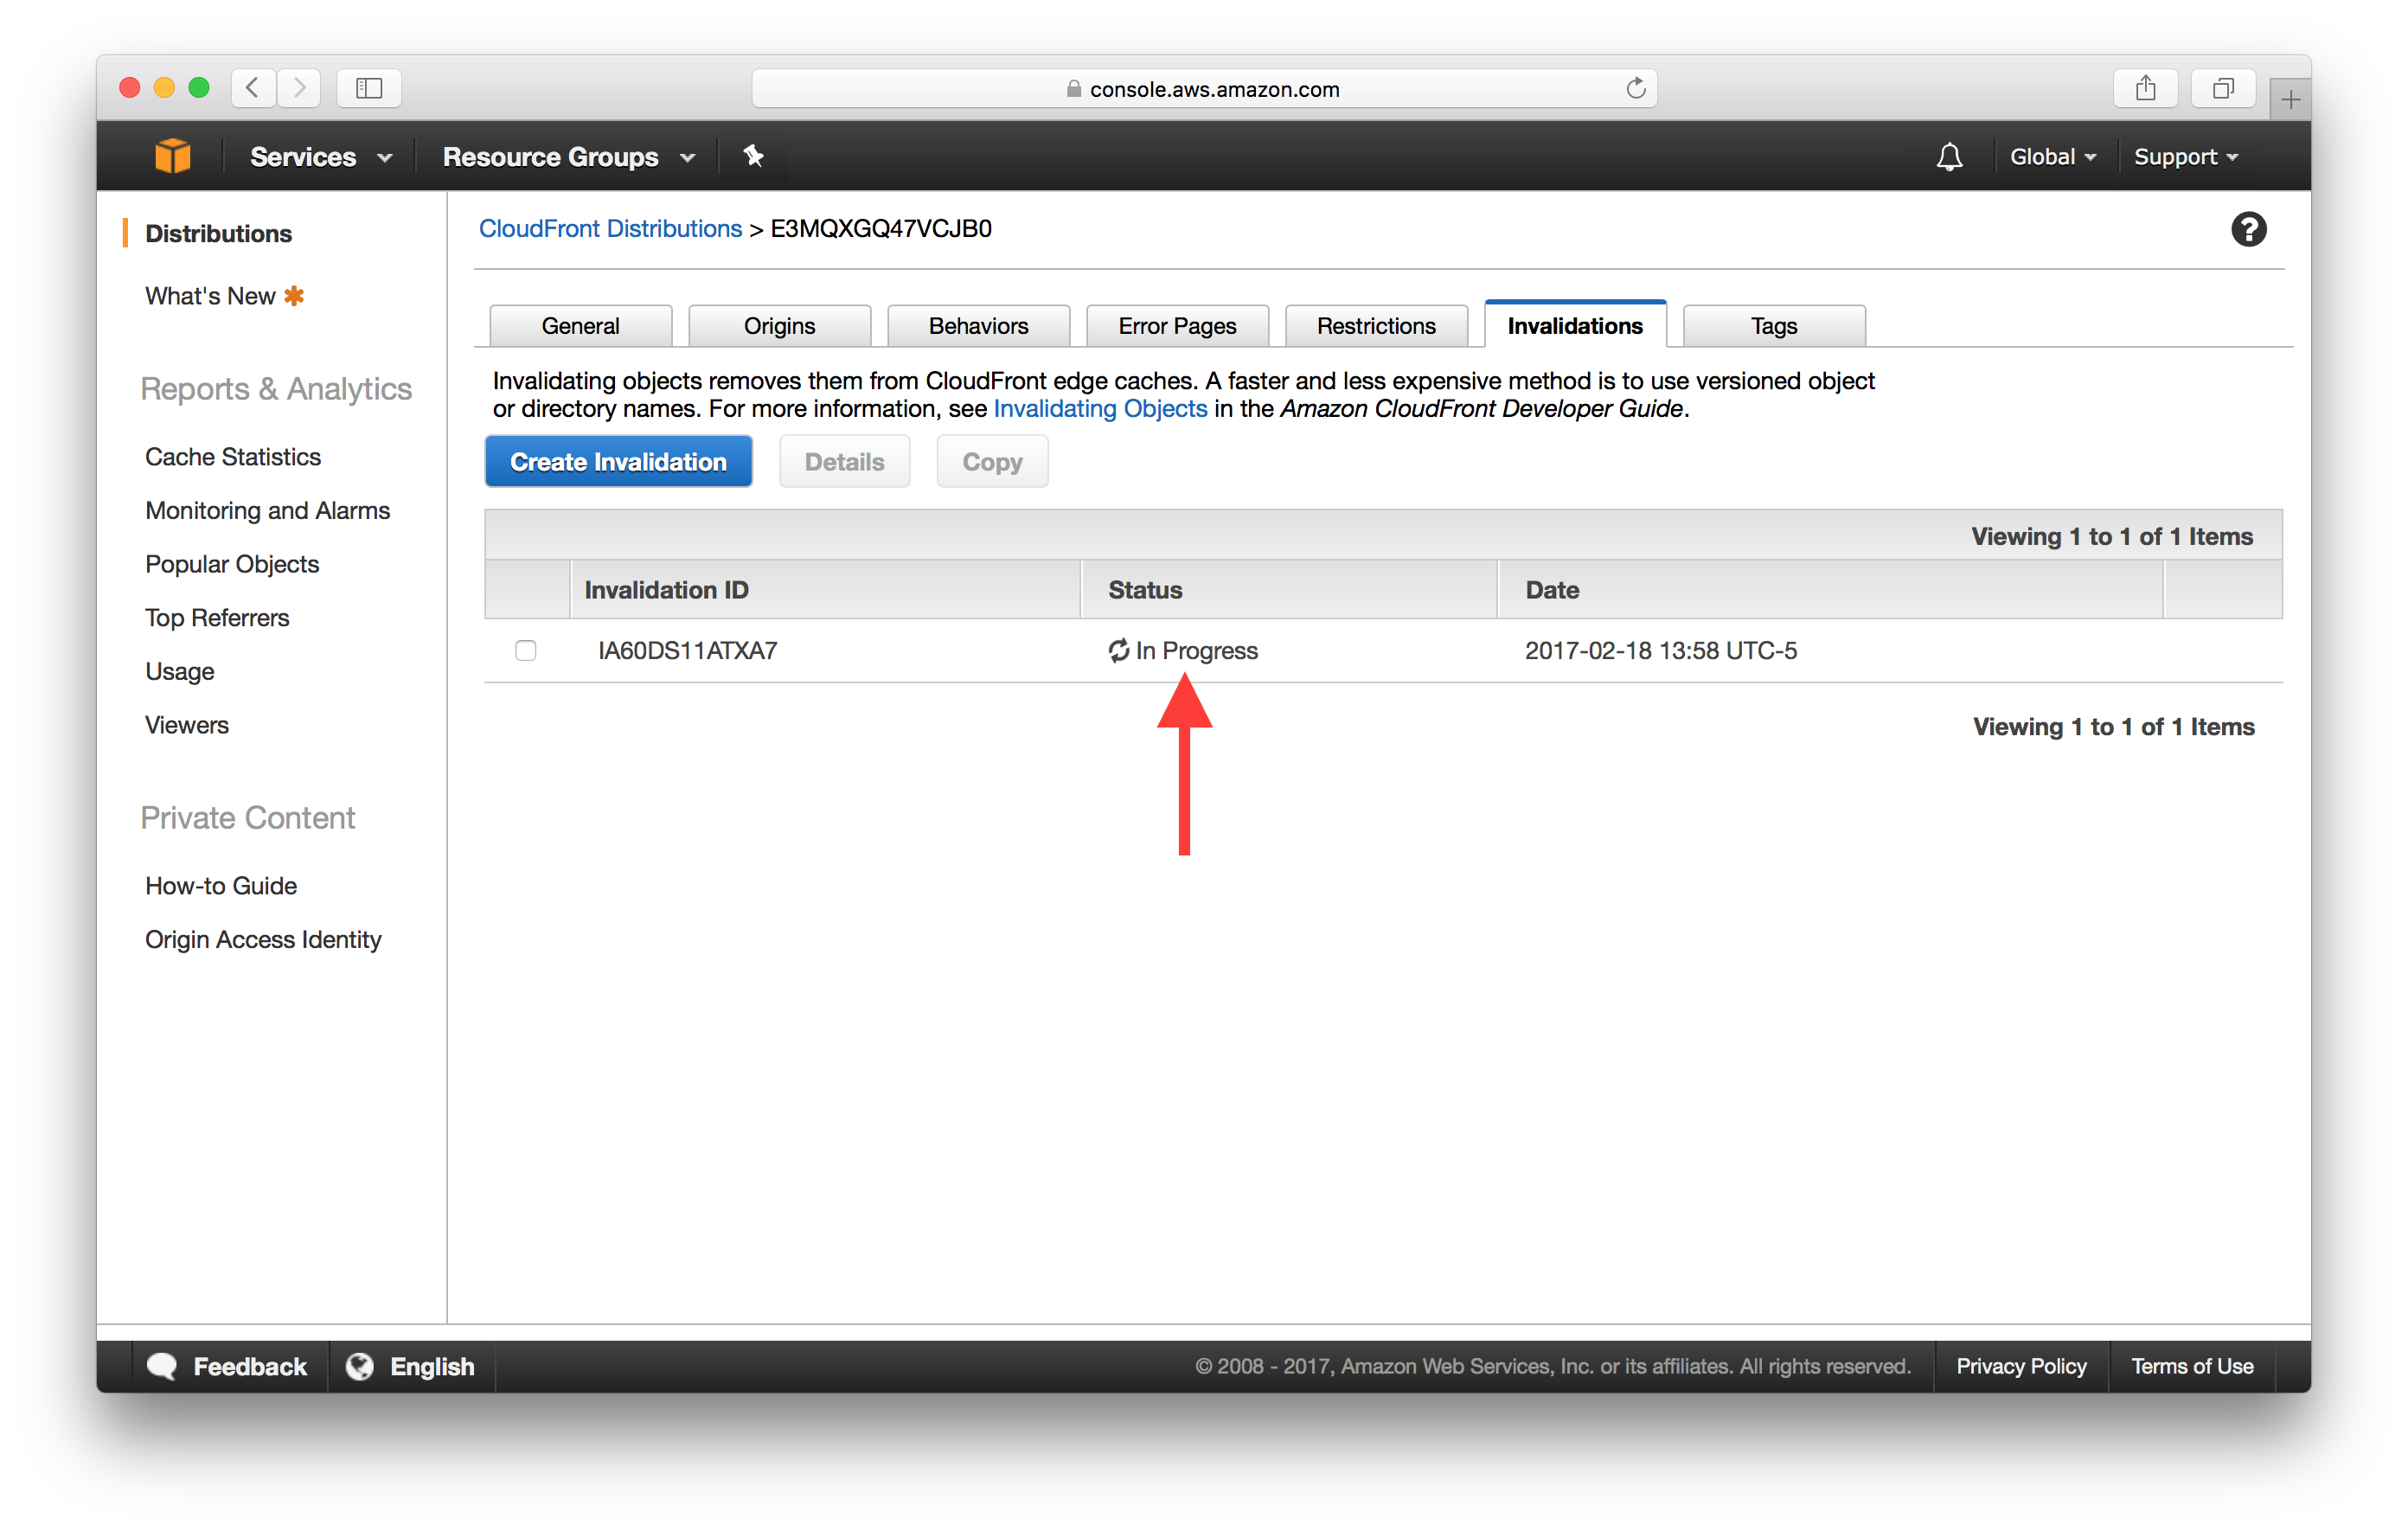
It can take a few minutes to complete. But once it is done, the updated version of our app should be live.
And that’s it! We now have a set of commands we can run to deploy our updates. Let’s quickly put them together so we can do it with one command.
Add a Deploy Command
NPM allows us to add a deploy command in our package.json.
 Add the following in the
 scripts block above eject in the package.json.
"predeploy": "npm run build",
"deploy": "aws s3 sync build/ s3://YOUR_S3_DEPLOY_BUCKET_NAME --delete",
"postdeploy": "aws cloudfront create-invalidation --distribution-id YOUR_CF_DISTRIBUTION_ID --paths '/*' && aws cloudfront create-invalidation --distribution-id YOUR_WWW_CF_DISTRIBUTION_ID --paths '/*'",
Make sure to replace YOUR_S3_DEPLOY_BUCKET_NAME, YOUR_CF_DISTRIBUTION_ID, and YOUR_WWW_CF_DISTRIBUTION_ID with the ones from above.
For Windows users, if postdeploy returns an error like.
An error occurred (InvalidArgument) when calling the CreateInvalidation operation: Your request contains one or more invalid invalidation paths.
Make sure that there is no quote in the /*.
"postdeploy": "aws cloudfront create-invalidation --distribution-id YOUR_CF_DISTRIBUTION_ID --paths /* && aws cloudfront create-invalidation --distribution-id YOUR_WWW_CF_DISTRIBUTION_ID --paths /*",
Now simply run the following command from your project root when you want to deploy your updates. It’ll build your app, upload it to S3, and invalidate the CloudFront cache.
$ npm run deploy
And that’s it! Now you have a workflow for deploying and updating your React app on AWS using S3 and CloudFront.
For help and discussion
Comments on this chapter