Create an S3 Bucket
To be able to host our note taking app, we need to upload the assets that are going to be served out statically on S3. S3 has a concept of buckets (or folders) to separate different types of files.
A bucket can also be configured to host the assets in it as a static website and is automatically assigned a publicly accessible URL. So let’s get started.
Create the Bucket
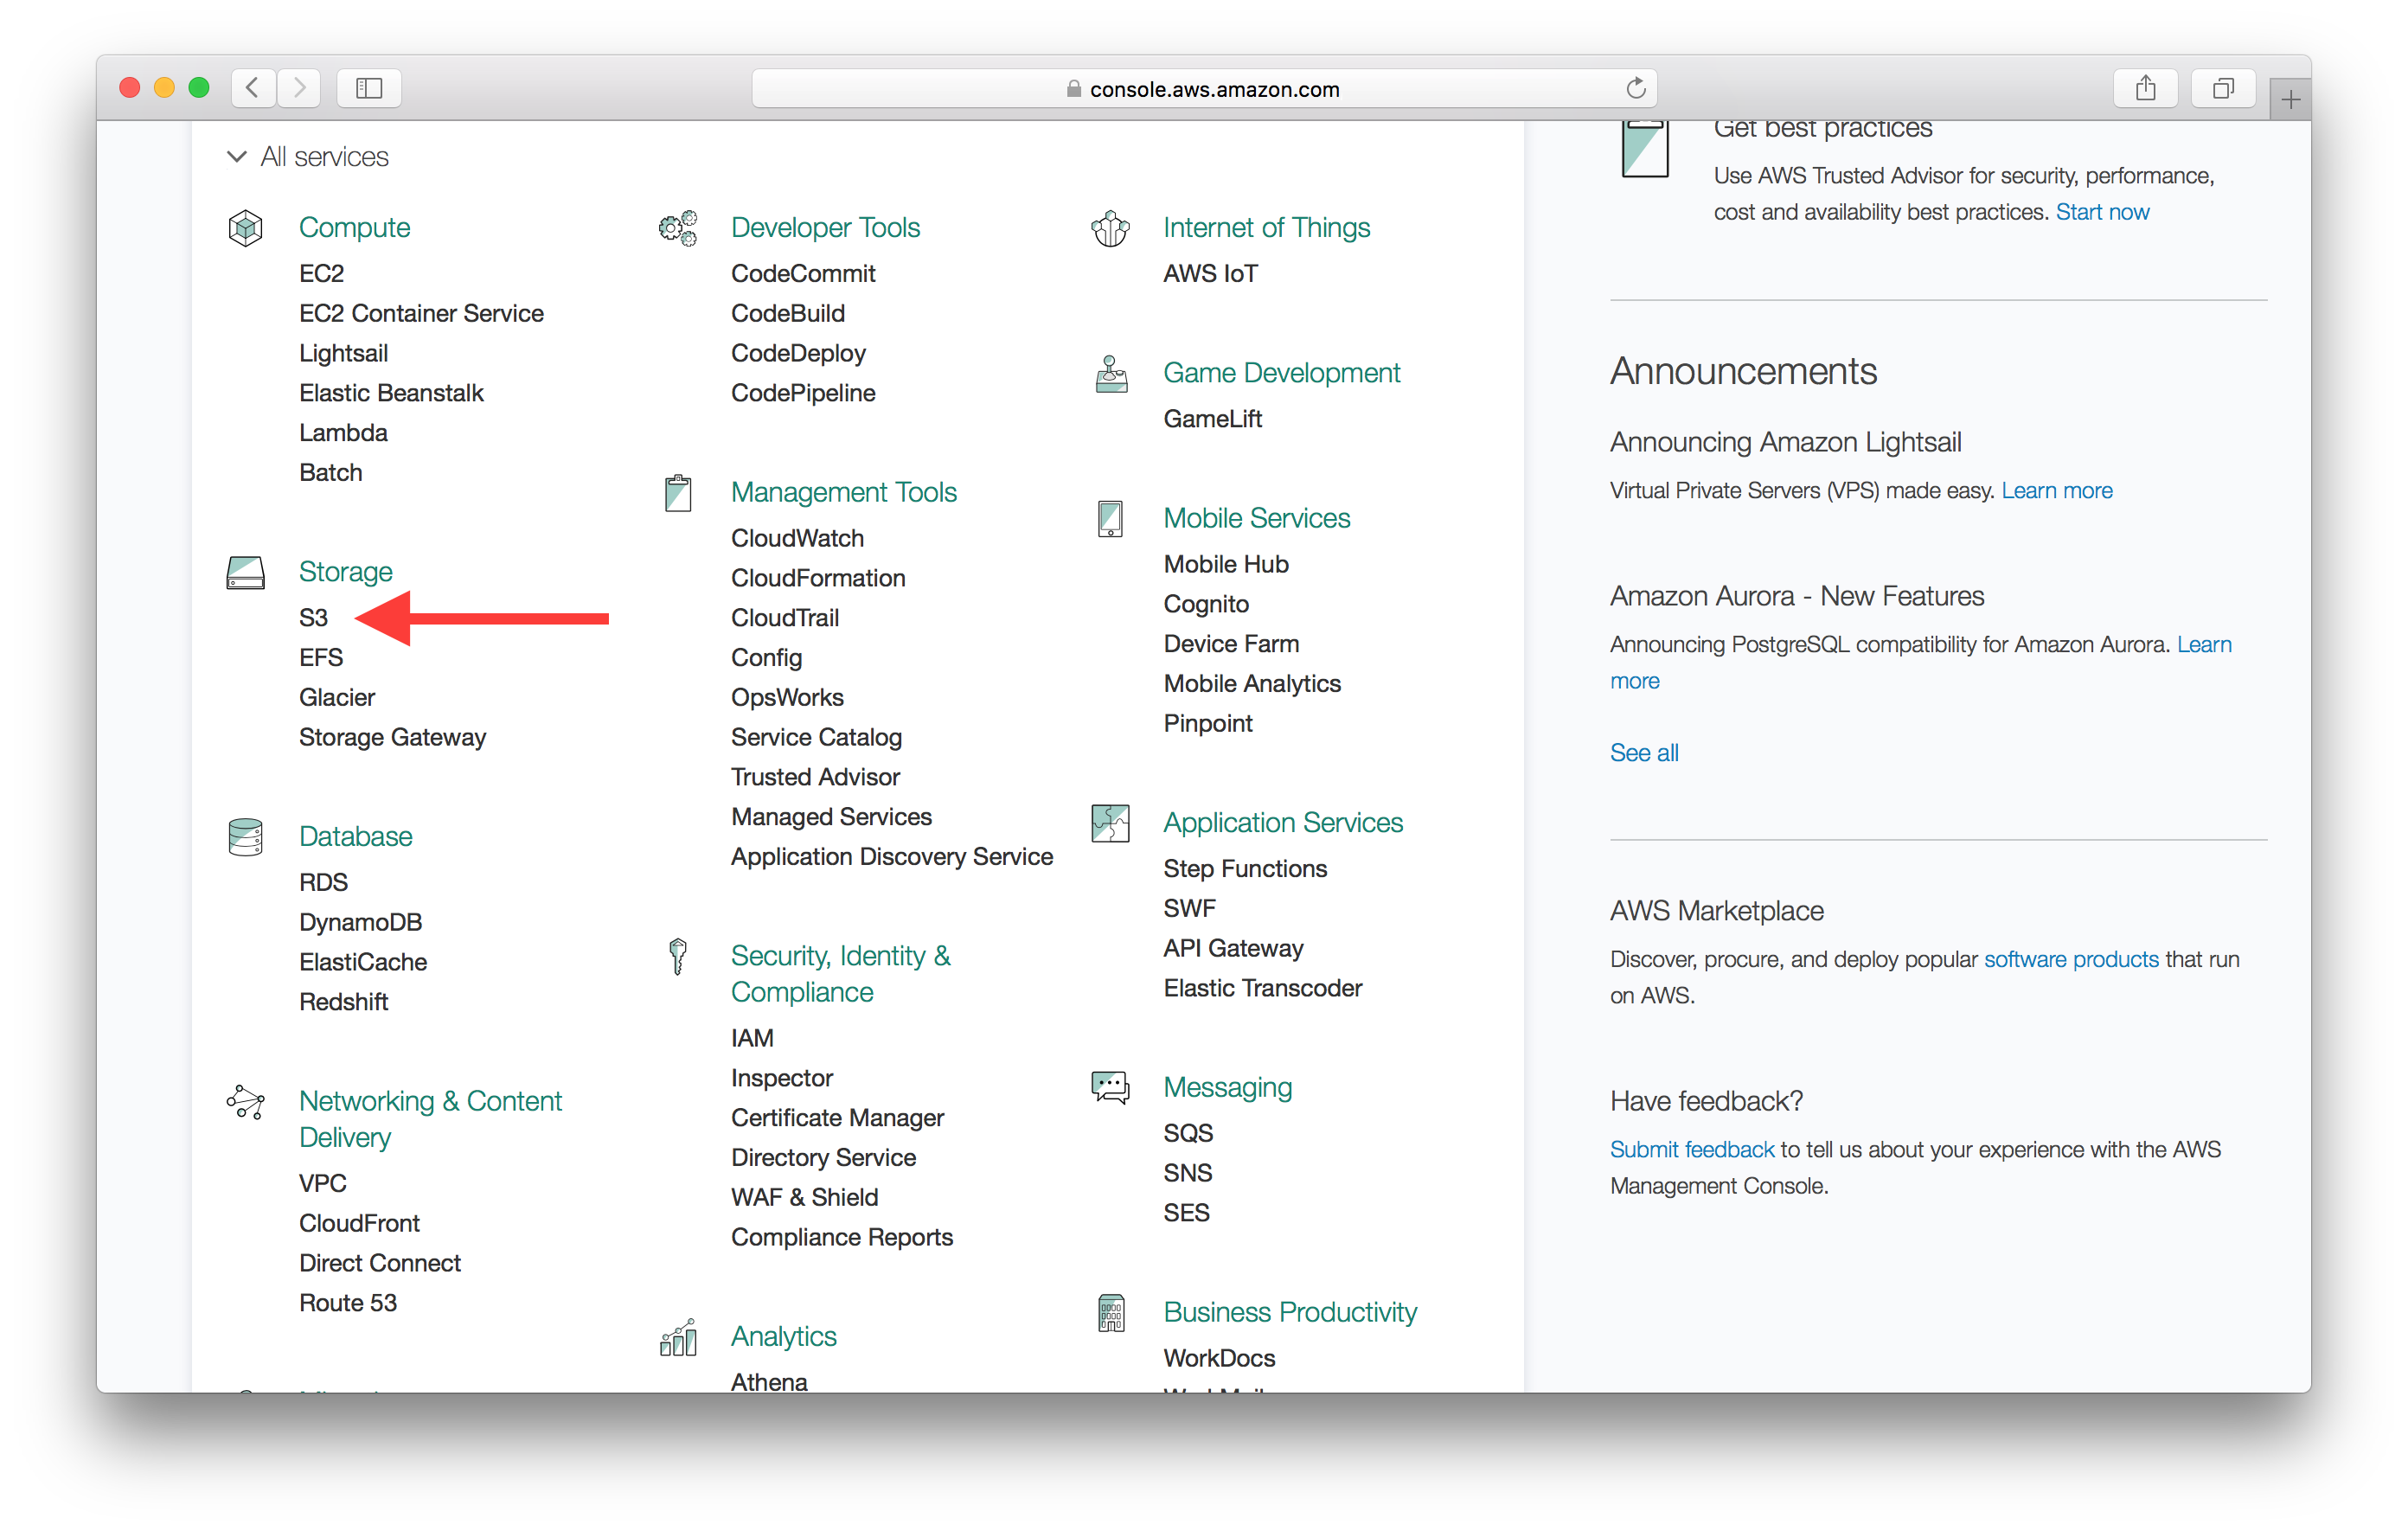
First, log in to your AWS Console and select S3 from the list of services.
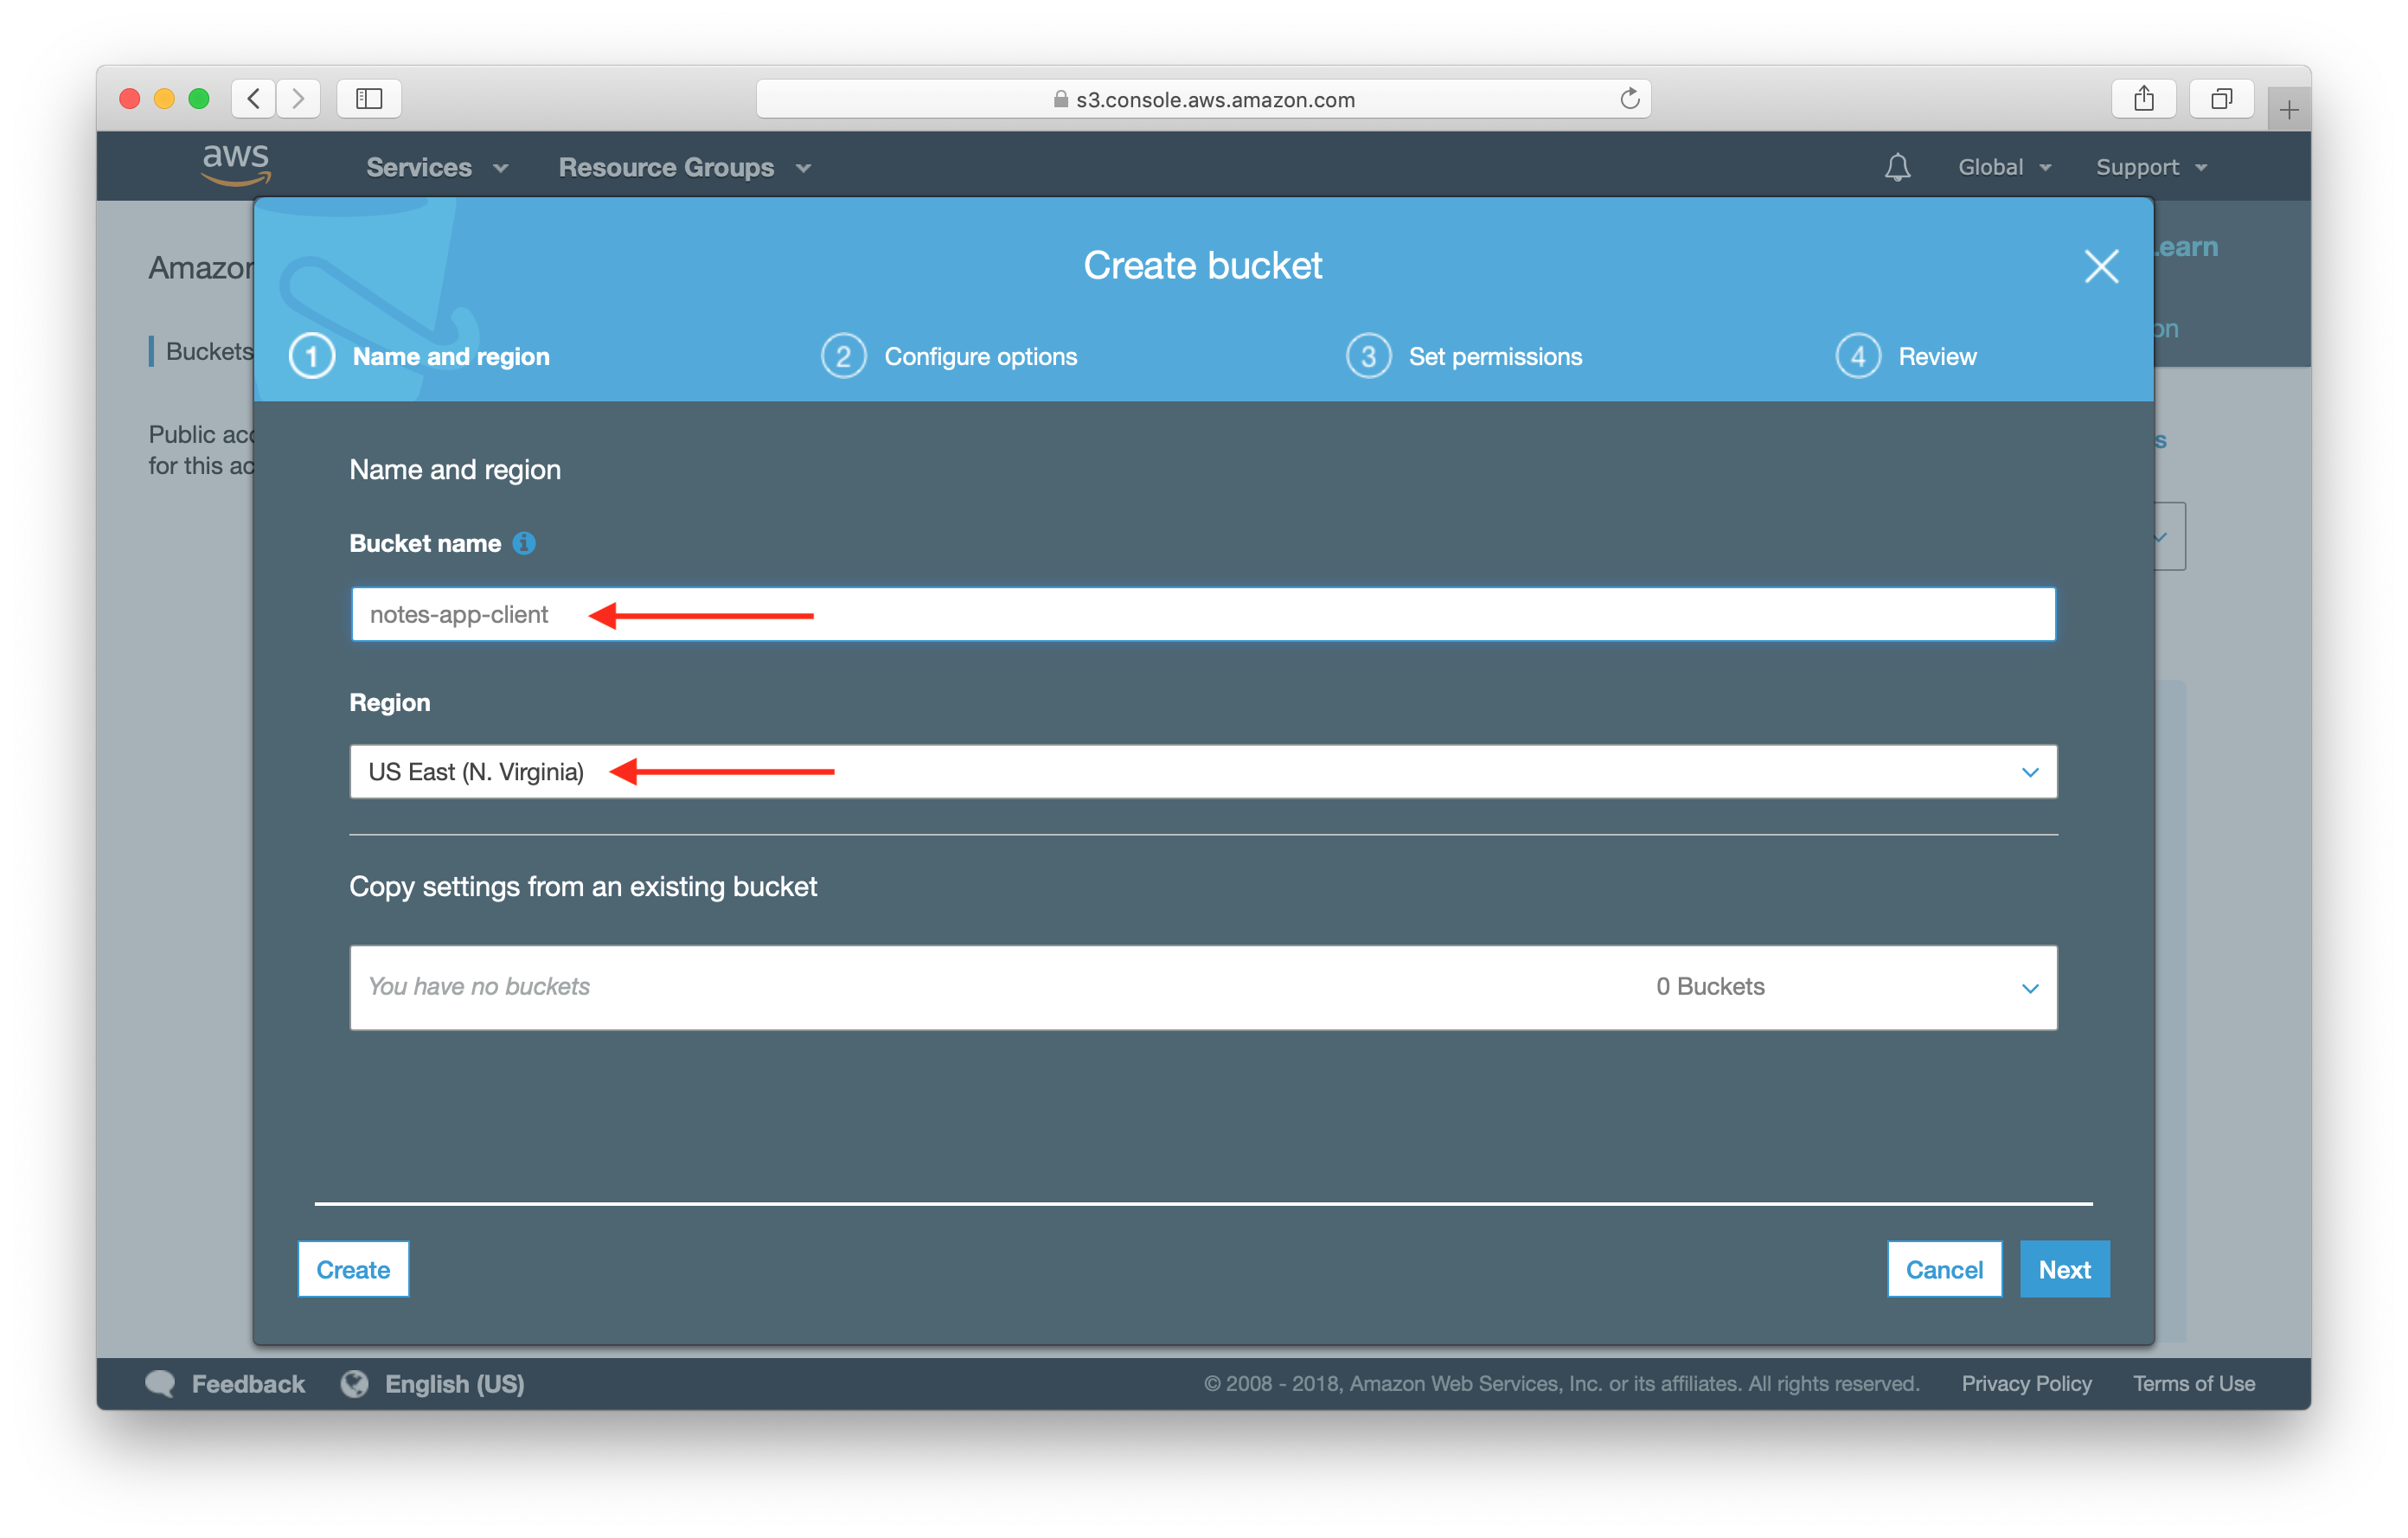
Select Create Bucket and pick a name for your application and select the US East (N. Virginia) Region Region. Since our application is being served out using a CDN, the region should not matter to us.
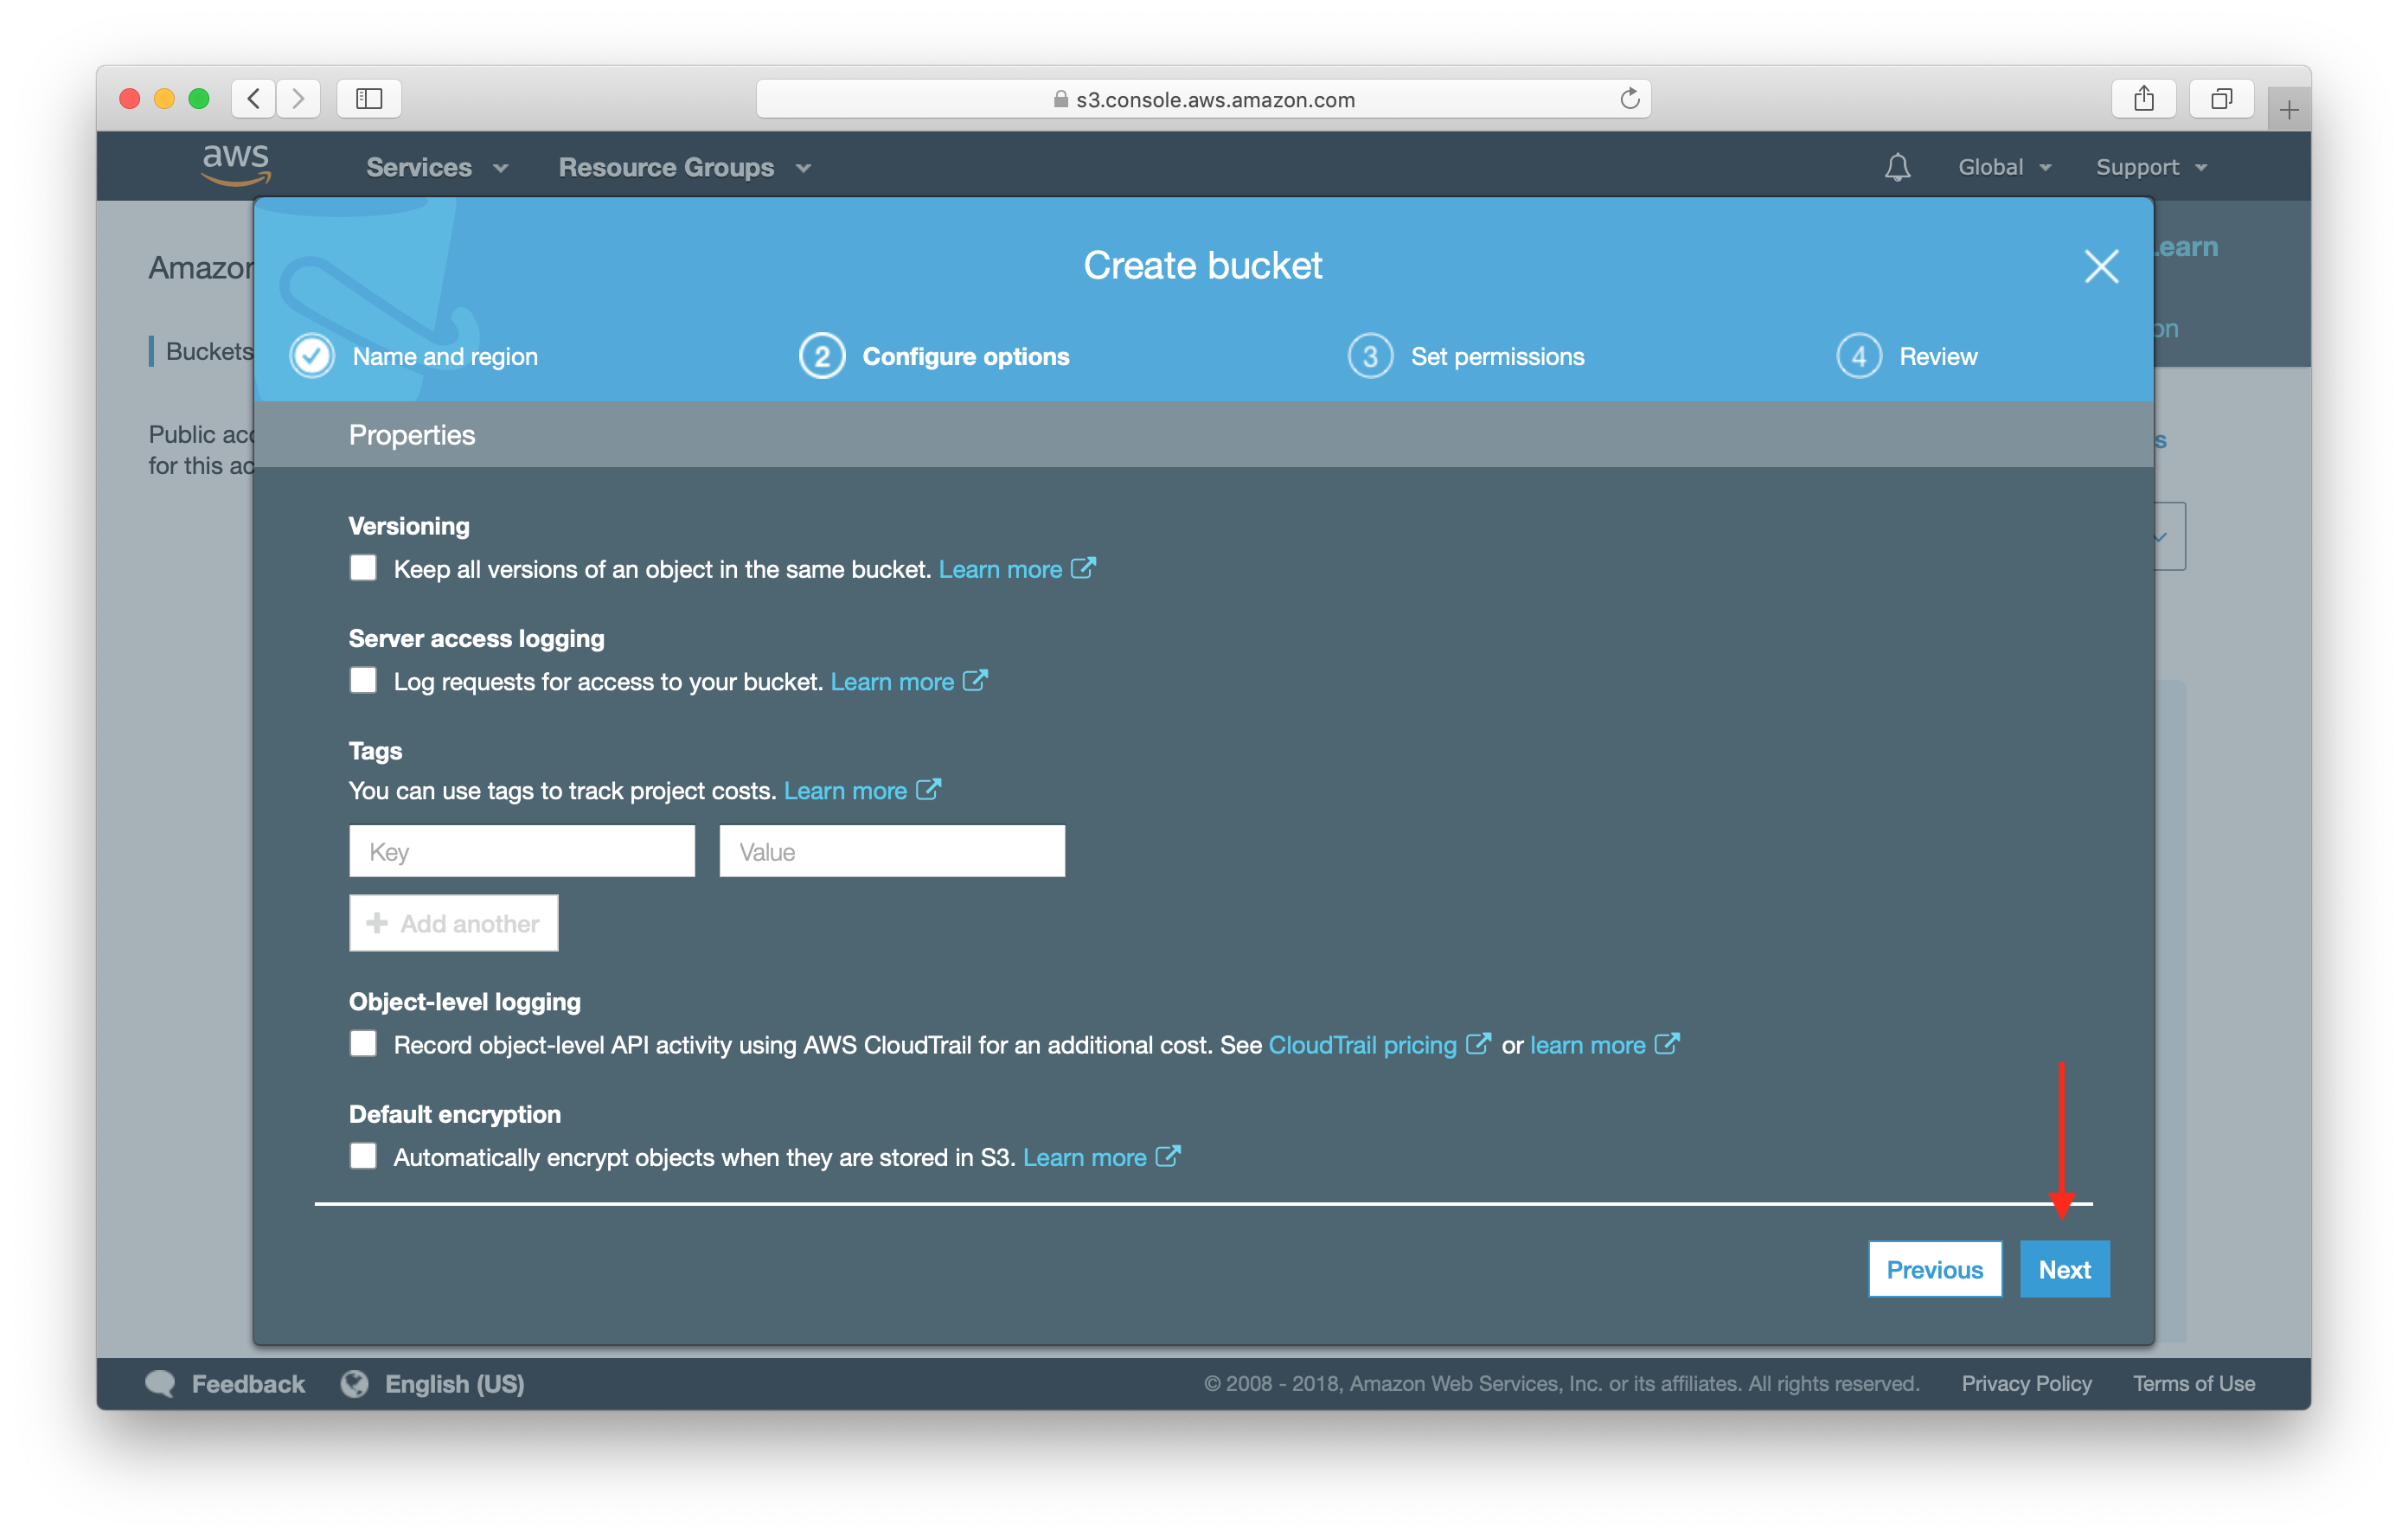
Click Next through the configure options step.
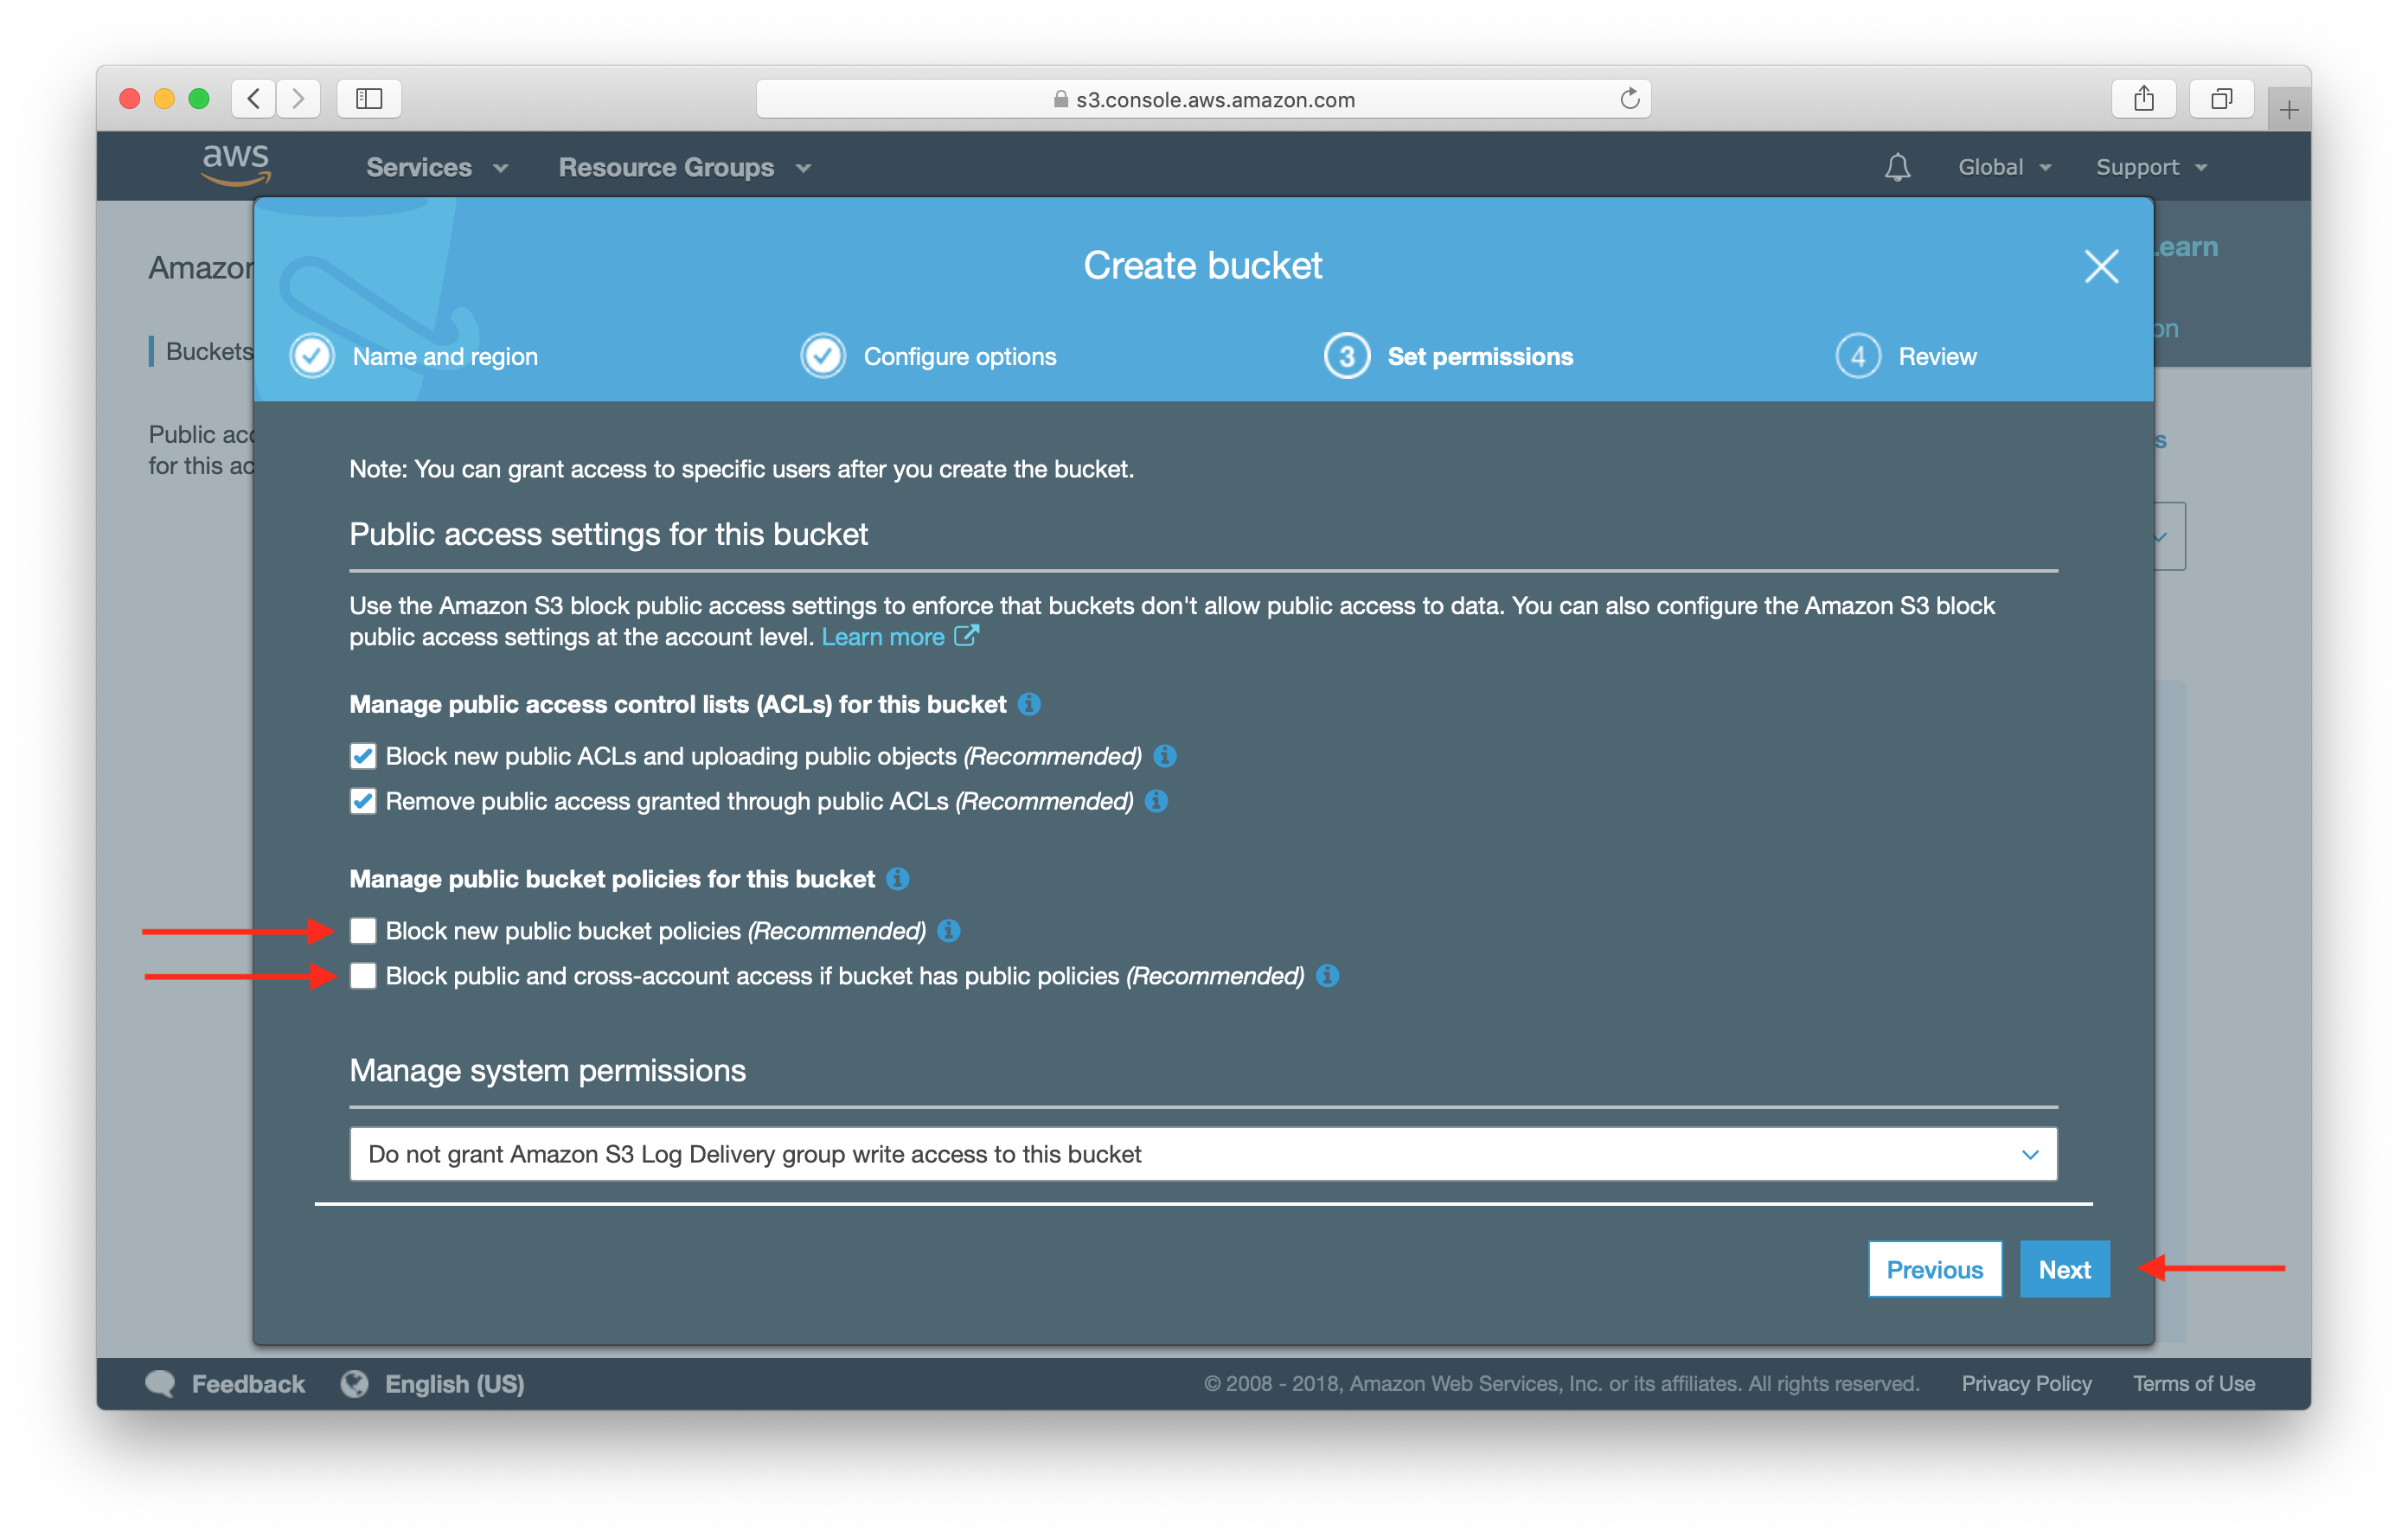
In the permissions step, make sure to uncheck Block new public bucket policies and Block public and cross-account access if bucket has public policies. Making buckets public is a common security error, but in our case we’ll be serving our app from the bucket, so want it to be public.
Click Create bucket on the review page to create the bucket.

Now click on your newly created bucket from the list and navigate to its permissions panel by clicking Permissions.
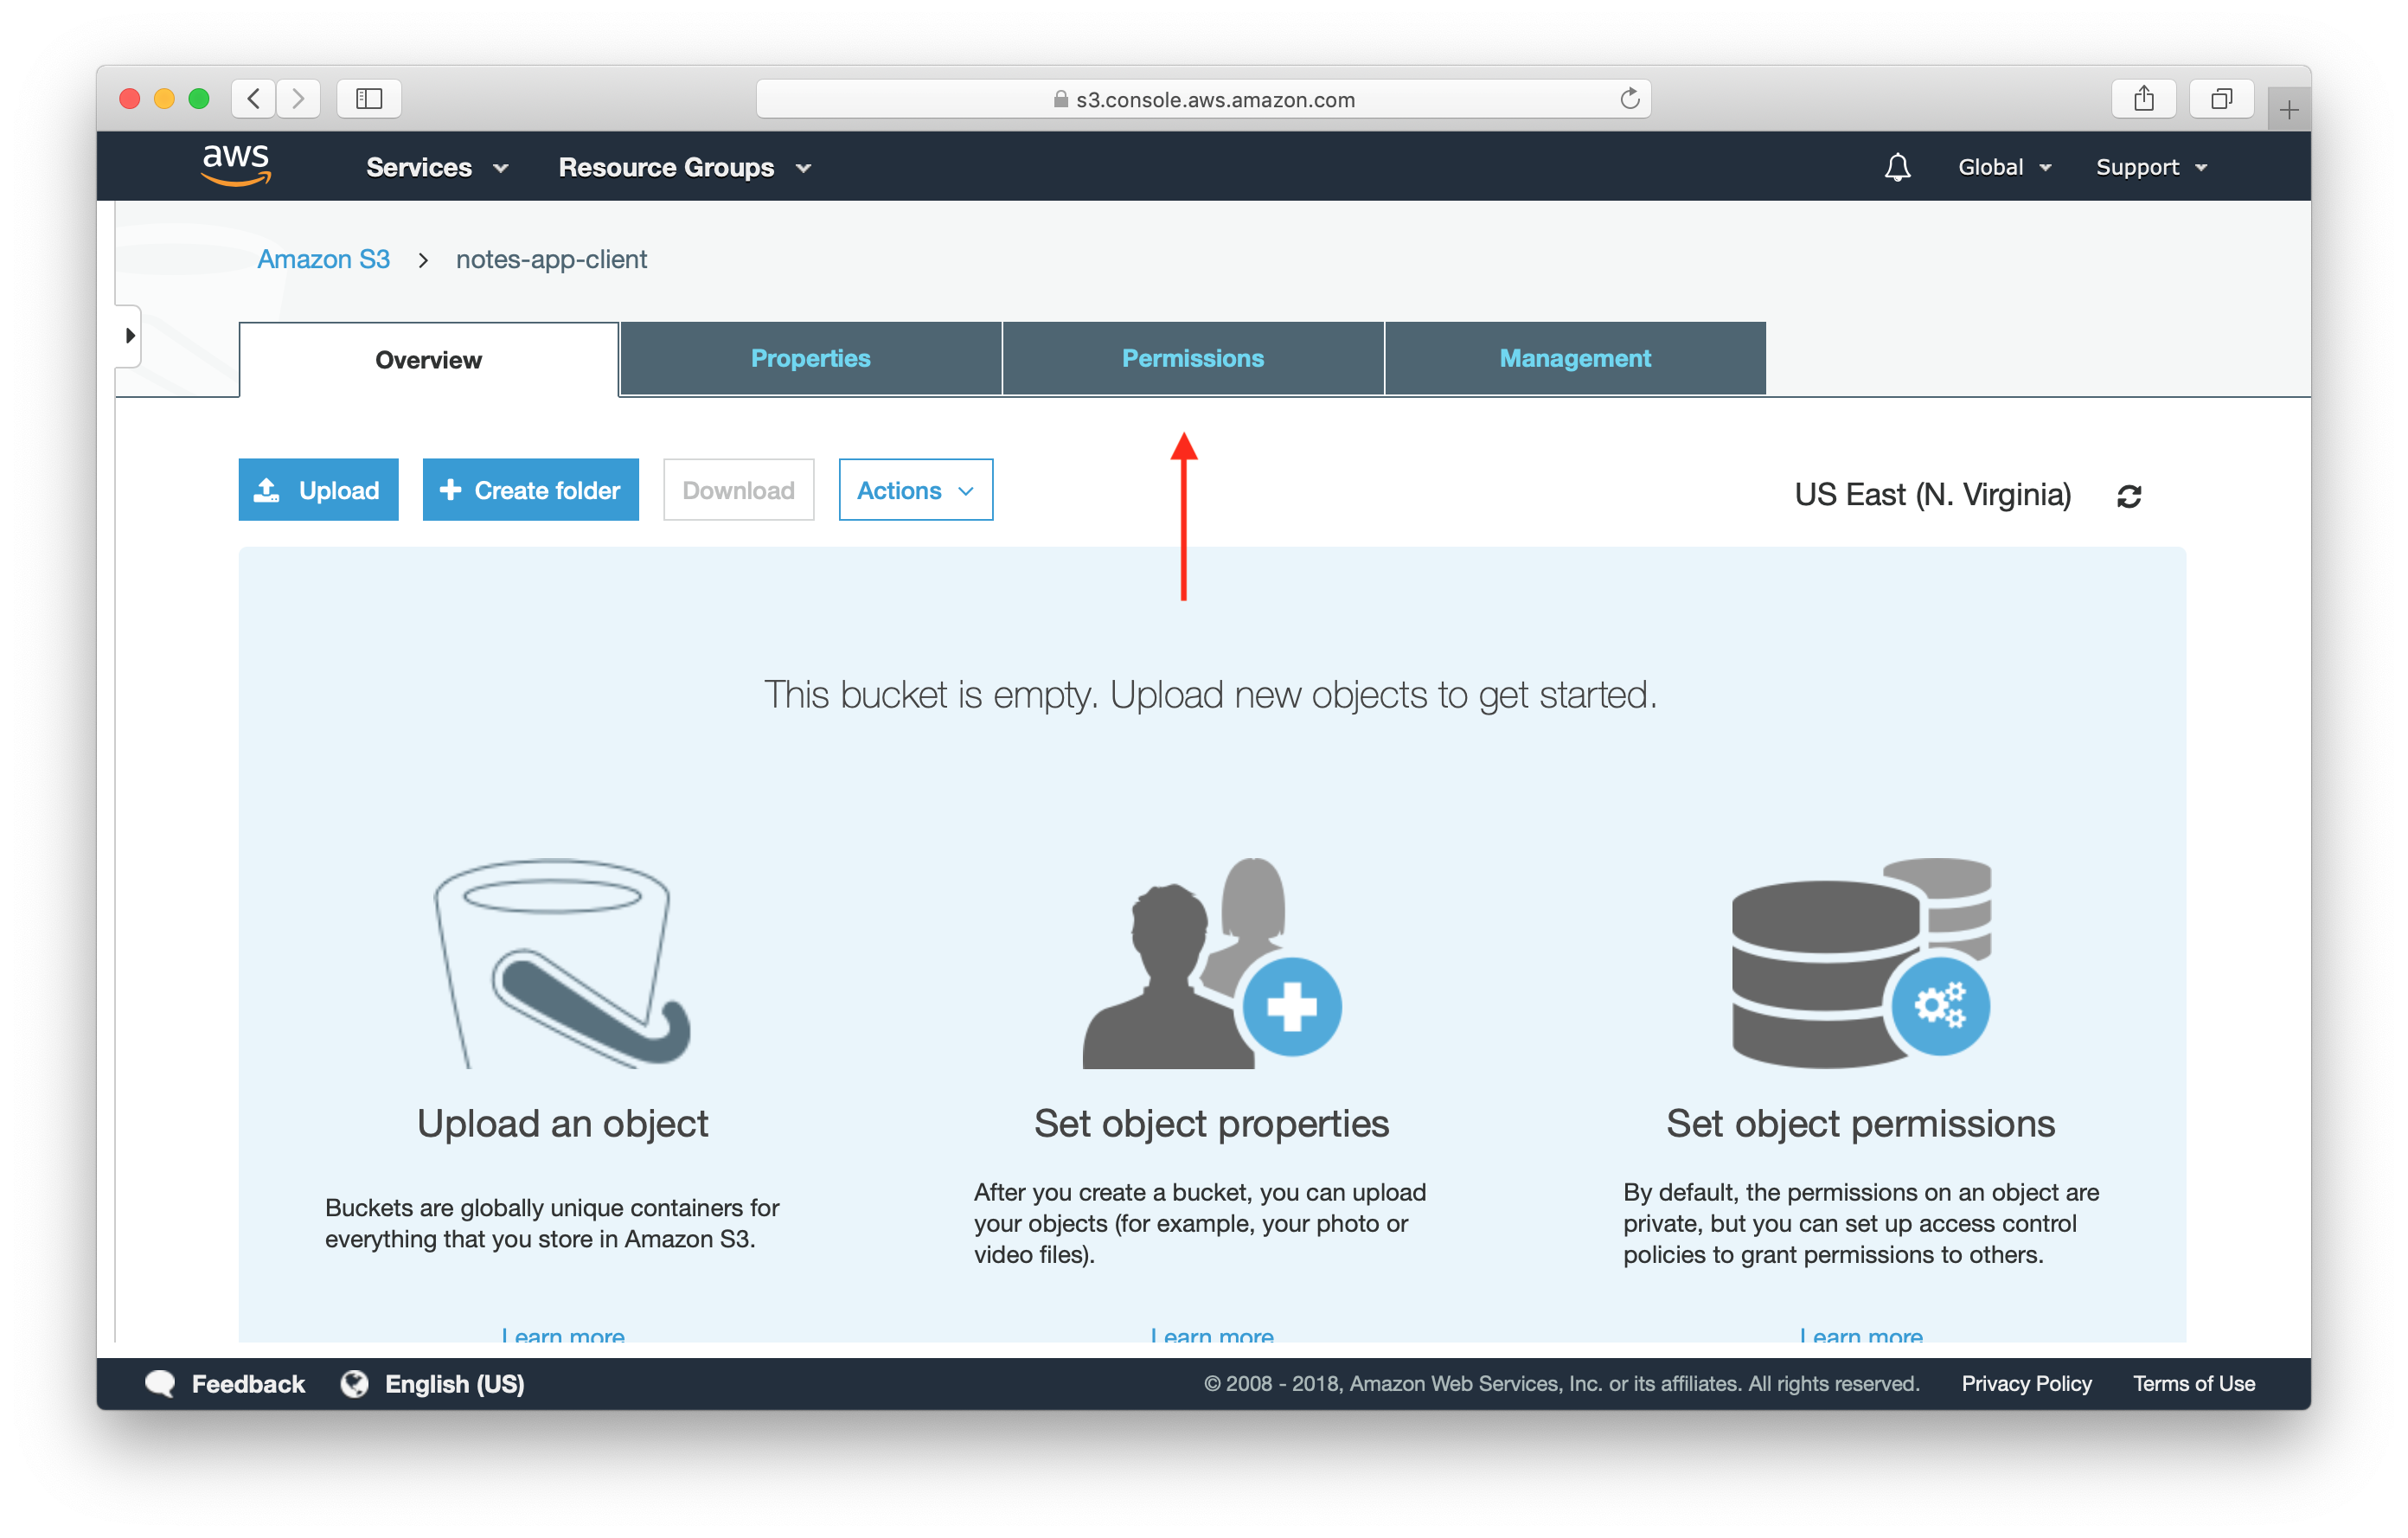
Add Permissions
Buckets by default are not publicly accessible, so we need to change the S3 Bucket Permission. Select the Bucket Policy from the permissions panel.

 Add the following bucket policy into the editor. Where
 notes-app-client is the name of our S3 bucket. Make sure to use the name of your bucket here.
{
  "Version":"2012-10-17",
  "Statement":[{
	"Sid":"PublicReadForGetBucketObjects",
        "Effect":"Allow",
	  "Principal": "*",
      "Action":["s3:GetObject"],
      "Resource":["arn:aws:s3:::notes-app-client/*"]
    }
  ]
}
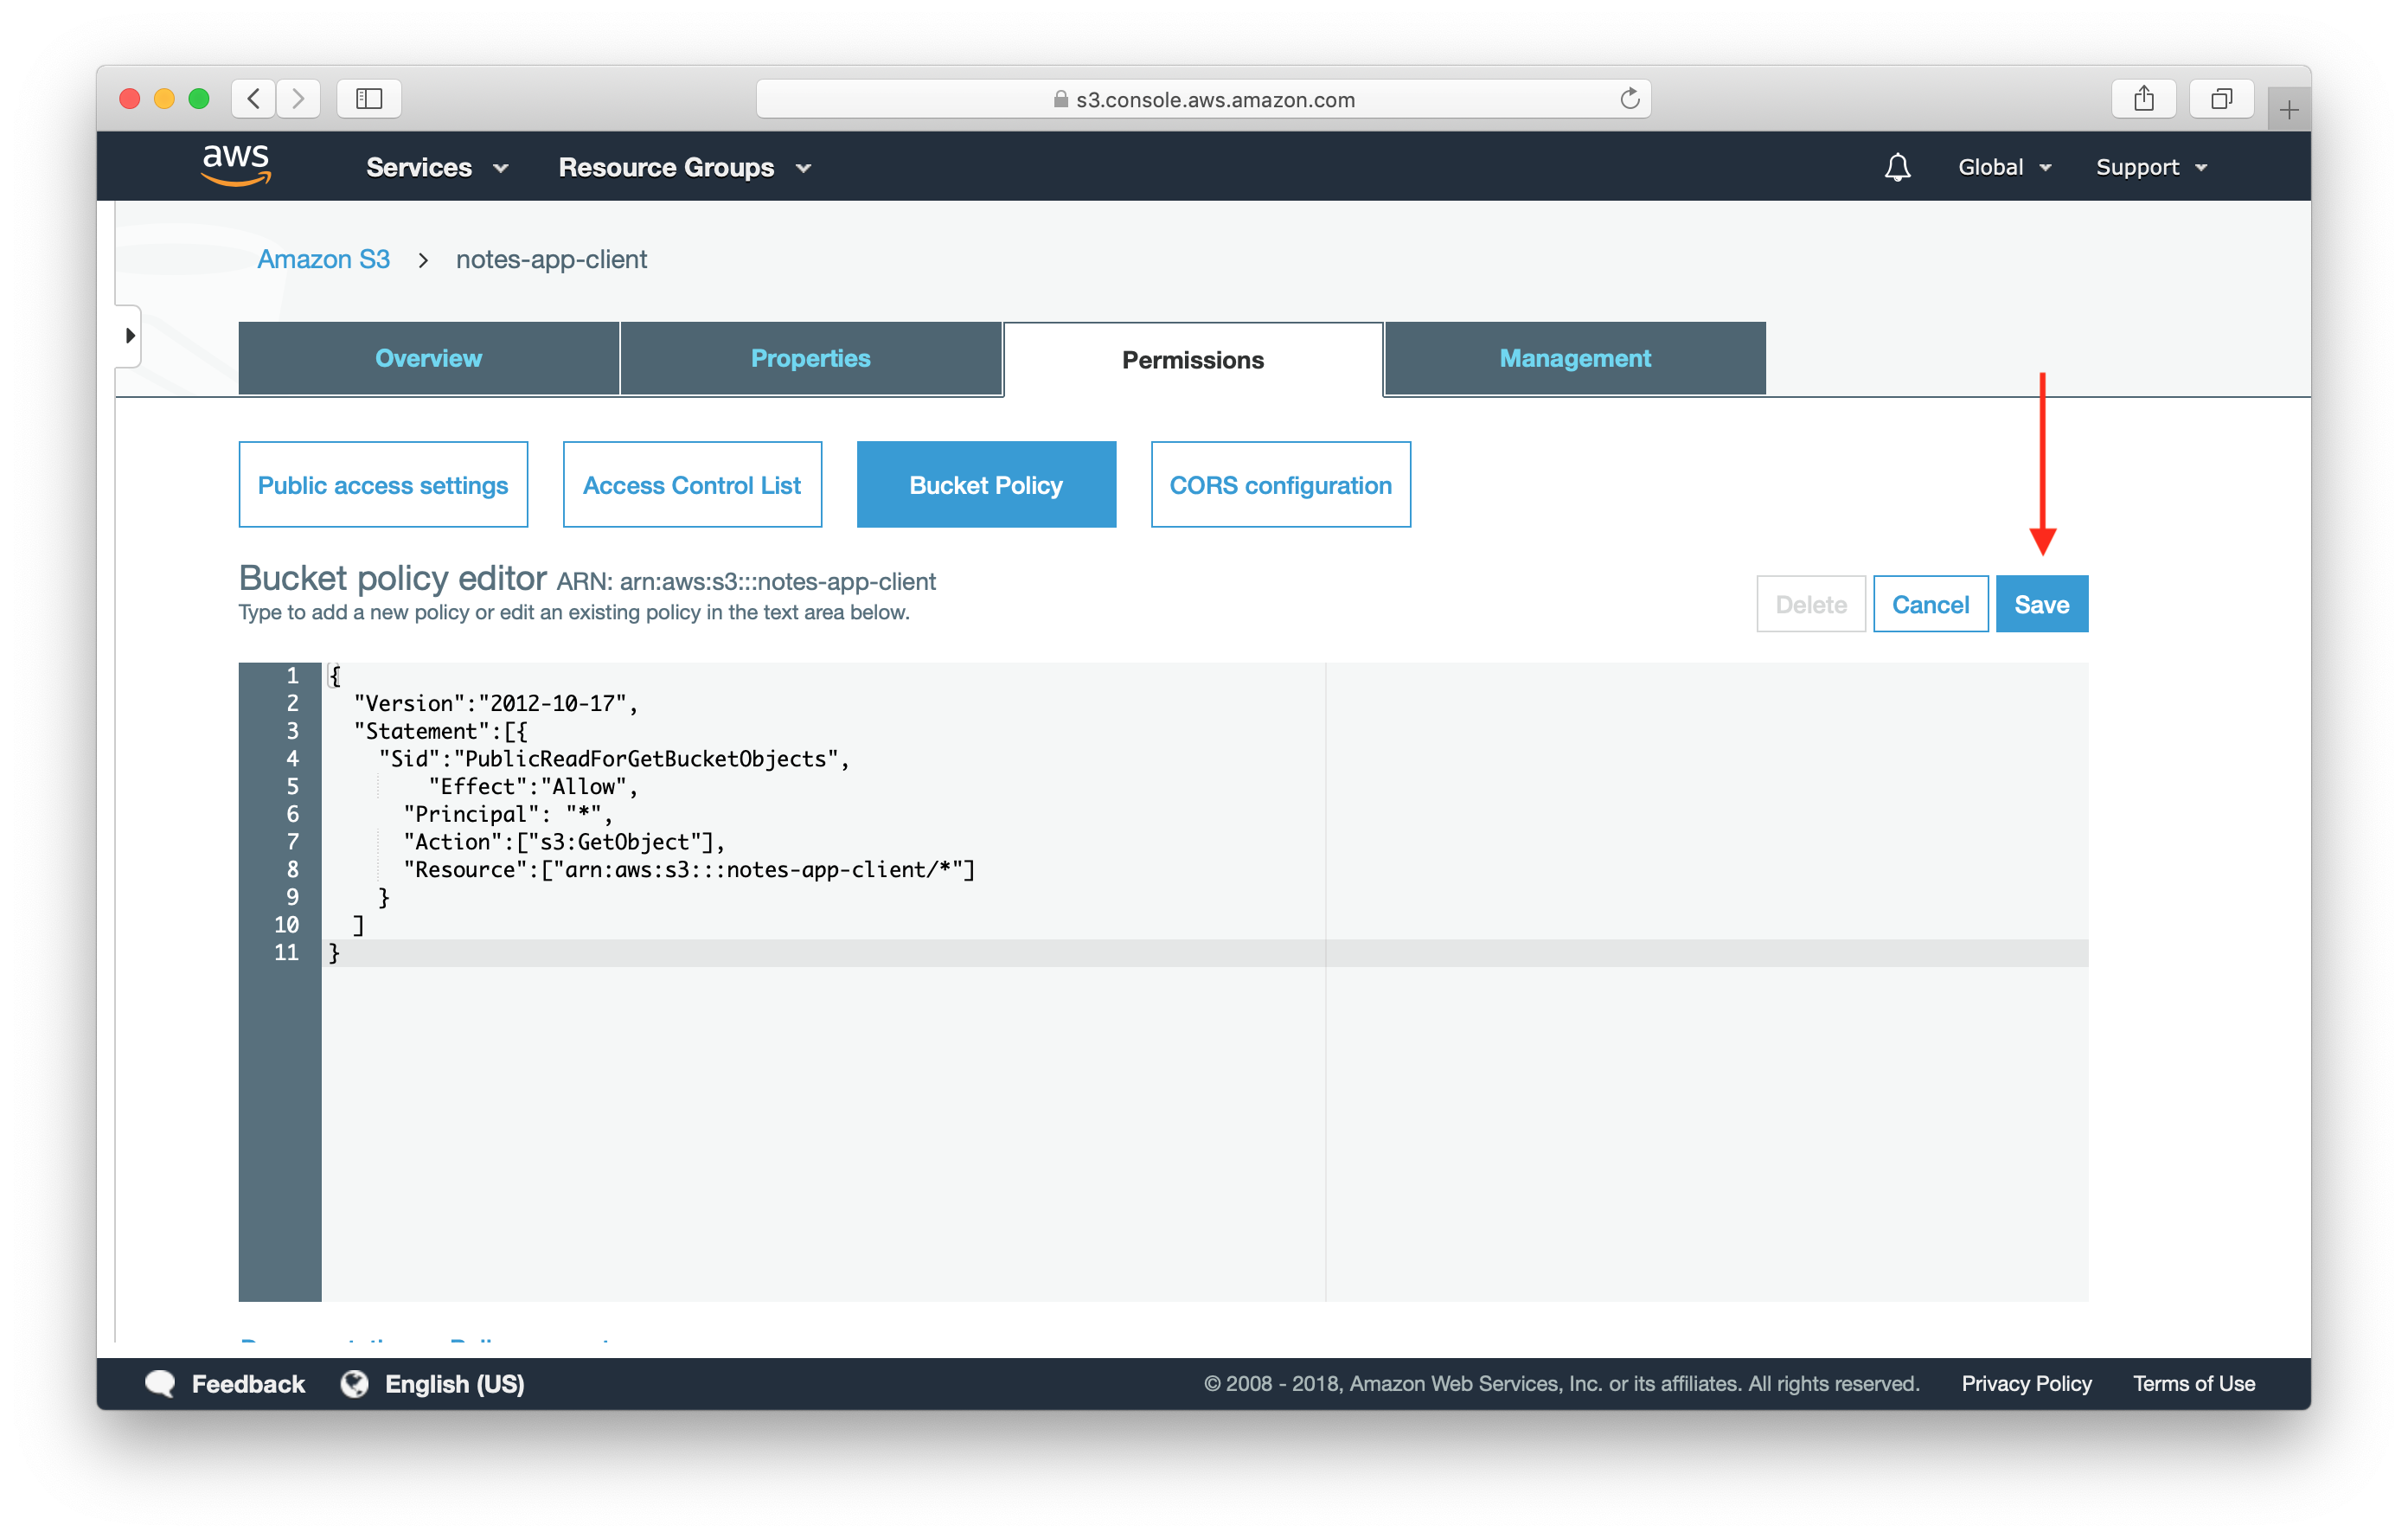
And hit Save.
Enable Static Web Hosting
And finally we need to turn our bucket into a static website. Select the Properties tab from the top panel.
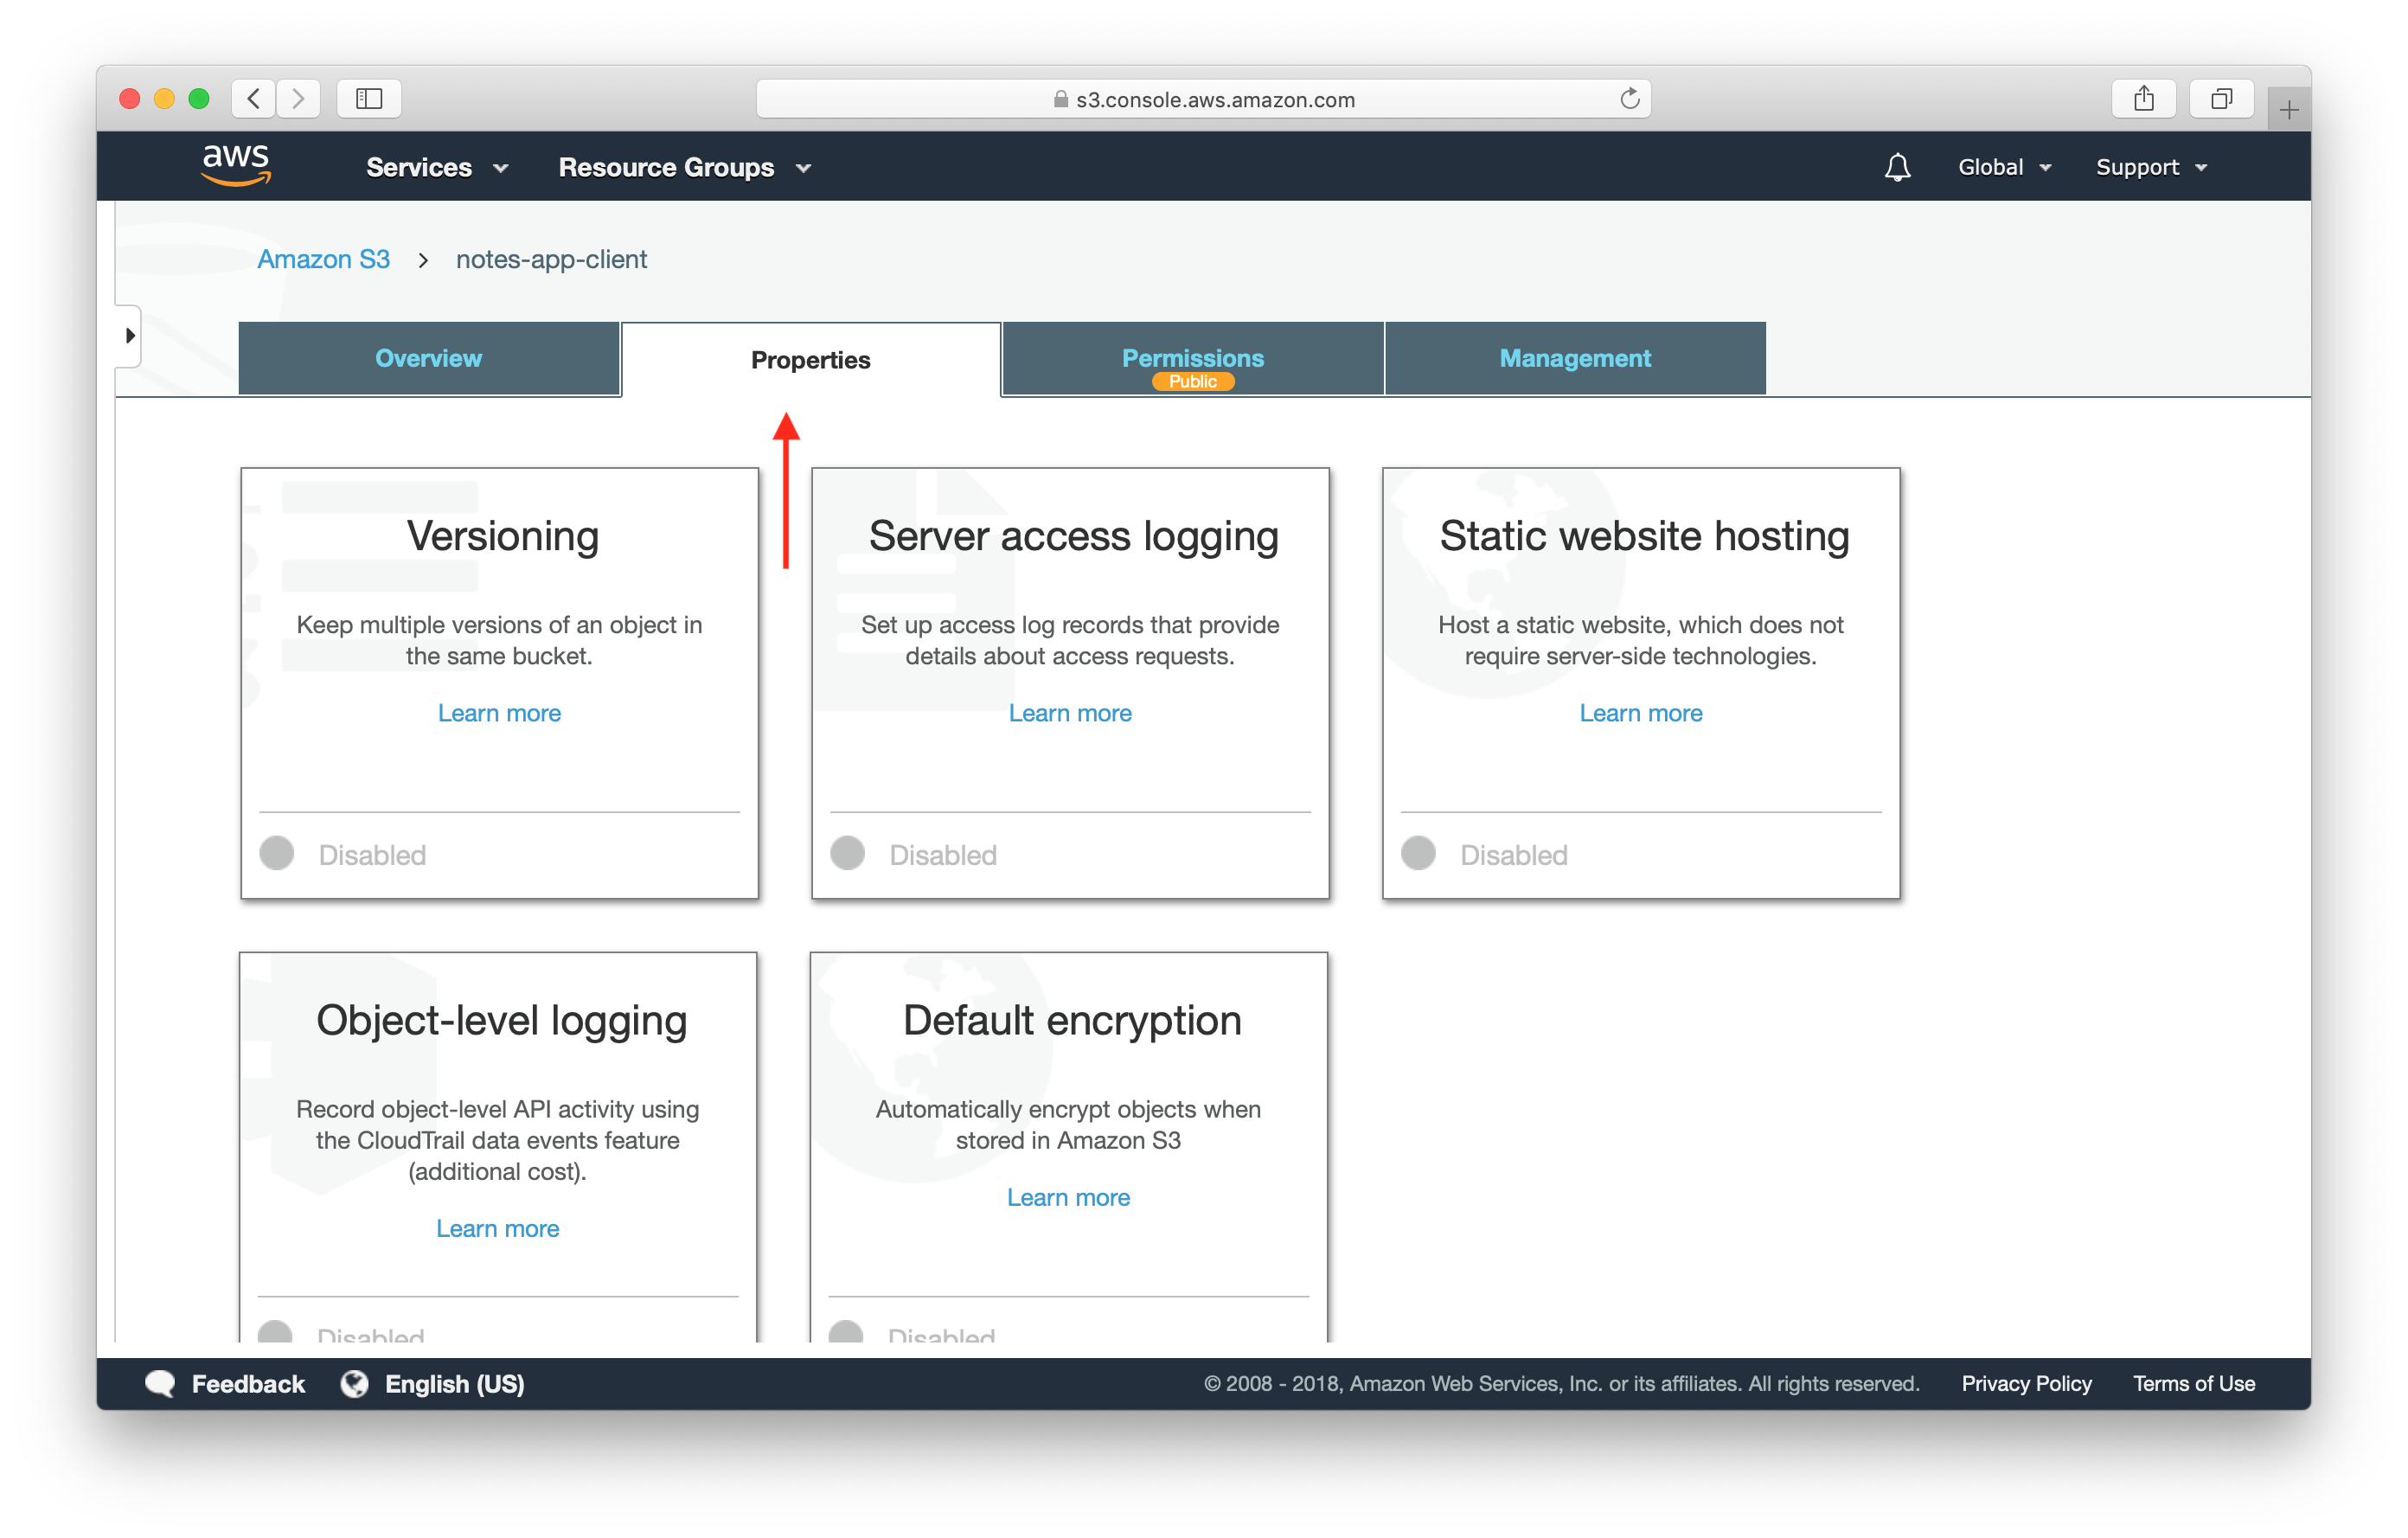
Select Static website hosting.
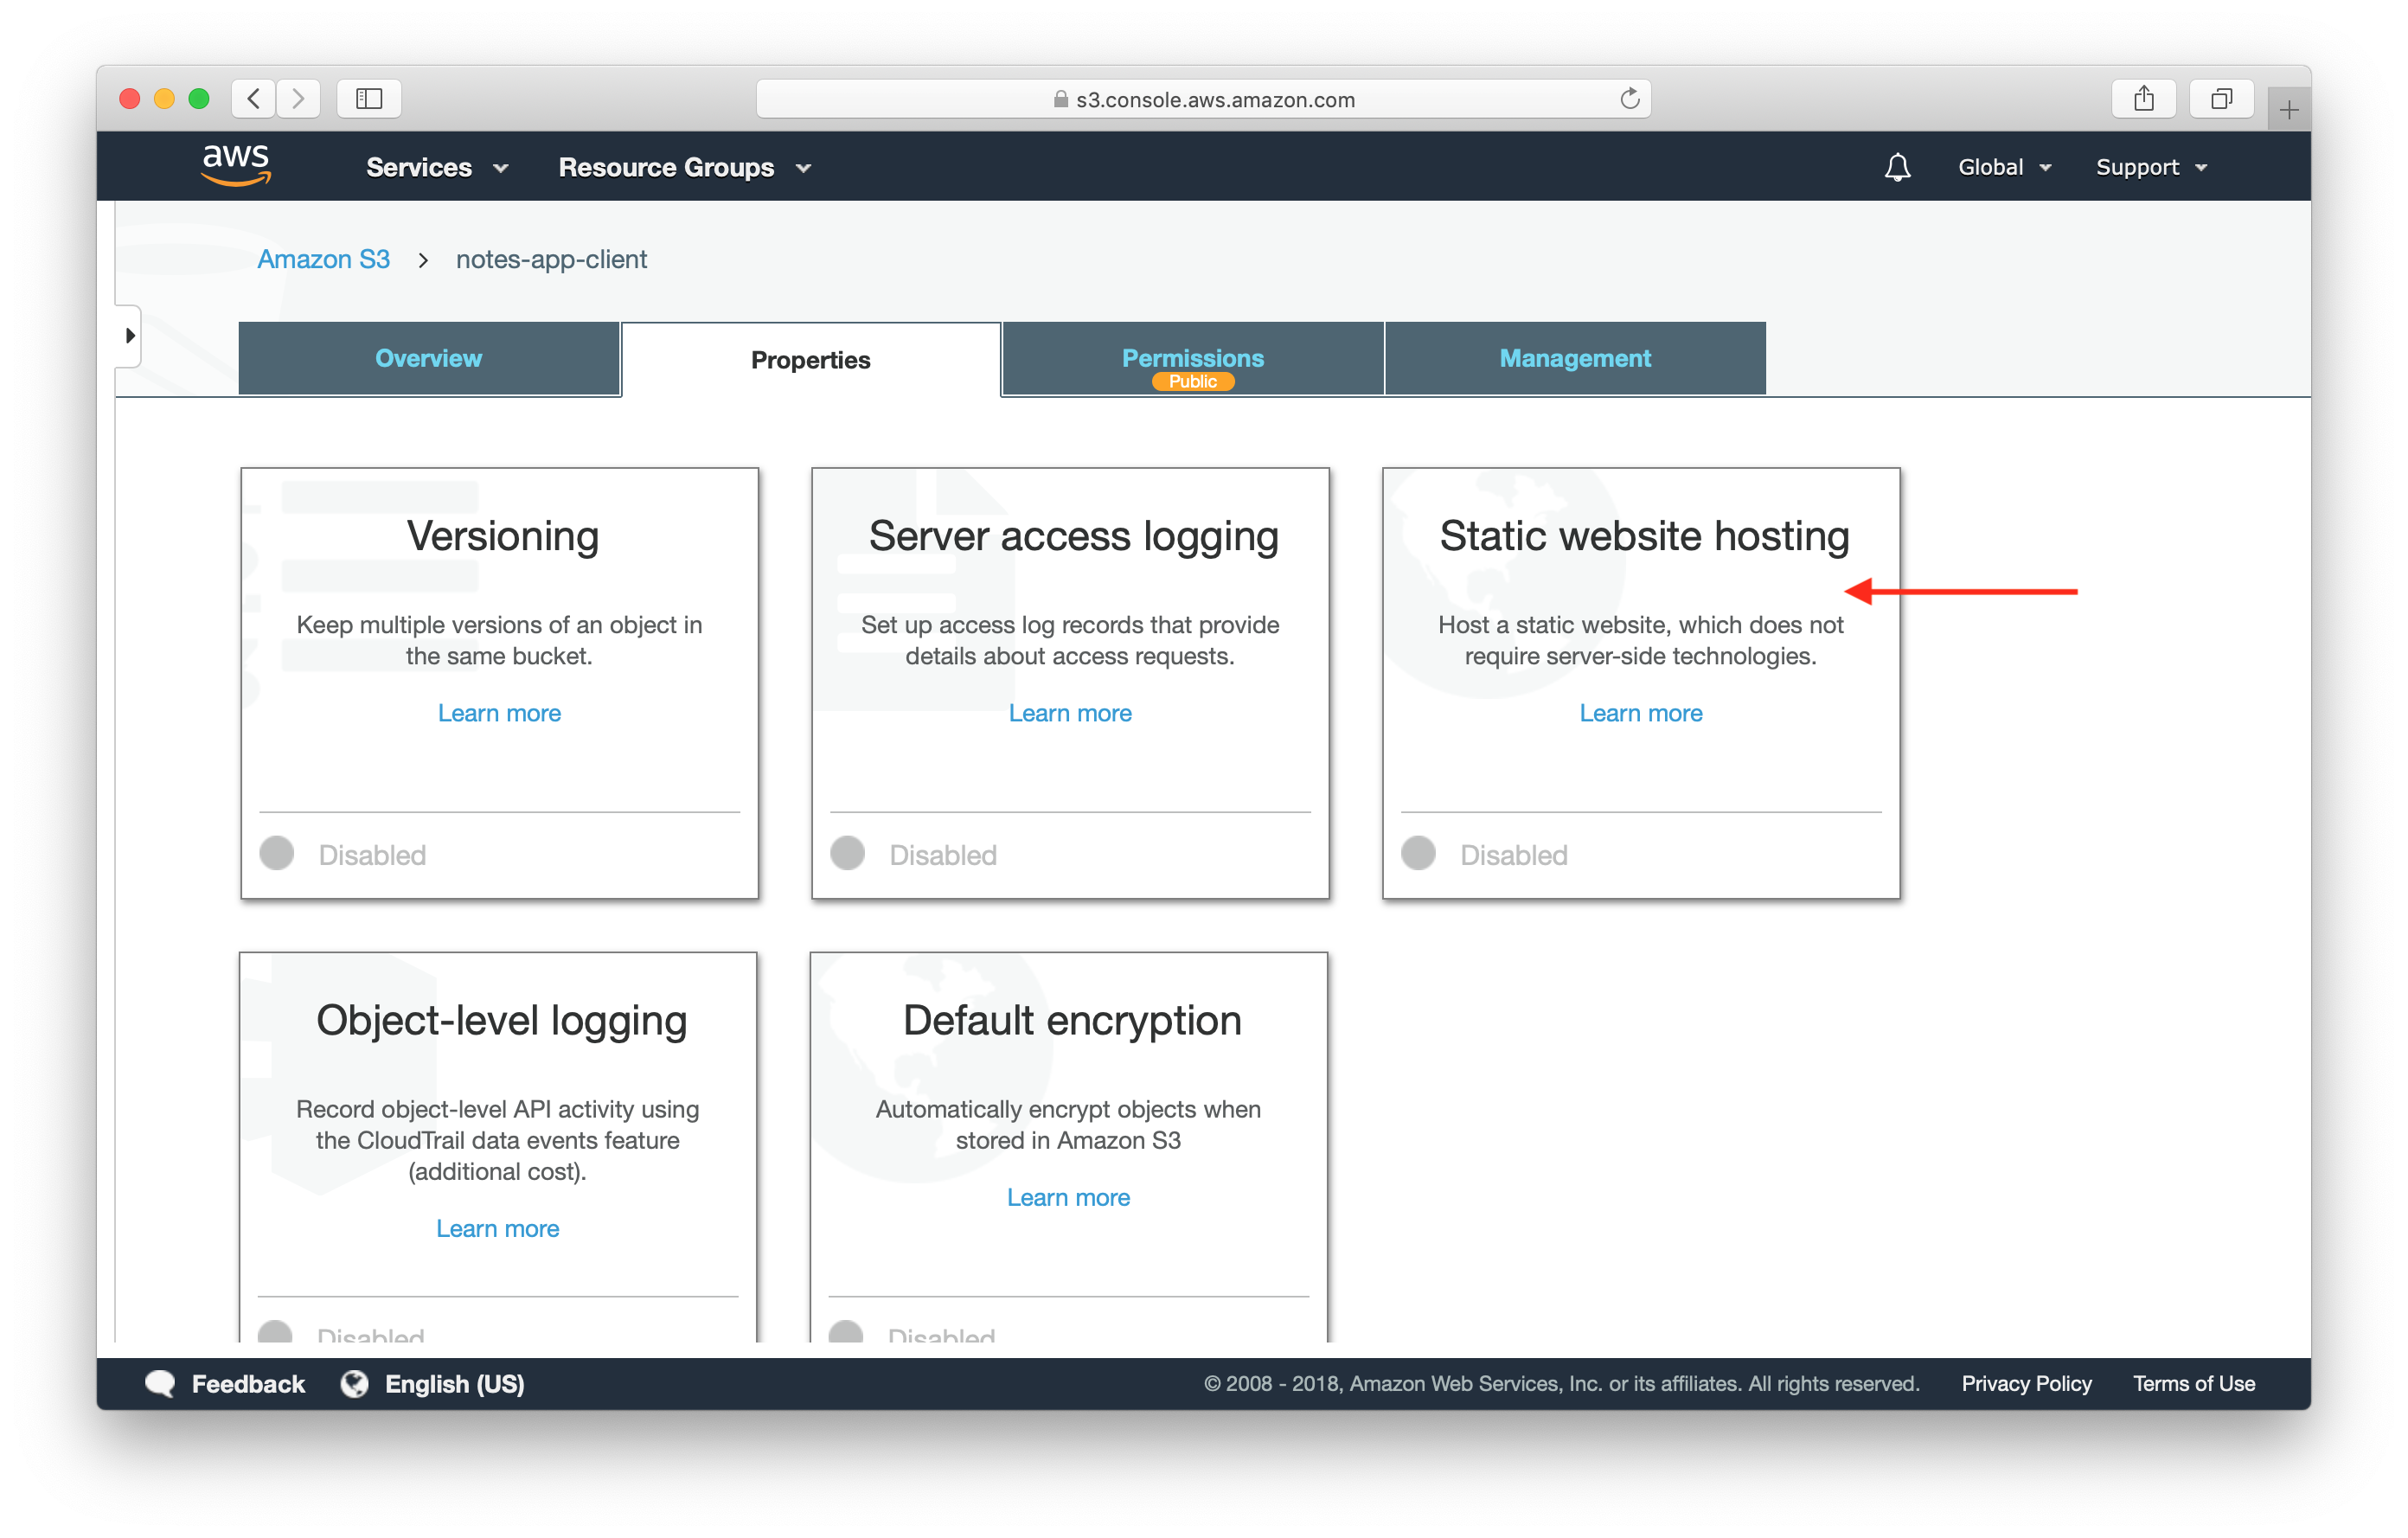
Now select Use this bucket to host a website and add our index.html as the Index Document and the Error Document. Since we are letting React handle 404s, we can simply redirect our errors to our index.html as well. Hit Save once you are done.
This panel also shows us where our app will be accessible. AWS assigns us a URL for our static website. In this case the URL assigned to me is notes-app-client.s3-website-us-east-1.amazonaws.com.

Now that our bucket is all set up and ready, let’s go ahead and upload our assets to it.
For help and discussion
Comments on this chapter