Create a DynamoDB Table
We are going to build a REST API for our notes app. It’s a simple CRUD (create, read, update, and delete) API. Meaning that we’ll be performing these operations on our database. We also want our users to be able to upload files as attachments to their notes.
So in this section we’ll be creating a couple of AWS resources:
- A database
- And a file storage service
Let’s first start by thinking about how the data is going to be stored. We are going to use DynamoDB to do this.
About DynamoDB
Amazon DynamoDB is a fully managed NoSQL database that provides fast and predictable performance with seamless scalability. DynamoDB is also a Serverless database, which means (as you guessed) it’ll scale automatically and you only pay for what you use.
Similar to other databases, DynamoDB stores data in tables. Each table contains multiple items, and each item is composed of one or more attributes. We are going to cover some basics in the following chapters. But to get a better feel for it, here is a great guide on DynamoDB.
Create Table
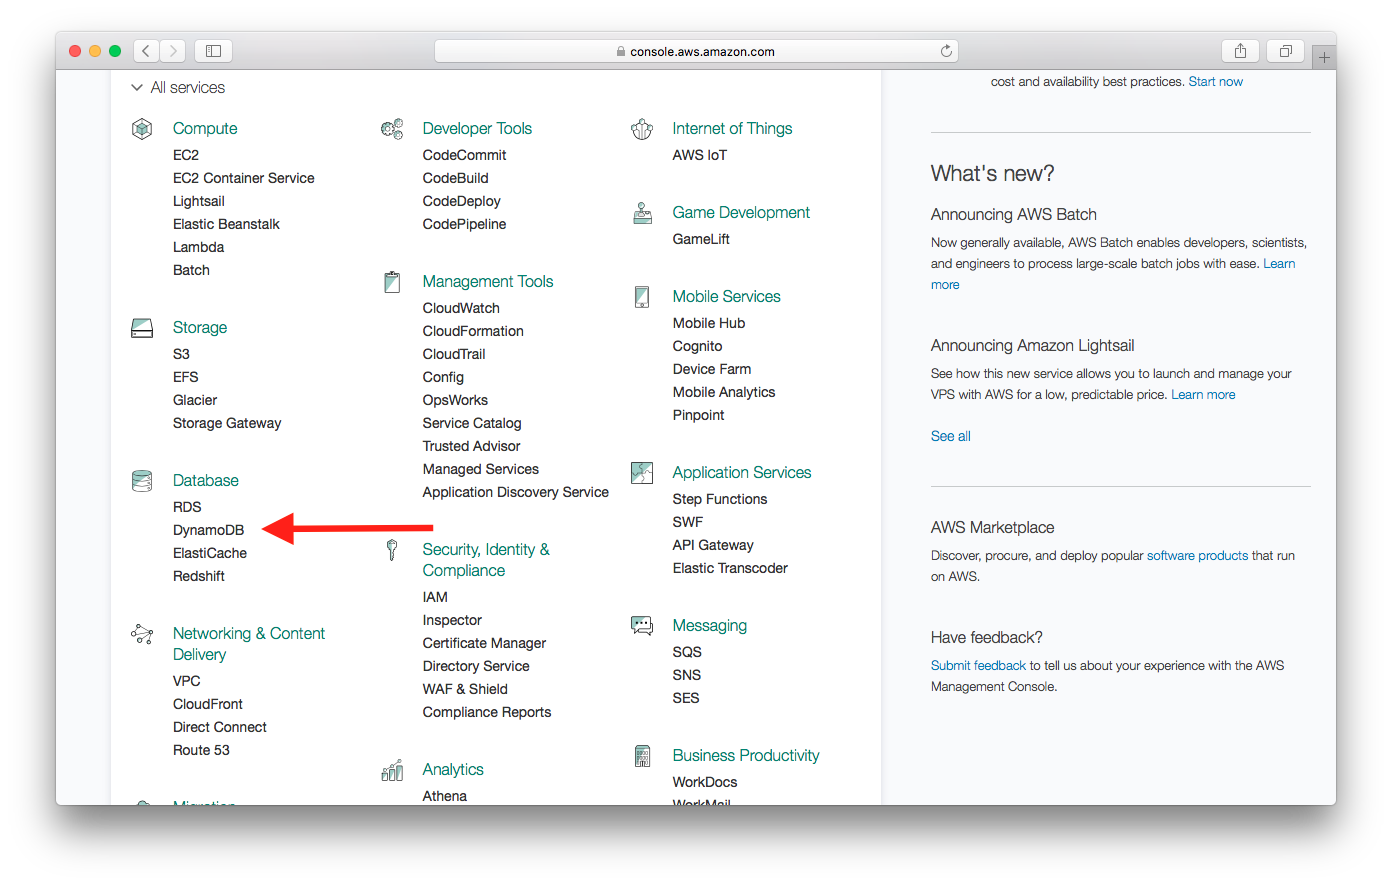
First, log in to your AWS Console and select DynamoDB from the list of services.
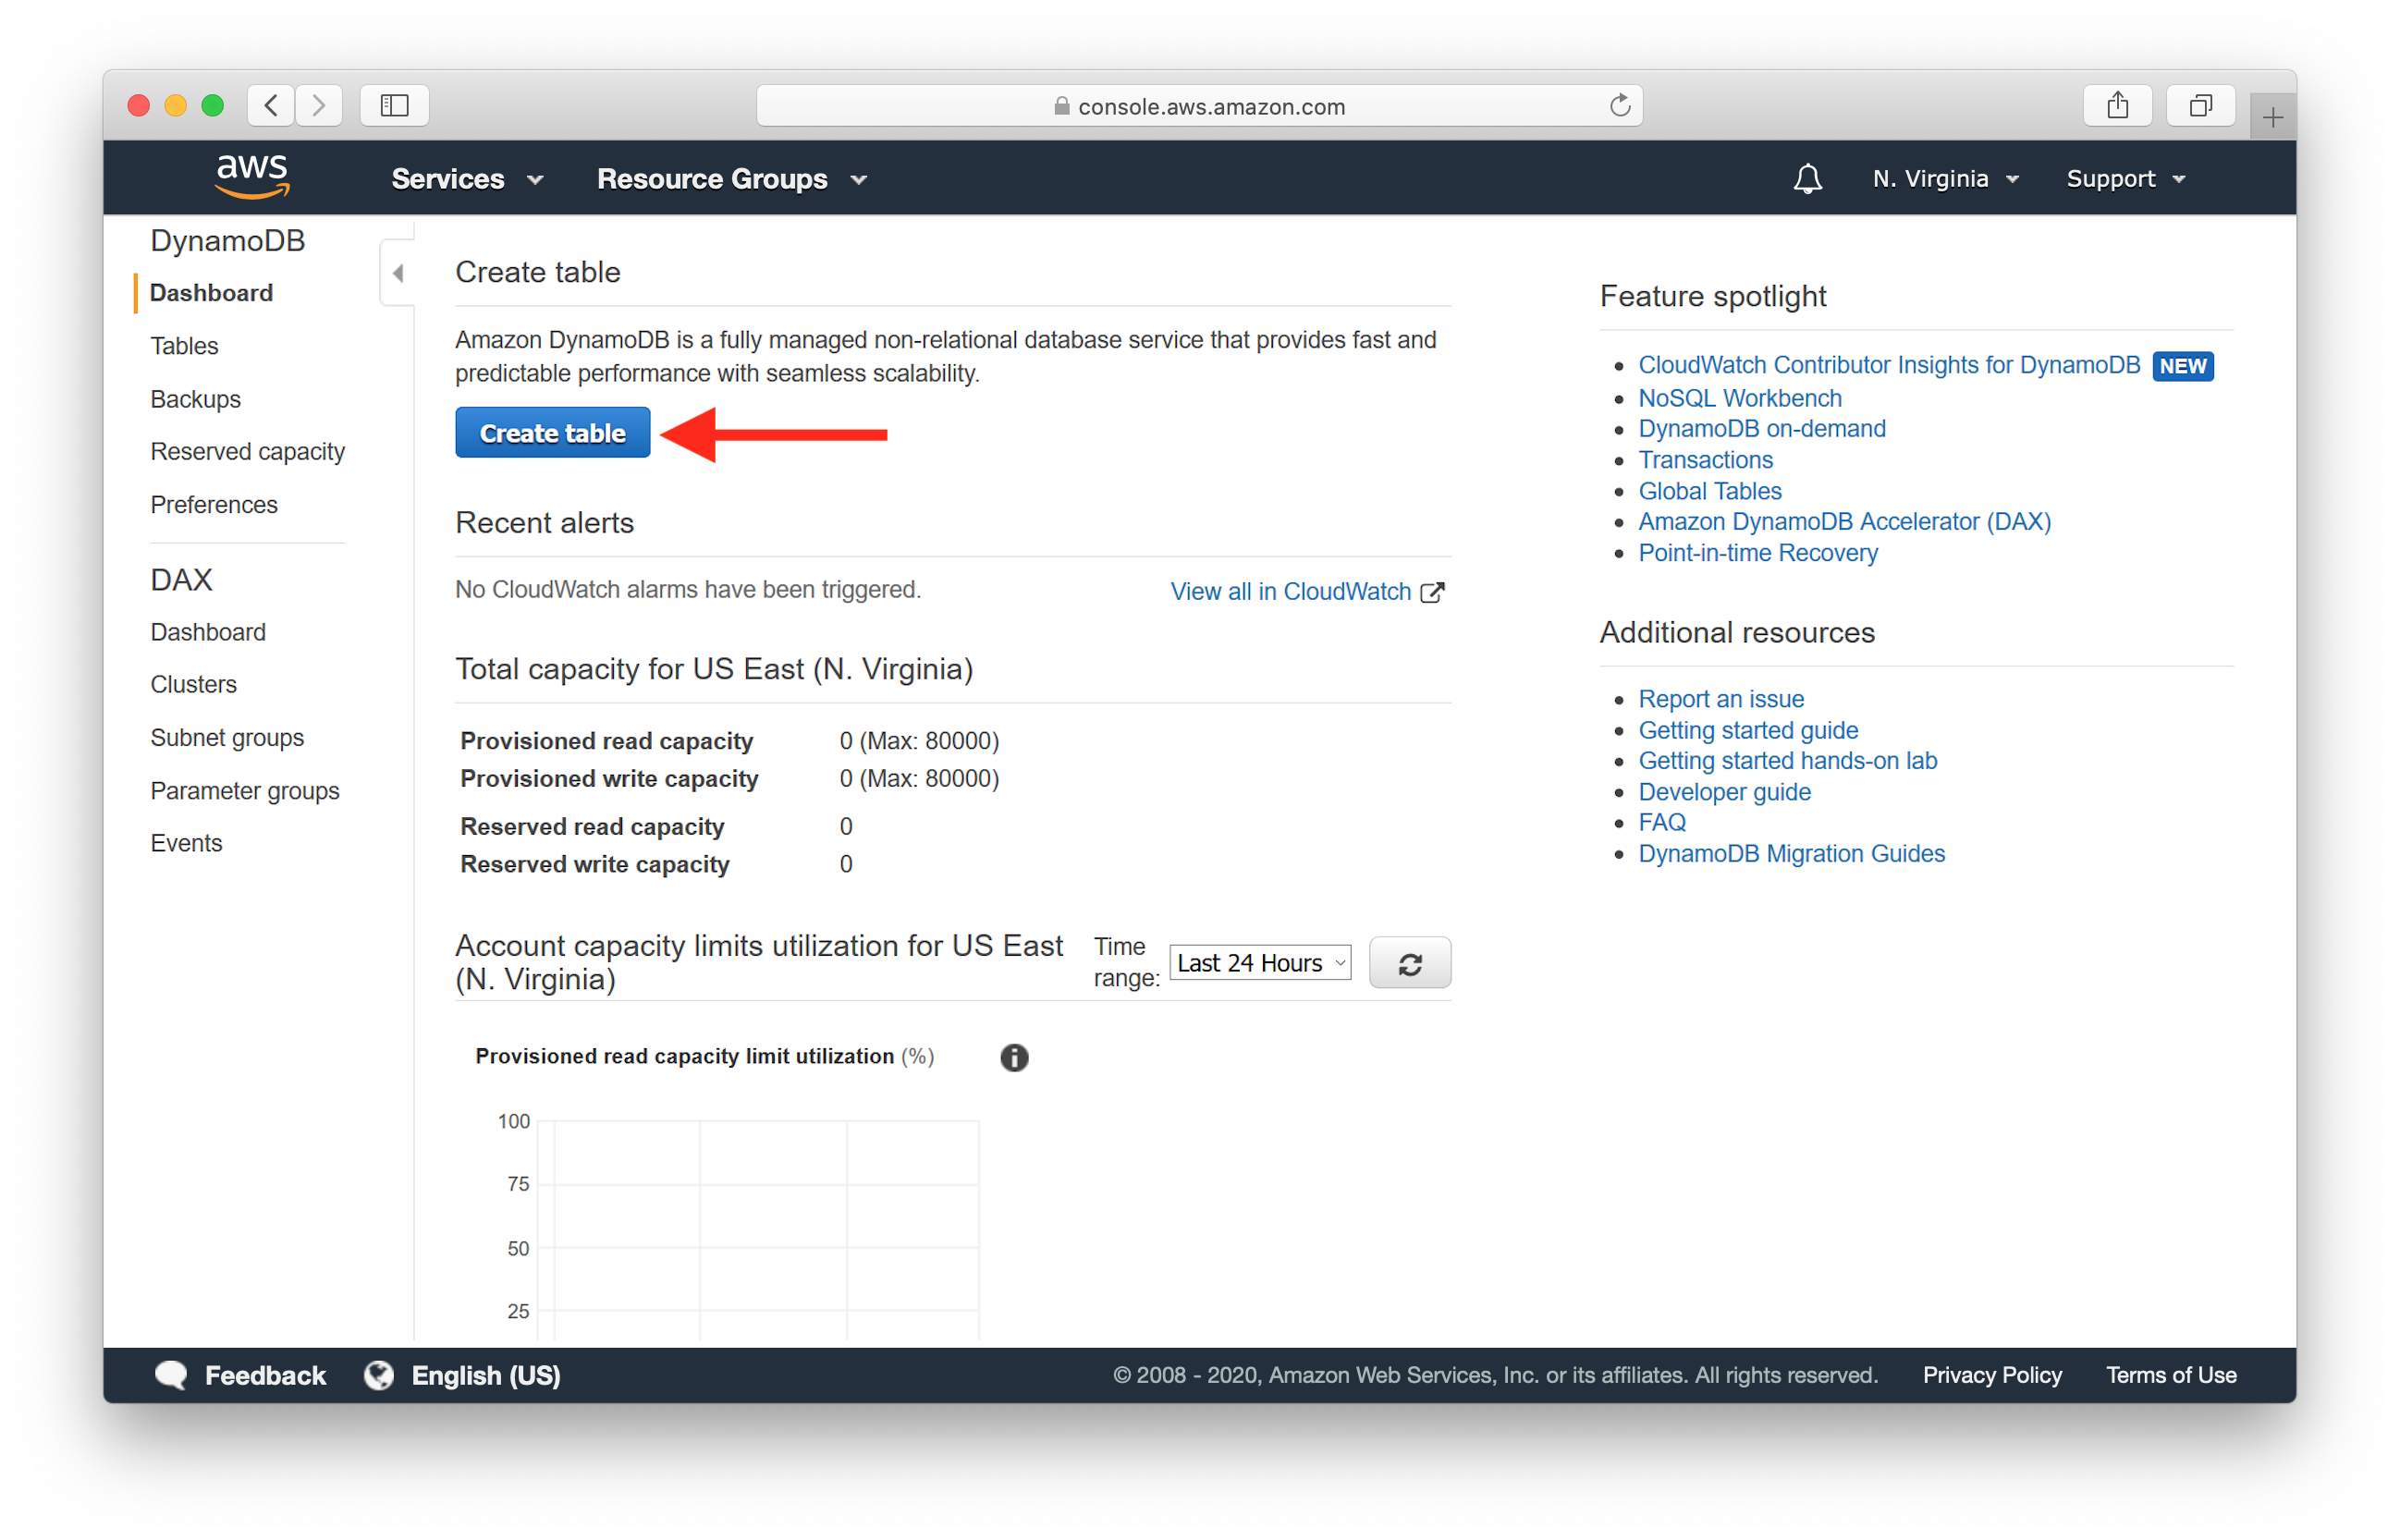
Select Create table.
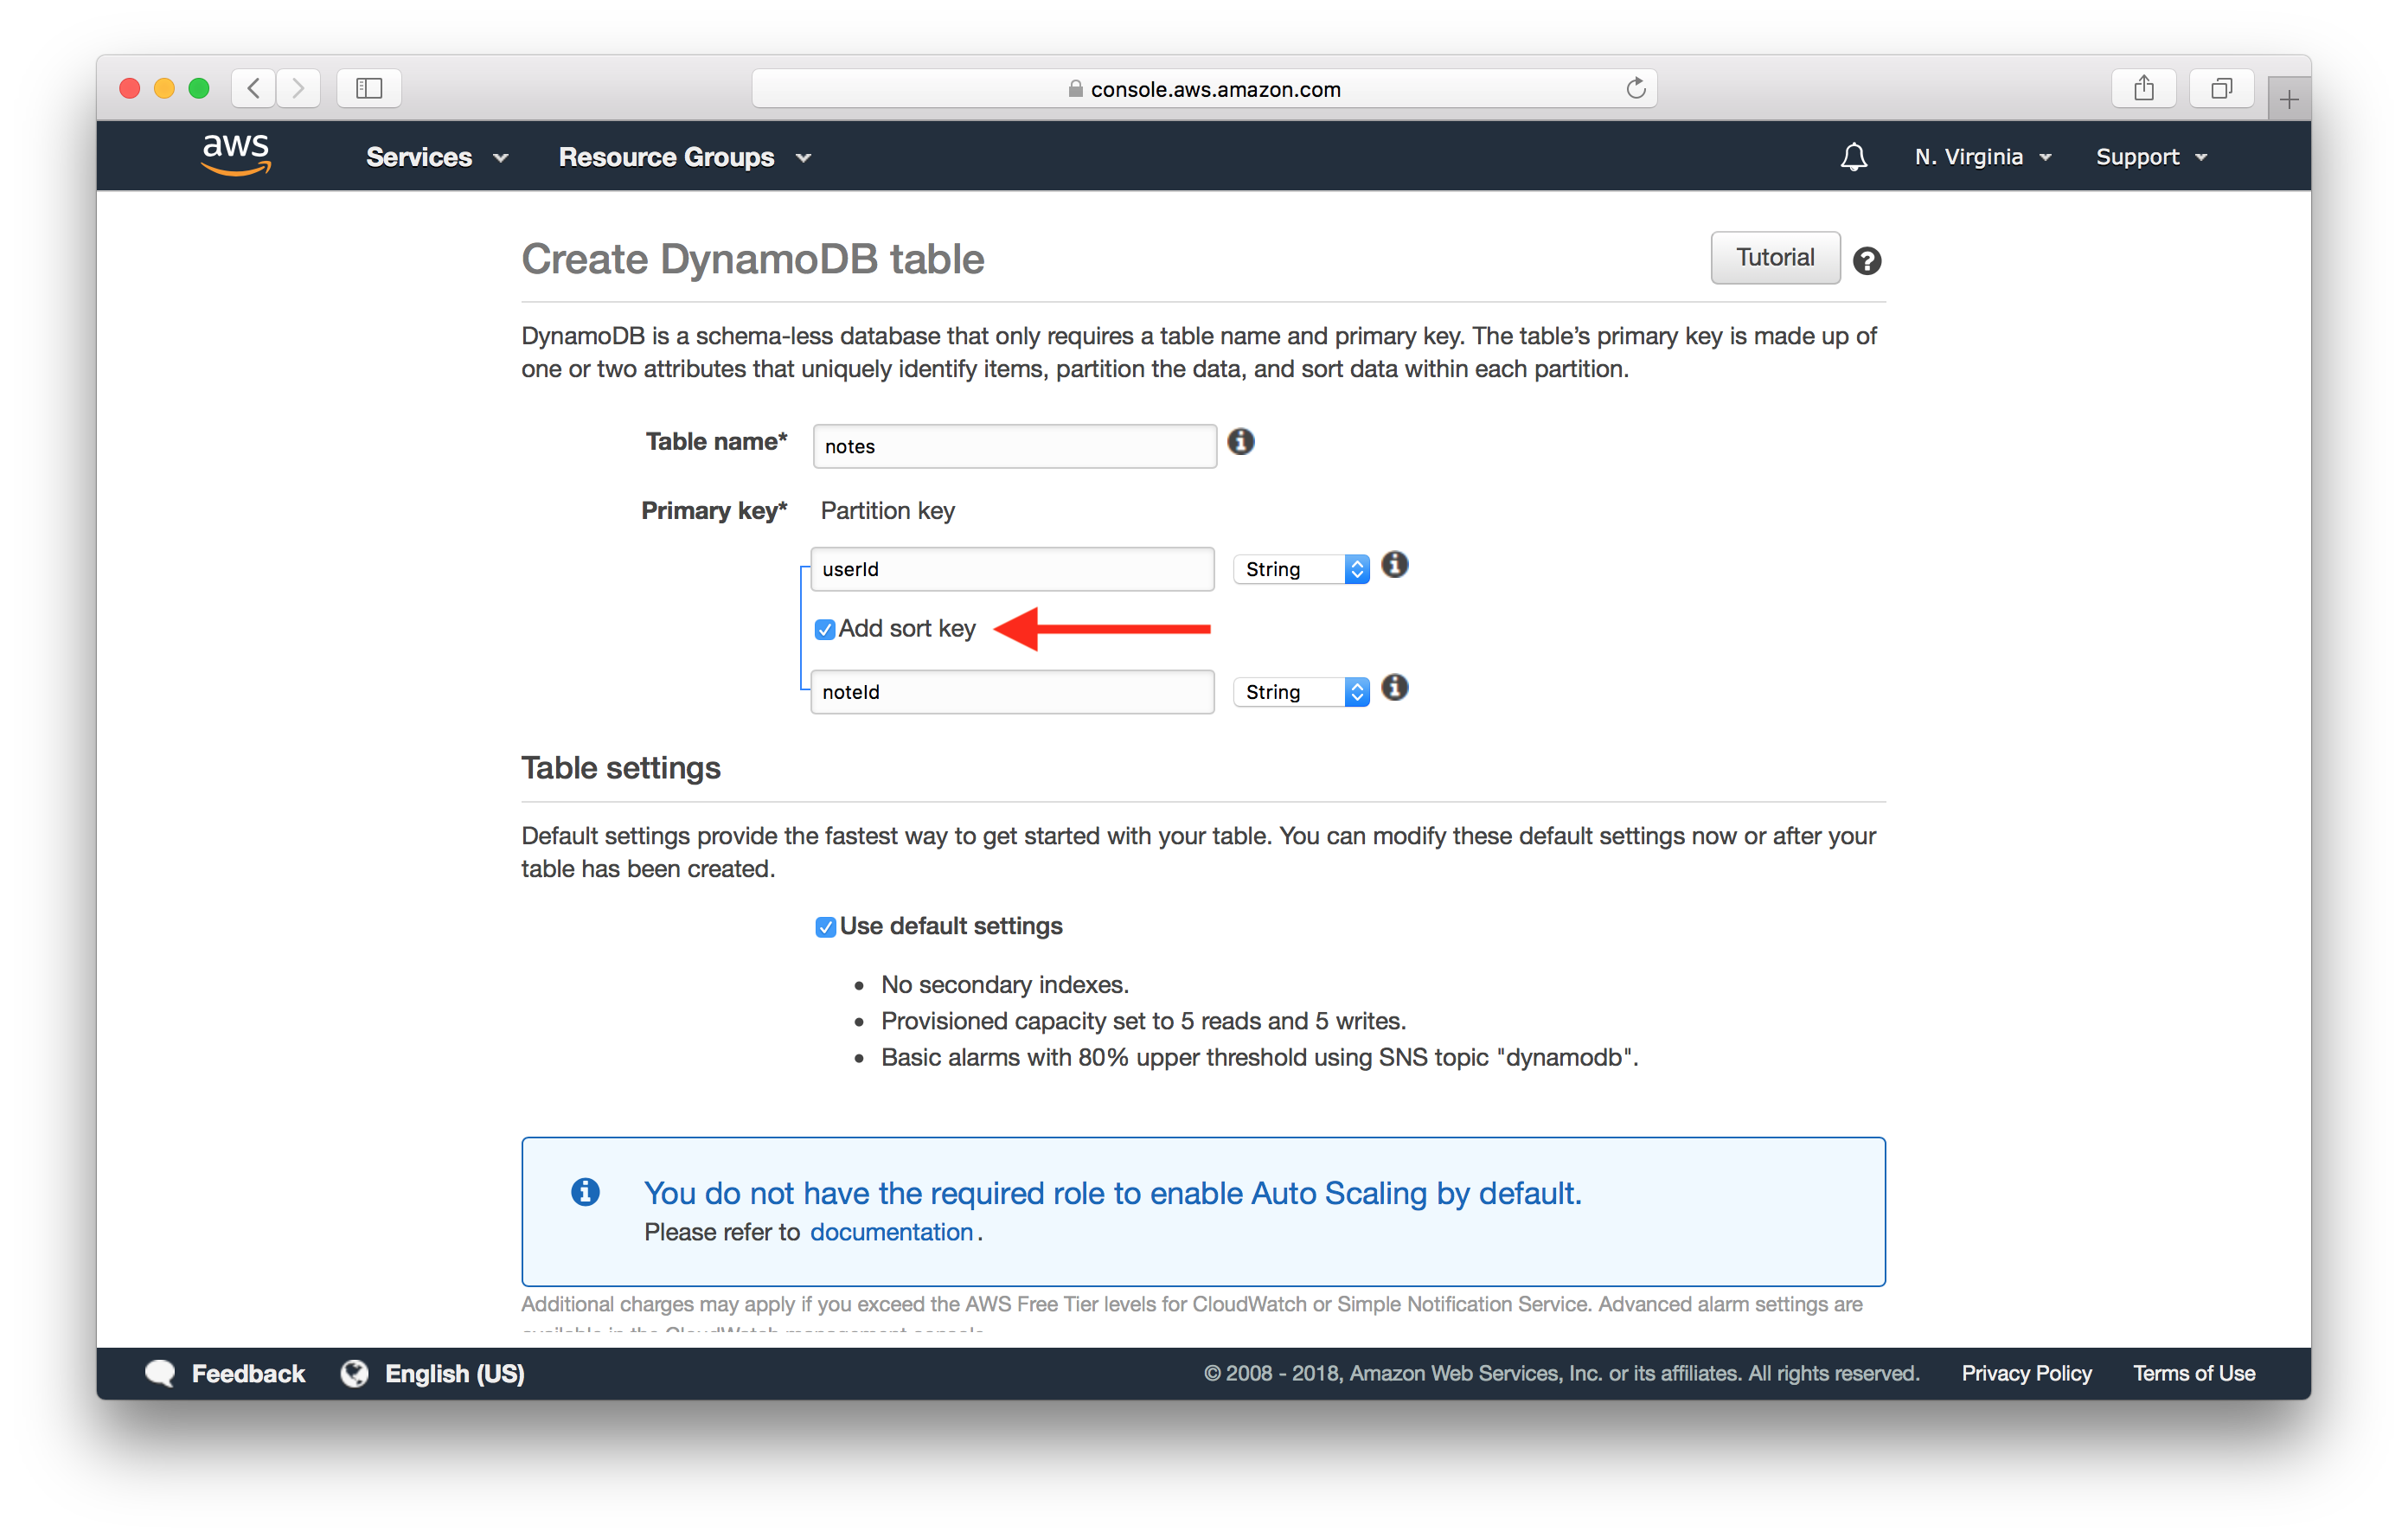
Enter the Table name and Primary key info as shown below. Just make sure that userId and noteId are in camel case.
Each DynamoDB table has a primary key, which cannot be changed once set. The primary key uniquely identifies each item in the table, so that no two items can have the same key. DynamoDB supports two different kinds of primary keys:
- Partition key
- Partition key and sort key (composite)
We are going to use the composite primary key which gives us additional flexibility when querying the data. For example, if you provide only the value for userId, DynamoDB would retrieve all of the notes by that user. Or you could provide a value for userId and a value for noteId, to retrieve a particular note.
To further your understanding of how indexes work in DynamoDB, you can read more here: DynamoDB Core Components
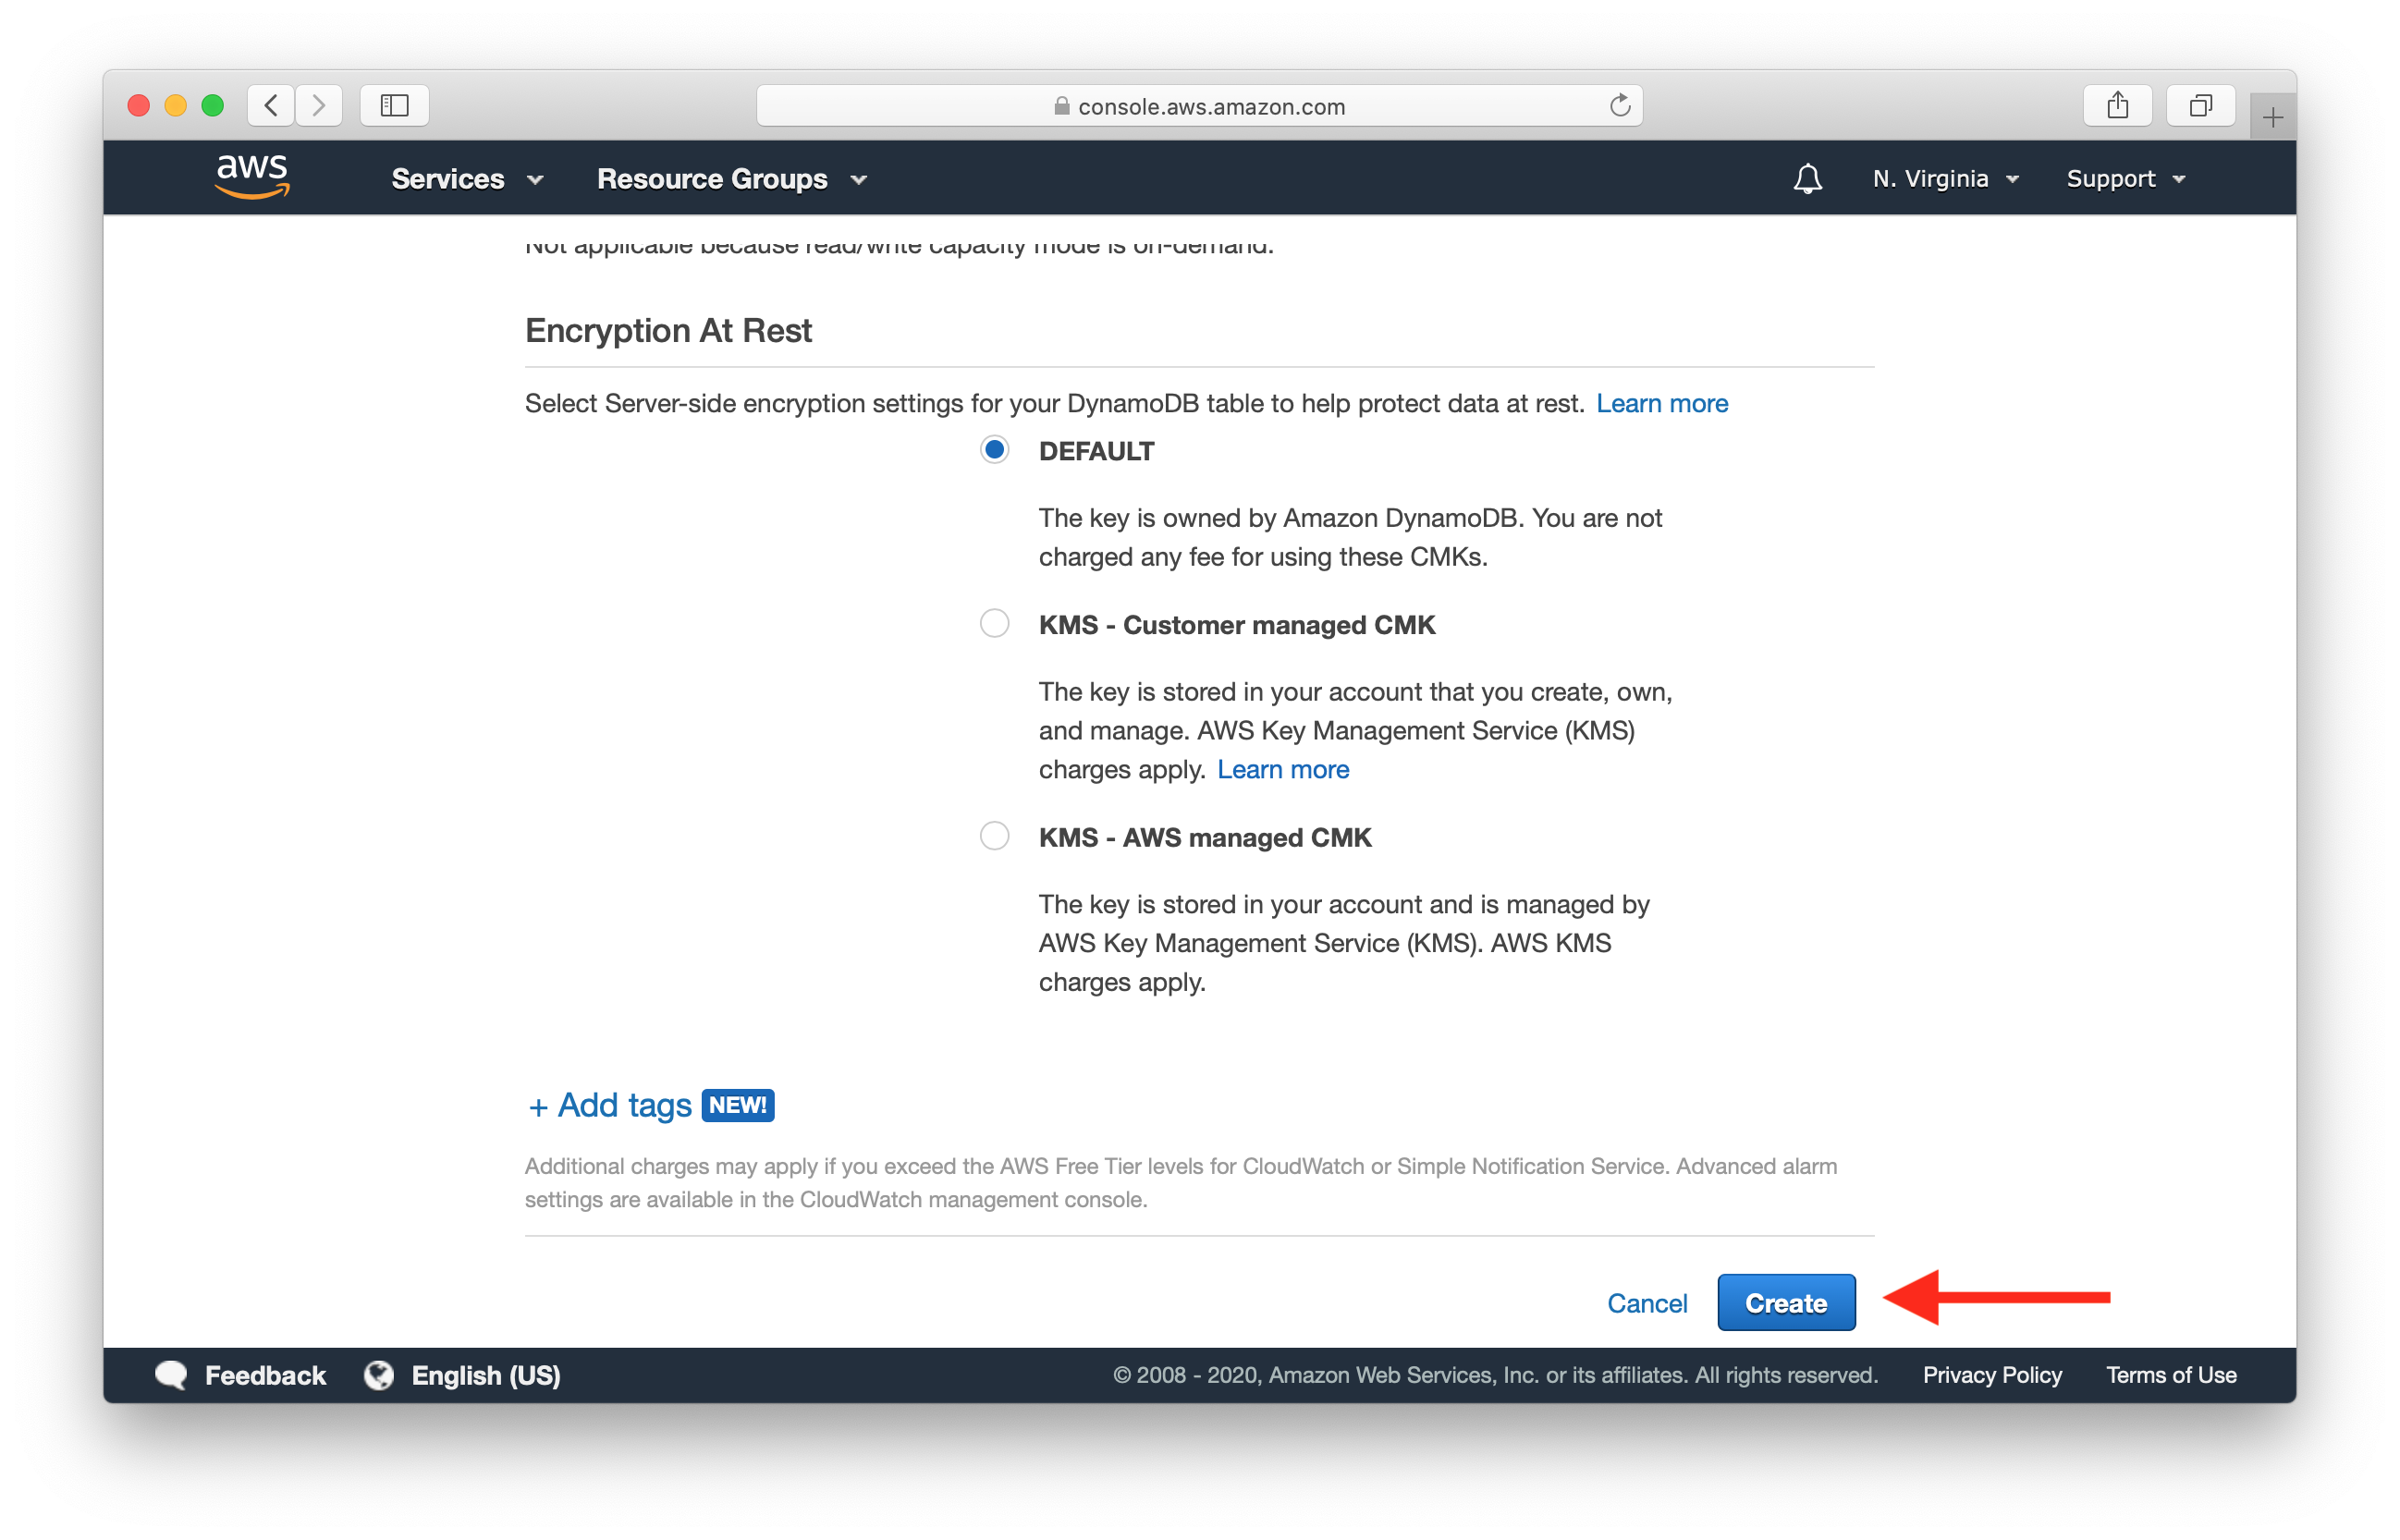
Next scroll down and deselect Use default settings.
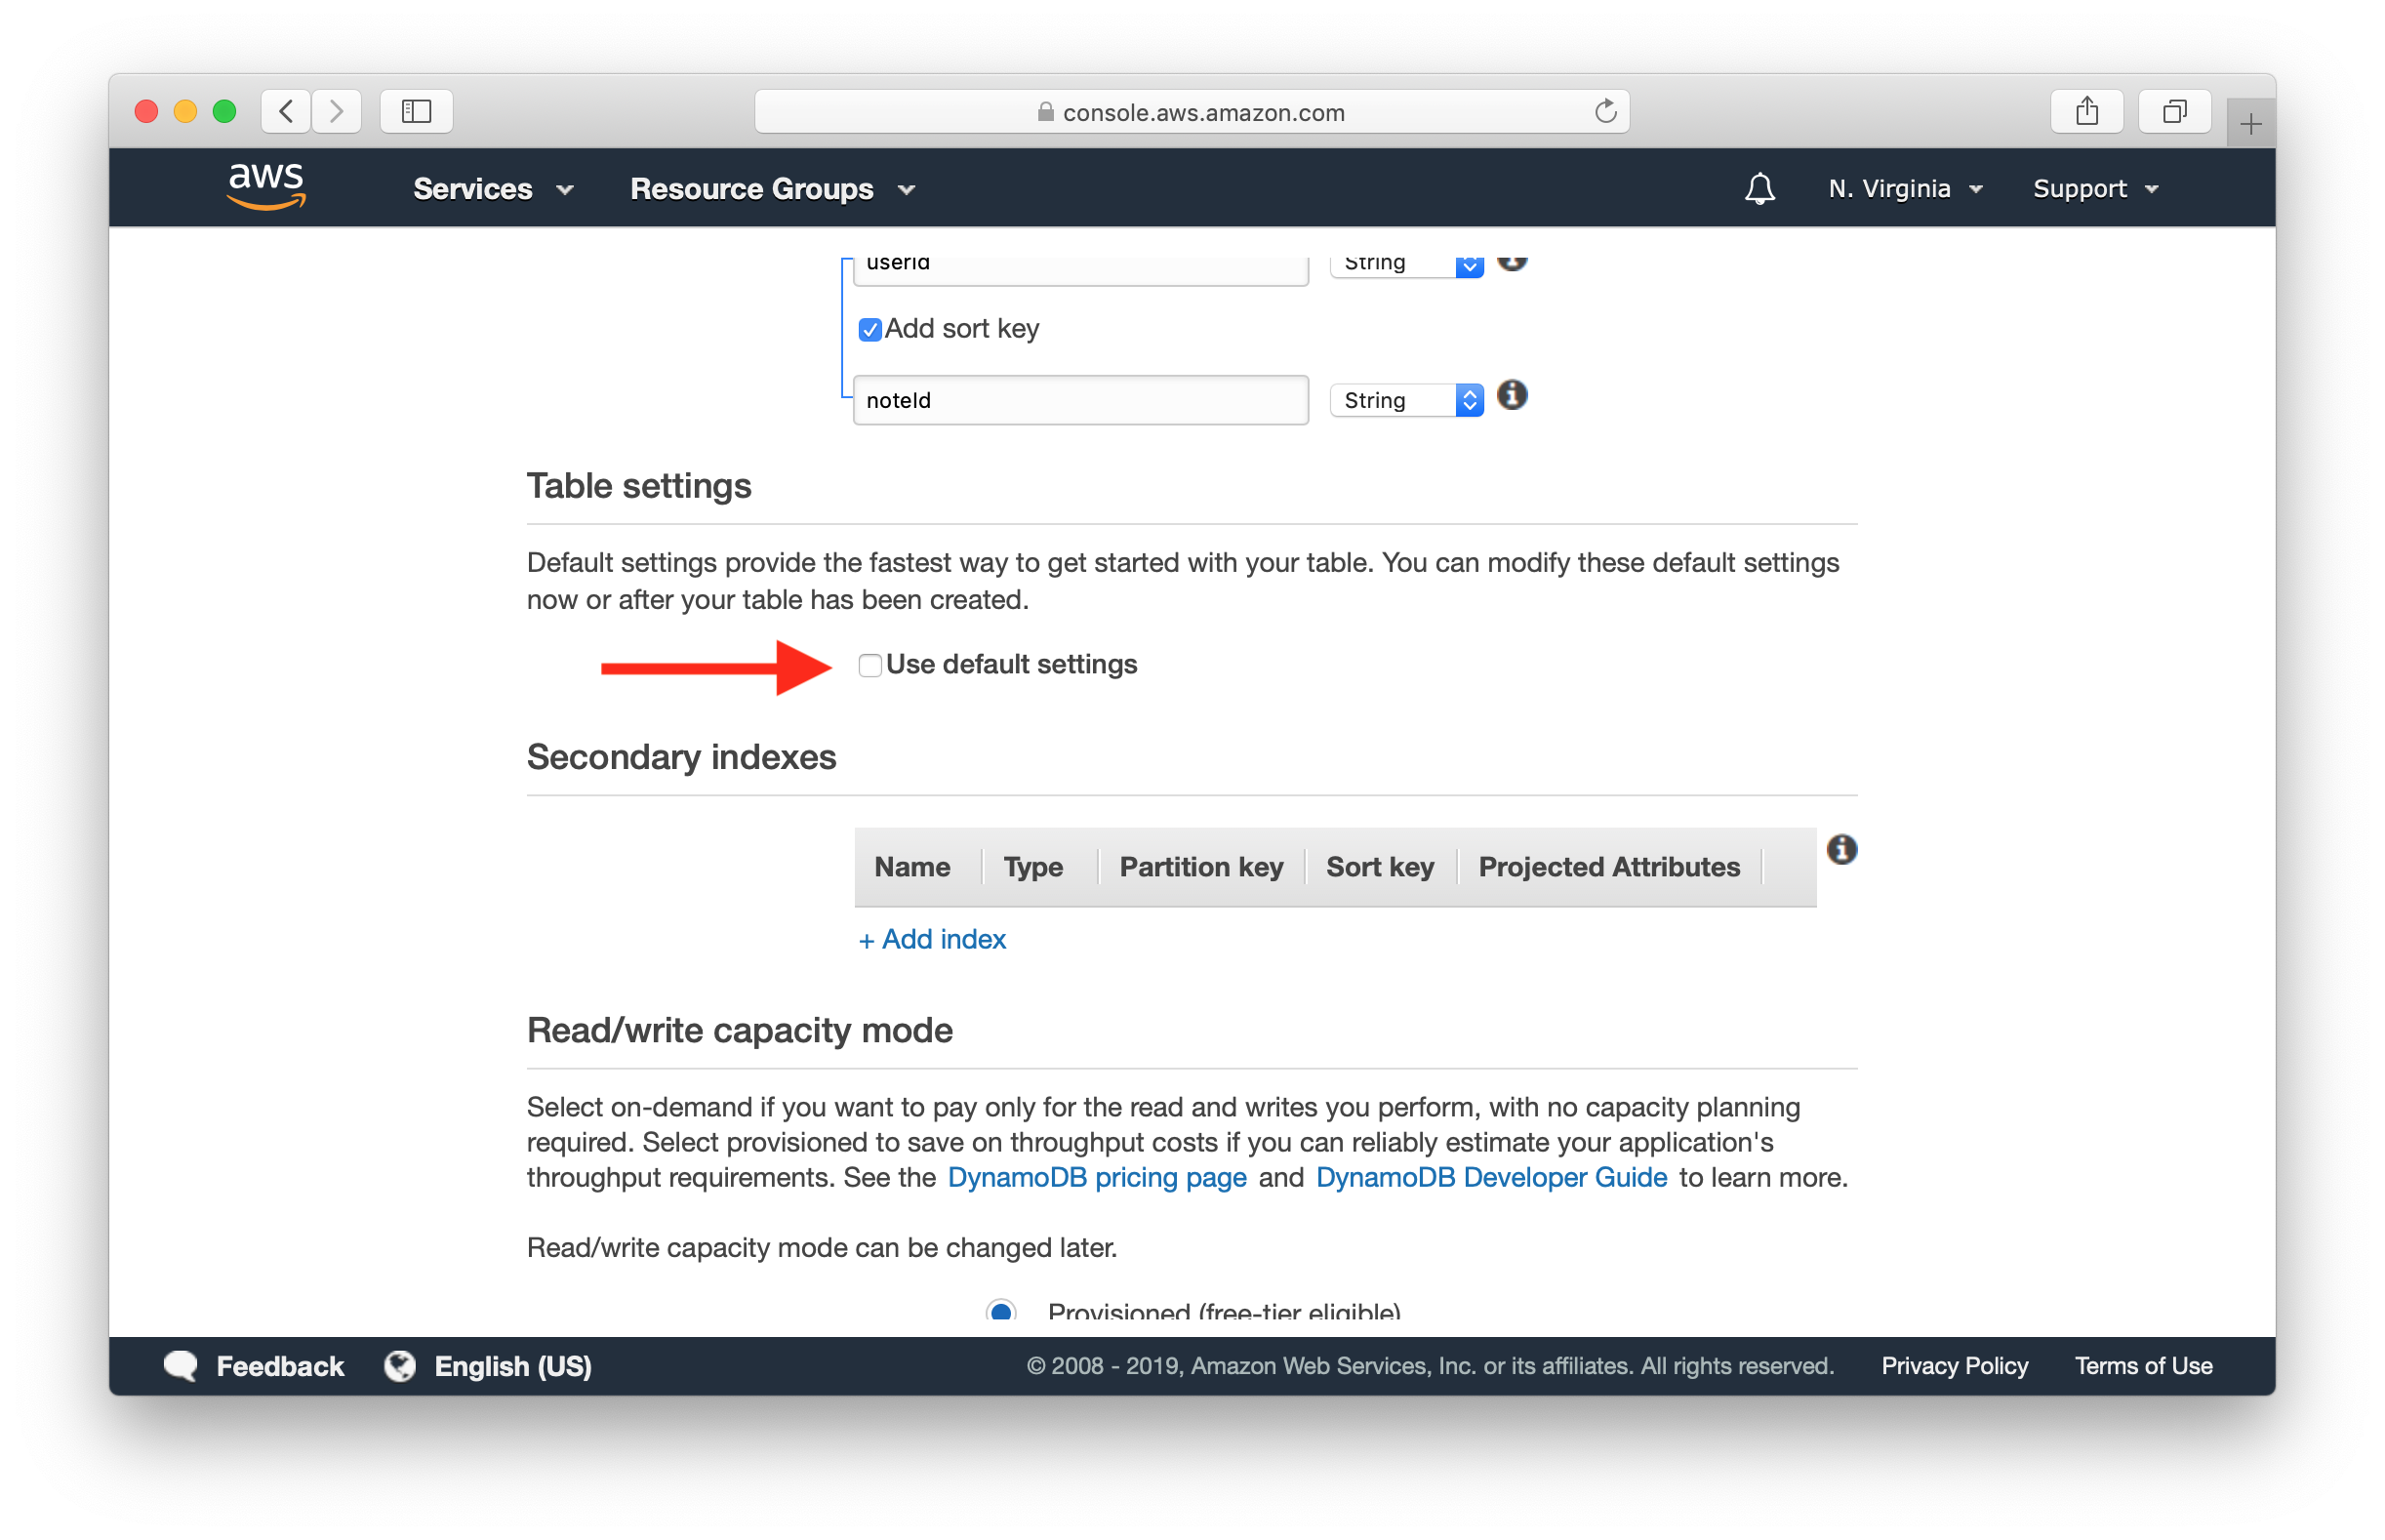
Scroll down further and select On-demand instead of Provisioned.

On-Demand Capacity is DynamoDB’s pay per request mode. For workloads that are not predictable or if you are just starting out, this ends up being a lot cheaper than the Provisioned Capacity mode.
If the On-Demand Capacity option is missing and there is an info box containing the message “You do not have the required role to enable Auto Scaling by default”, you can create the table and afterwards modify the setting from the “Capacity” tab of the table settings page. The role mentioned by the info box is automatically created by the table creation process.
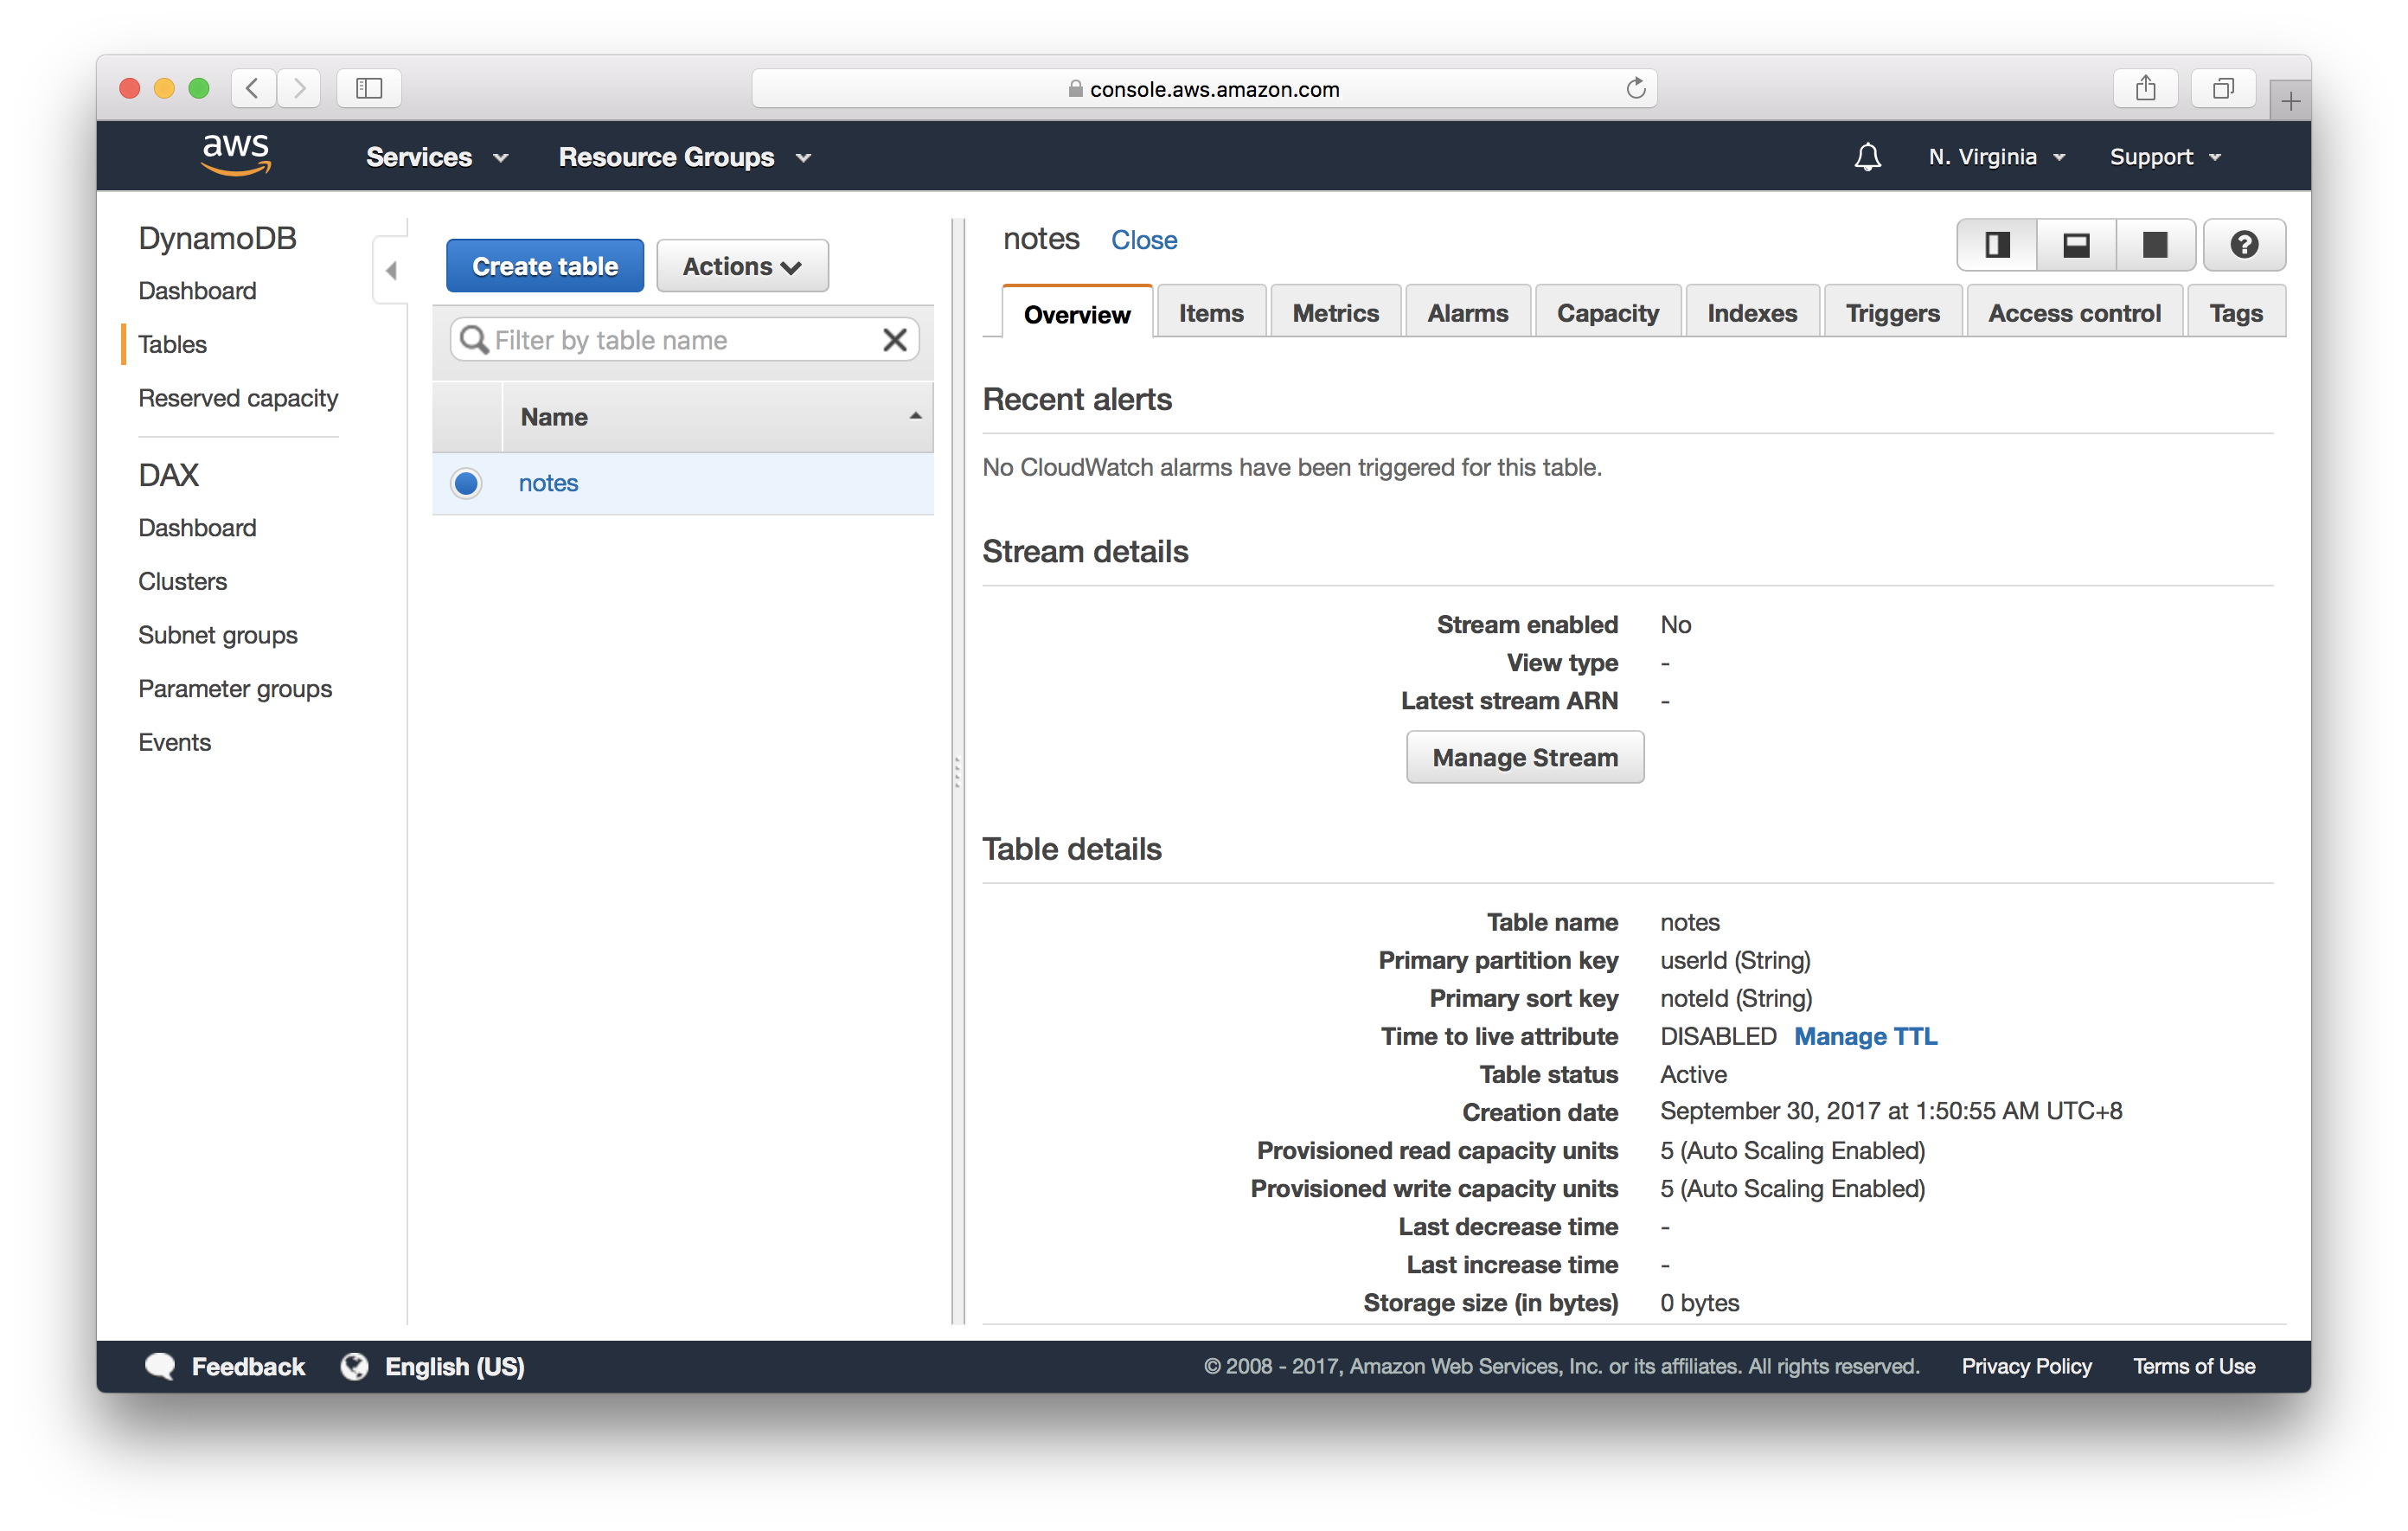
Finally, scroll down and hit Create.
The notes table has now been created. If you find yourself stuck with the Table is being created message; refresh the page manually.
It is also a good idea to set up backups for your DynamoDB table, especially if you are planning to use it in production. We cover this in an extra-credit chapter, Backups in DynamoDB.
Next let’s look at how we are going to store the files that our users upload.
For help and discussion
Comments on this chapter